Rummaging through the fridge with a half-empty jar of pickles and a hungry belly waiting, I realized the usual store-bought stuff just wasn’t going to cut it tonight. Twenty minutes before dinner, with no time to spare, I grabbed a bunch of cucumbers, some garlic, and dill from the crisper drawer and decided to throw together a batch of quick 24-hour garlic dill refrigerator pickles. Honestly, the kitchen smelled like a tiny spa of fresh herbs and garlic, and the tangy brine bubbling in the jar promised something way better than the limp pickles I’d been settling for.
This recipe was born out of sheer necessity and a pinch of desperation, but it stuck because it’s so straightforward and fast—no canning, no waiting weeks. Just fresh, crunchy, garlicky pickles ready in a day. I love that it feels homemade but doesn’t eat up my evening, especially when juggling dinner and a million other things. It’s the kind of recipe that sneaks up on you, becoming a staple for last-minute snacks or a punchy side for sandwiches.
There’s a real satisfaction in knowing exactly what’s in your pickles—no mystery preservatives or weird additives, just good old garlic, dill, and crisp cucumbers soaking in a bright, tangy brine. And you know, those quick 24-hour garlic dill refrigerator pickles? They’re like a little jar of magic that perks up any meal without much fuss.
So, this recipe stuck around not just because it’s fast and easy, but because it’s the one I trust when life gets hectic and I still want something fresh and delicious. It’s a quiet little win in the chaos of everyday cooking.
Why You’ll Love This Recipe
Having tested this quick 24-hour garlic dill refrigerator pickles recipe more times than I can count, I’m confident it delivers consistent, crave-worthy results. Whether you’re new to pickling or a seasoned pro, this recipe brings simplicity and flavor together effortlessly.
- Quick & Easy: Ready in just 24 hours, making it perfect for last-minute cravings or when you need a tangy snack fast.
- Simple Ingredients: No fancy or hard-to-find items here—just basic pantry staples and fresh produce you probably already have on hand.
- Perfect for Any Occasion: Whether it’s a summer BBQ, a cozy weeknight dinner, or a potluck, these pickles add that crisp, zesty punch everyone loves.
- Crowd-Pleaser: Kids and adults alike keep coming back for more, and they’re a fantastic crunchy side for sandwiches or burgers.
- Unbelievably Delicious: The blend of garlic and dill creates a flavor that’s bright, fresh, and just the right amount of garlicky kick.
What makes this recipe stand out is the balance between that quick turnaround time and the depth of flavor. The garlic gets mellowed just enough in the brine, and the dill keeps the pickles tasting fresh and herbaceous. I like to think of it as a shortcut to homemade pickles that don’t sacrifice the homemade charm.
Honestly, these pickles have saved me more than once when I wanted something fresh but didn’t want to fuss all day. They’re a simple pleasure that feels thoughtful and satisfying—comfort food with a bright twist.
What Ingredients You Will Need
This recipe uses simple, wholesome ingredients to deliver bold flavor and satisfying crunch without any fuss. Most are pantry staples, and the fresh dill and garlic bring that signature zing. Feel free to swap or adjust based on what you have!
- Cucumbers (about 4 medium Kirby or pickling cucumbers, sliced into spears or rounds) – Kirby cucumbers are ideal for their firm texture and less watery flesh.
- Fresh dill (3-4 sprigs) – the star herb, giving that unmistakable dill pickle aroma.
- Garlic cloves (3-4, peeled and smashed) – adds the punchy garlic flavor but mellows after soaking.
- White vinegar (1 cup / 240 ml) – the acid that makes the pickles tangy and preserves them.
- Water (1 cup / 240 ml) – to balance the vinegar’s strength.
- Salt (1 tablespoon / 18 grams, kosher or pickling salt preferred) – don’t use iodized table salt as it can cloud the brine.
- Granulated sugar (1 teaspoon / 4 grams) – just a touch to round out the sharpness.
- Black peppercorns (1 teaspoon) – for a subtle spicy undertone.
- Red pepper flakes (optional, 1/4 teaspoon) – for a mild heat kick if you like.
For the best results, I recommend using fresh, firm cucumbers and fresh dill from the farmers market or grocery store. If you want to experiment, try swapping white vinegar for apple cider vinegar for a fruity twist, or use diamond kosher salt, which dissolves nicely without clouding the brine.
In summer, when fresh dill might be everywhere, you can swap in some fresh tarragon or even fresh thyme for a different herbaceous flavor. If you’re avoiding garlic, a teaspoon of garlic powder works, but fresh always wins.
Equipment Needed
- Glass jar with lid (a quart-sized mason jar or any airtight container) – glass is best to avoid flavors leaching from plastic.
- Measuring cups and spoons – for precise brine ratios.
- Mixing bowl – to combine your brine ingredients before pouring.
- Sharp knife and cutting board – for slicing cucumbers neatly.
- Small saucepan (optional) – to warm the brine slightly and dissolve salt and sugar faster.
If you don’t have a mason jar, any clean, food-safe container with a tight lid will do. I’ve even used repurposed pickle jars cleaned thoroughly. For budget-friendly options, dollar stores often have simple glass jars perfect for this recipe.
One tip I learned is to keep the cucumbers chilled and slice them right before pickling to maintain maximum crunch. Also, if you plan to make these often, investing in a good set of kitchen knives pays off big time—makes the prep smoother and faster.
Preparation Method
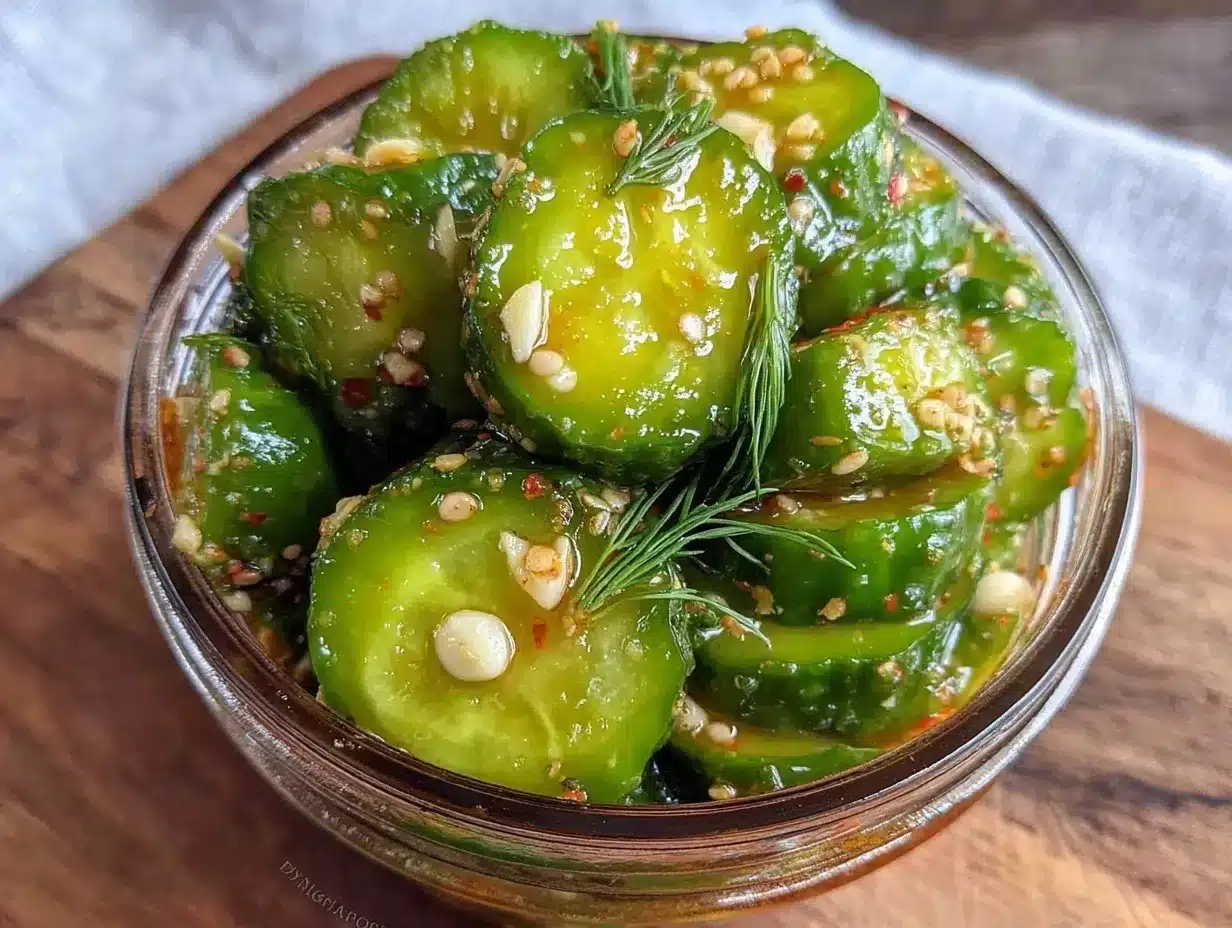
- Slice the cucumbers: Wash and dry your cucumbers well. Slice off the ends, then cut them into spears or rounds, about 1/4 to 1/2 inch thick. This usually takes about 5-7 minutes.
- Prepare the brine: In a mixing bowl or small saucepan, combine 1 cup (240 ml) white vinegar, 1 cup (240 ml) water, 1 tablespoon (18 grams) kosher salt, and 1 teaspoon (4 grams) granulated sugar. Warm gently if using a saucepan, stirring until salt and sugar dissolve (about 3-4 minutes). Let cool slightly if warmed.
- Pack the jar: Place the sliced cucumbers tightly but not crushed into your clean glass jar. Add 3-4 smashed garlic cloves, 3-4 sprigs of fresh dill, 1 teaspoon black peppercorns, and red pepper flakes if using.
- Pour the brine: Carefully pour the brine over the cucumbers, making sure they’re fully submerged. Leave about 1/2 inch of headspace at the top.
- Seal and refrigerate: Close the jar tightly and shake gently to distribute spices. Place the jar in the refrigerator and let it sit for at least 24 hours. The pickles will start tasting good after this, but they improve up to 3 days.
- Check and enjoy: After 24 hours, taste a pickle spear to check the flavor. If it’s too mild, let it sit longer. The pickles can keep in the fridge for up to 2 weeks, staying crisp and flavorful.
Pro tip: If the pickles seem a bit too salty or vinegary at first, give them a day or two more. The flavors mellow and balance out nicely. Also, don’t forget to press the cucumbers down with a clean spoon before sealing to minimize air pockets.
When I first made these, I left the garlic cloves whole and found the flavor was milder than I liked, so smashing them releases a better garlicky kick. Trust me, that little step makes all the difference.
Cooking Tips & Techniques
Getting crunchy, flavorful refrigerator pickles every time is easier than you might think, but a few insider tips can make a big difference:
- Use fresh, firm cucumbers: Kirby or pickling cucumbers are your best bet. Avoid those that are soft or waxed, as they won’t absorb the brine well.
- Don’t skip the salt type: Kosher or pickling salt dissolves cleanly without clouding your brine or adding off-flavors. I once used table salt and ended up with cloudy, bitter pickles—lesson learned.
- Smash garlic cloves: This releases more flavor than just tossing whole cloves in. You want that garlicky punch without overpowering.
- Keep cucumbers submerged: Air exposure can lead to uneven pickling and faster spoilage. Use a clean utensil to press them down before sealing.
- Refrigerate promptly: These are refrigerator pickles, not canned. Keep them chilled to maintain crunch and prevent fermentation.
- Adjust seasoning to taste: Everyone’s palate is different. Feel free to tweak salt, sugar, or spice levels after the first 24-hour test.
When I’m juggling dinner prep with kids running around, I like to assemble the pickles first, then get back to the main course. They basically make themselves while I tackle the rest of the meal.
If you want to try your hand at spicy sesame cucumber noodles later, these quick pickles can be a crisp, tangy side that balances out rich and spicy flavors perfectly.
Variations & Adaptations
This recipe is a fantastic base for experimenting with flavors and adapting to your dietary needs or taste preferences:
- Low-Sodium Version: Reduce the salt to 1/2 tablespoon and add a splash of lemon juice for brightness. Taste before refrigerating to ensure it’s still flavorful.
- Spicy Garlic Dill Pickles: Double the garlic and add sliced fresh jalapeños or a pinch of cayenne pepper for extra heat.
- Herb Twist: Swap fresh dill for fresh tarragon, thyme, or even a mix of dill and basil for a unique flavor profile.
- Vinegar Variations: Use apple cider vinegar or rice vinegar instead of white vinegar for a milder, fruitier brine.
- Easy Vegan Friendly: This recipe is naturally vegan and gluten-free, making it a great snack for all diets.
Personally, I once added a little mustard seed and a splash of smoked paprika for a smoky twist that surprised everyone at the dinner table. It paired beautifully with the grilled meats and reminded me of those smoky pickles you get from specialty delis.
Serving & Storage Suggestions
These quick 24-hour garlic dill refrigerator pickles are best served chilled, straight from the fridge, with that satisfying crunch and tangy bite.
They’re fantastic alongside sandwiches, burgers, or even as a zesty topping on your favorite salad—like the fresh creamy dill cucumber salad for the ultimate cucumber combo. They also pair beautifully with rich, creamy dishes to cut through heaviness.
Store the pickles in the refrigerator in their sealed jar for up to 2 weeks. The flavor deepens over the first 3 days and stays crisp if kept cold. Avoid leaving them out at room temperature for long periods to prevent fermentation or softening.
To re-crisp slightly softened pickles, try soaking them in ice water for 15 minutes before serving. It works wonders when you want that fresh snap back.
Nutritional Information & Benefits
These quick garlic dill refrigerator pickles are low in calories—roughly 10-15 calories per serving (about 2 spears)—making them a guilt-free snack. They’re naturally fat-free and low-carb, perfect for many diets including keto and paleo.
The vinegar and garlic offer antimicrobial benefits, and the cucumbers provide hydration and small amounts of vitamin K. The fresh dill adds antioxidants and a lovely herbal touch.
Because they’re homemade, you avoid added sugars and preservatives often found in store-bought pickles. Plus, the quick pickling method preserves the crunch and freshness without fermentation, so they’re gentle on sensitive stomachs.
Conclusion
This quick 24-hour garlic dill refrigerator pickles recipe is a lifesaver for anyone who loves the tang and crunch of homemade pickles but can’t wait weeks for the flavor to develop. It’s simple, fast, and uses ingredients you likely have in your kitchen right now.
What I love most is how it bridges that gap between convenience and homemade goodness. You get fresh, garlicky, dill-infused pickles with minimal effort and maximum satisfaction. Plus, it’s an easy way to add brightness and crunch to any meal or snack.
Feel free to make this recipe your own by tweaking the spices or herbs to suit your taste. And if you try it, I’d love to hear how your pickles turned out or what fun twists you added!
FAQs
How long do quick refrigerator pickles last?
They keep best in the fridge for up to 2 weeks. Be sure to keep them submerged in brine and sealed tightly.
Can I use regular cucumbers instead of Kirby cucumbers?
Yes, but Kirby cucumbers are firmer and less watery, which helps keep the pickles crisp. Regular cucumbers can work if sliced thicker.
Do I need to cook the brine before adding it?
Warming the brine helps dissolve salt and sugar faster, but it’s optional. You can stir well until fully dissolved at room temperature too.
Can I make these pickles without garlic?
Yes, if you’re not a fan of garlic, just omit it or use a small amount of garlic powder instead.
Are these pickles fermented?
No, these are quick refrigerator pickles made with vinegar brine, so they’re not fermented and don’t require canning or long fermentation times.
Pin This Recipe!
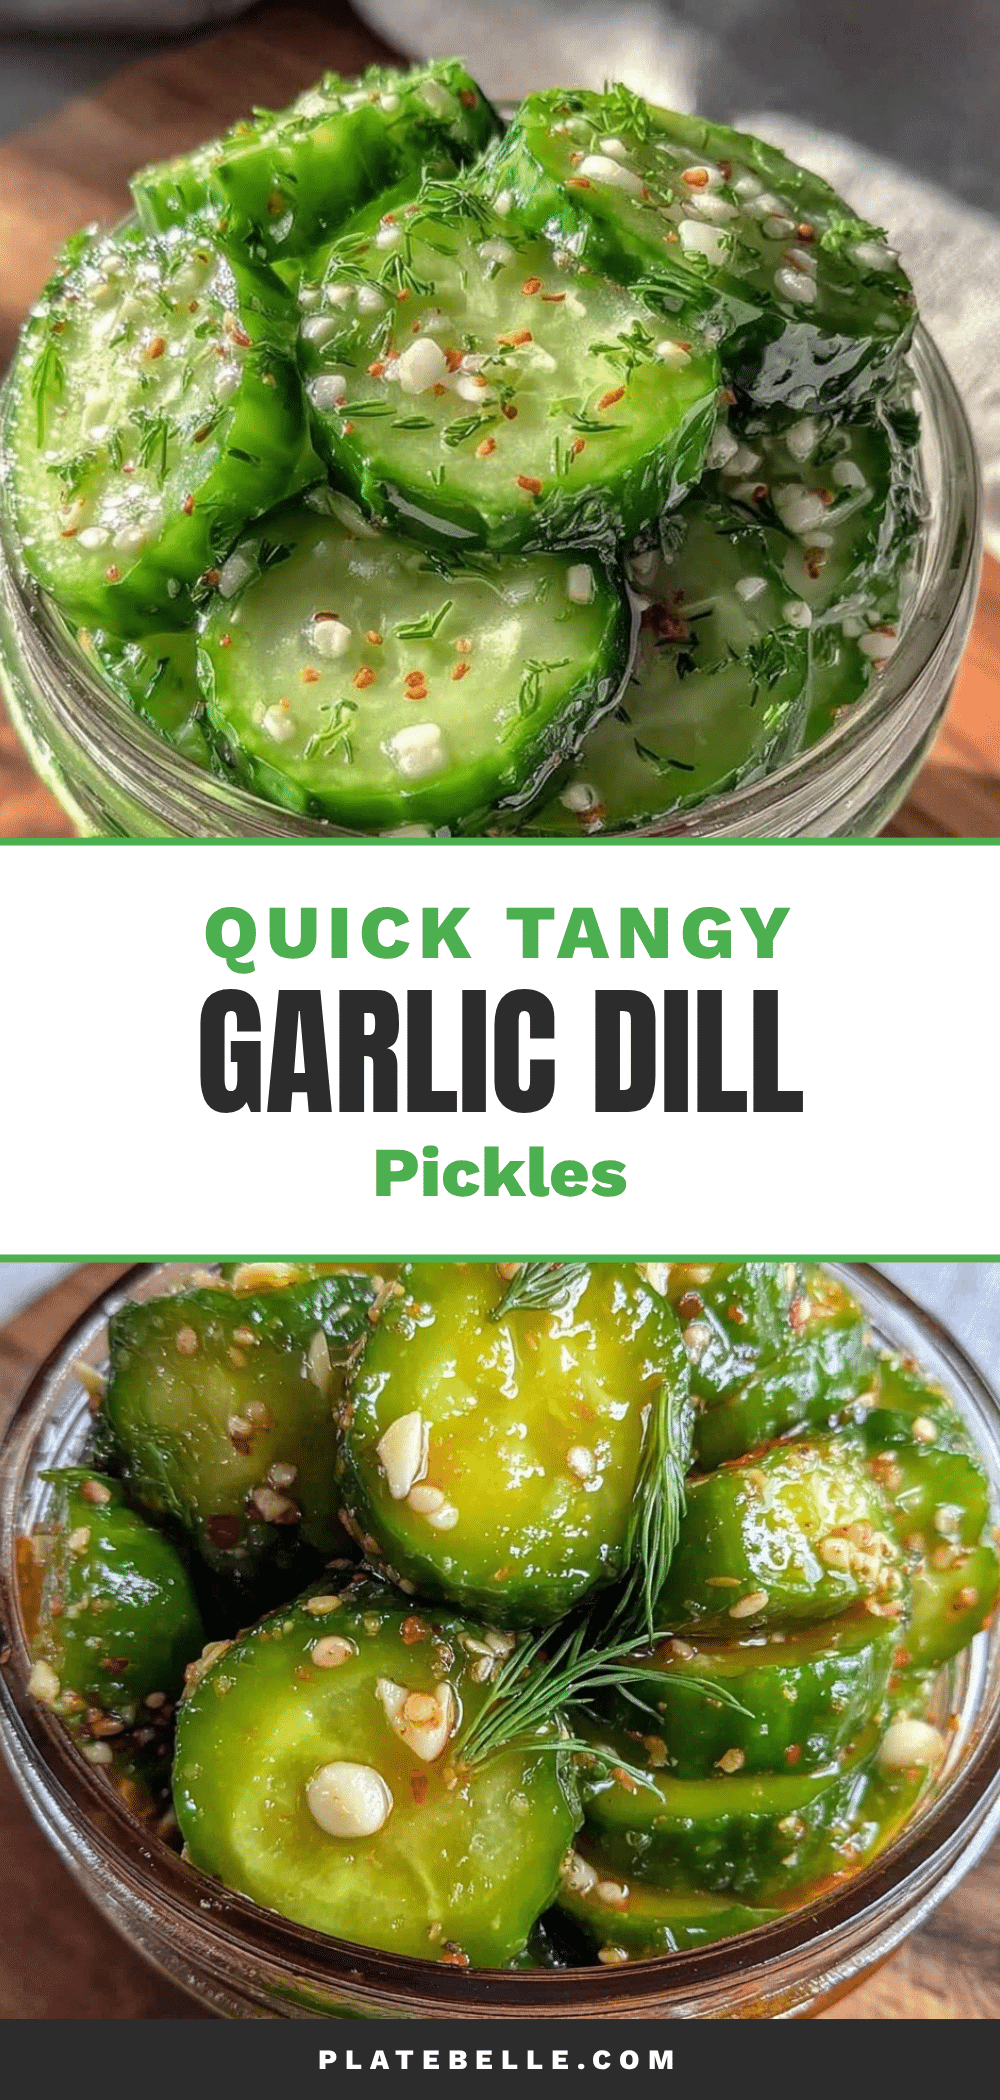
Quick 24-Hour Garlic Dill Refrigerator Pickles Recipe Easy Homemade Pickles
A fast and easy recipe for homemade garlic dill refrigerator pickles that are ready in just 24 hours, offering fresh, crunchy, and tangy pickles without the wait or canning.
- Prep Time: 10 minutes
- Cook Time: 5 minutes (optional warming of brine)
- Total Time: 24 hours
- Yield: 4 servings 1x
- Category: Side Dish
- Cuisine: American
Ingredients
- 4 medium Kirby or pickling cucumbers, sliced into spears or rounds
- 3–4 sprigs fresh dill
- 3–4 garlic cloves, peeled and smashed
- 1 cup (240 ml) white vinegar
- 1 cup (240 ml) water
- 1 tablespoon (18 grams) kosher or pickling salt
- 1 teaspoon (4 grams) granulated sugar
- 1 teaspoon black peppercorns
- 1/4 teaspoon red pepper flakes (optional)
Instructions
- Wash and dry cucumbers well. Slice off the ends, then cut into spears or rounds about 1/4 to 1/2 inch thick (5-7 minutes).
- In a mixing bowl or small saucepan, combine white vinegar, water, kosher salt, and granulated sugar. Warm gently if using a saucepan, stirring until salt and sugar dissolve (3-4 minutes). Let cool slightly if warmed.
- Place sliced cucumbers tightly but not crushed into a clean glass jar. Add smashed garlic cloves, fresh dill sprigs, black peppercorns, and red pepper flakes if using.
- Pour the brine over the cucumbers, ensuring they are fully submerged. Leave about 1/2 inch of headspace at the top.
- Seal the jar tightly and shake gently to distribute spices. Refrigerate for at least 24 hours. Flavor improves up to 3 days.
- After 24 hours, taste a pickle spear. If too mild, let sit longer. Pickles keep in the fridge up to 2 weeks.
Notes
Use fresh, firm Kirby cucumbers for best crunch. Smash garlic cloves to release more flavor. Keep cucumbers fully submerged in brine to avoid spoilage. Refrigerate promptly. Adjust salt, sugar, and spices to taste after initial 24 hours. To re-crisp softened pickles, soak in ice water for 15 minutes before serving.
Nutrition
- Serving Size: About 2 pickle spear
- Calories: 1015
- Sugar: 1
- Sodium: 600
- Carbohydrates: 3
- Fiber: 0.5
- Protein: 0.3
Keywords: quick pickles, refrigerator pickles, garlic dill pickles, homemade pickles, easy pickles, 24-hour pickles, crunchy pickles, no canning pickles


