“No, I don’t want that.” My five-year-old slid her untouched sandwich across the kitchen island. The bread was perfectly fine—whole wheat, turkey, a smear of cream cheese—but she had already decided. The lunch I packed was a failure before she even took a bite.
I stood there, staring at that rejected sandwich, and something clicked. Why was I fighting her on this? She didn’t want a sandwich. She wanted control. She wanted to pick and choose. She wanted the little compartments and the fun of building her own meal. So I gave up on the sandwich that day. And honestly? It was the best lunch decision I ever made.
These Easy DIY Lunchable Boxes for Picky Eaters became our new normal. They’re not fancy. They’re not complicated. But they work. And after months of tweaking and testing, I finally have a system that makes lunch prep fast, stress-free, and actually fun for both of us. No more arguing. No more wasted food. Just a lunchbox that comes home empty.
Why You’ll Love This Recipe
Let me tell you why these DIY lunchable boxes have saved my sanity. I’ve tested dozens of combinations, and this approach is the one that finally stuck.
- Quick & Easy: These boxes come together in under 10 minutes. Seriously—once you have your ingredients prepped, assembly is faster than making a sandwich.
- Simple Ingredients: No fancy grocery trips. You likely already have crackers, cheese, and a protein in your fridge. That’s the whole point.
- Perfect for School Lunches: Whether you’re packing for kindergarten or middle school, the bento-style format works for every age. It’s especially great for those nut-free kindergarten lunch requirements too.
- Crowd-Pleaser: My kids devour these. Their friends ask for them. Even my husband steals them from the fridge. It’s the kind of lunch that gets rave reviews from everyone.
- Unbelievably Delicious: The magic is in the variety. A little crunch, a little creamy, a little sweet—every bite is different. It’s lunch that doesn’t get boring.
What makes this different from just throwing snacks in a box? It’s the balance. I’ve figured out the perfect ratio of protein, carbs, and fun. This isn’t just another lunch idea—it’s a system that actually works for picky eaters. The kind that makes you feel good about what your kid is eating, without the daily battle.
What Ingredients You Will Need
This recipe uses simple, everyday ingredients to create a lunch that’s both satisfying and fun. The beauty is in the flexibility—you can mix and match based on what your family loves.
For the Protein Base
- Deli turkey or ham (about 4-6 slices per box) — I prefer oven-roasted turkey from the deli counter; it has the best texture and flavor
- String cheese (1-2 per box) — mozzarella is our go-to, but cheddar sticks work great too
- Hard-boiled eggs (1-2 per box) — I batch cook these on Sunday for the whole week
- Greek yogurt dip (¼ cup per box) — plain Greek yogurt mixed with a little ranch seasoning; my kids call it “magic dip”
For the Crunch Factor
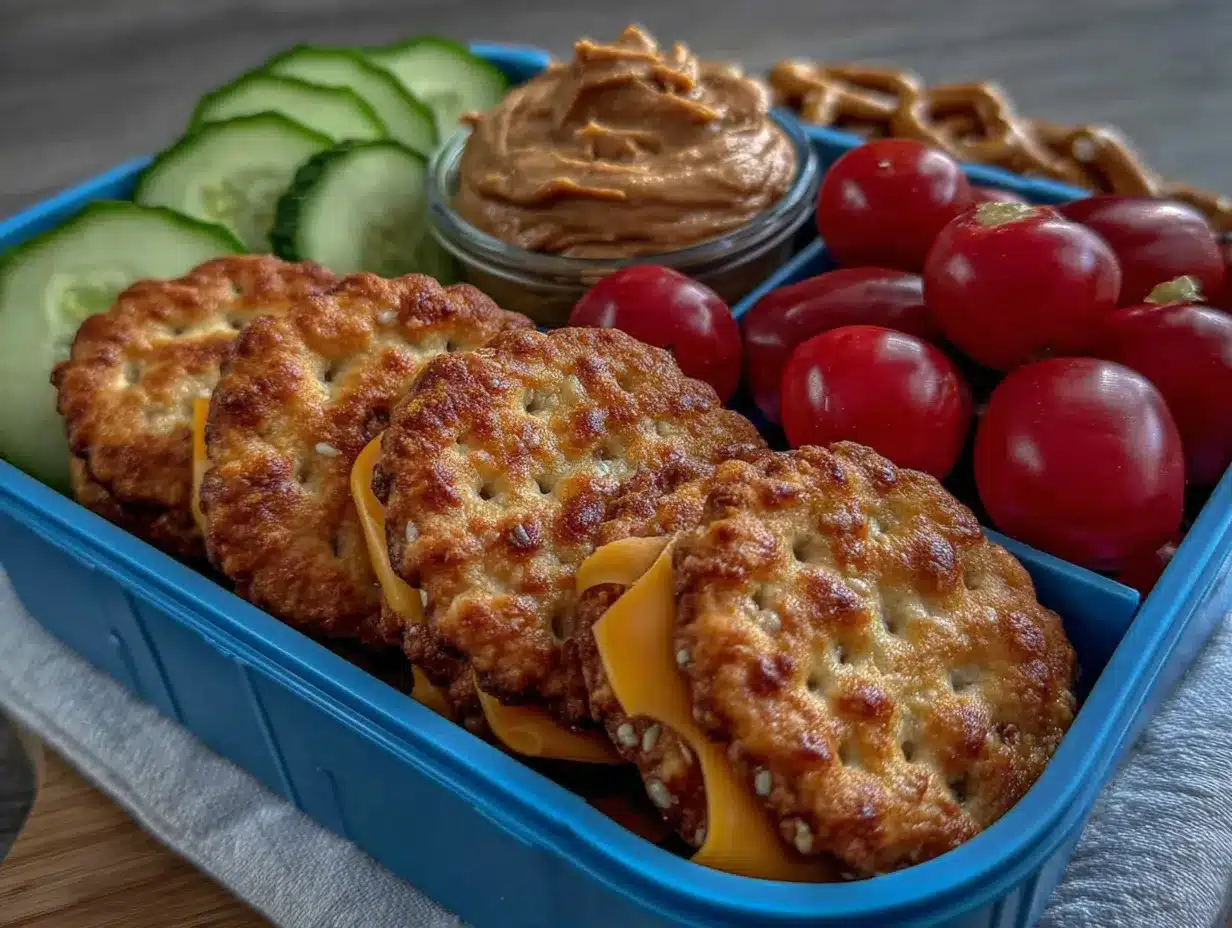
- Whole-grain crackers (about 10-12 per box) — we love the mini square ones; they fit perfectly in lunch containers
- Pretzel sticks (a small handful) — great for dipping and adds that salty crunch
- Rice cakes (1-2 mini ones) — plain or lightly salted; they’re a fun change from crackers
For the Sweet Finish
- Grapes (½ cup per box) — red or green, sliced lengthwise for younger kids
- Apple slices (½ apple per box) — tossed in a little lemon juice to prevent browning
- Dried fruit (a small handful) — raisins, dried cranberries, or chopped apricots
For the Fun Extras
- Cherry tomatoes (3-4 per box) — halved for safety
- Cucumber rounds (4-6 per box) — use a crinkle cutter for fun shapes
- Mini bell peppers (½ pepper per box) — sliced into strips
- Small cookie cutter shapes (optional) — for cutting cheese or fruit into stars, hearts, or dinosaurs
I’ve found that having a few trusted brands makes a difference. For crackers, I love the Annie’s bunny crackers—they’re sturdy and don’t crumble. For cheese, Horizon Organic string cheese has the best melt and pull. And for yogurt, I stick with Fage plain Greek yogurt; it’s thick, creamy, and takes flavor well.
If you’re packing for a nut-free school, just skip any nut-based dips or snacks. I keep a stash of sunflower seed butter for days when we want something spreadable. And for gluten-sensitive kids, swap the crackers for gluten-free rice crackers or veggie sticks.
Equipment Needed
You don’t need much to make these lunchable boxes. Here’s what I use:
- Bento-style lunch containers (I love the Bentgo boxes or simple compartment containers from Target)
- Small cookie cutters (for cutting cheese, fruit, or sandwiches into fun shapes)
- Vegetable peeler (for making cucumber ribbons or carrot curls)
- Sharp knife (a good paring knife makes all the difference for cutting fruit)
- Cutting board (I keep a separate one for fruit to avoid cross-contamination)
- Small silicone muffin cups (great for separating wet ingredients like dip from dry crackers)
- Ice pack (to keep yogurt dip and cheese cold until lunchtime)
If you don’t have a bento box, don’t worry. I’ve used regular lunch containers with silicone cupcake liners as dividers. Works like a charm. And for the cookie cutters—I found a set of 12 at the dollar store. They’re not fancy, but they make cheese stars and apple hearts that my kids actually get excited about.
A quick tip: wash your lunch containers right after your kids come home. I learned this the hard way. Dried cheese is impossible to remove. A quick rinse and they’re ready for the next day.
Preparation Method
Here’s how I assemble these lunchable boxes. The key is to prep ingredients ahead of time so assembly is a breeze.
Step 1: Prep Your Proteins
Start with the protein components. If you’re using deli meat, roll each slice into a tight log, then slice into pinwheels about ½-inch thick. This makes them easy for little fingers to pick up. For hard-boiled eggs, peel them and slice into quarters lengthwise. If you’re making yogurt dip, mix ½ cup Greek yogurt with 1 tablespoon ranch seasoning in a small bowl. Stir until smooth and refrigerate.
Step 2: Wash and Cut Produce
Wash all fruits and vegetables thoroughly. For grapes, slice them lengthwise—this prevents choking and makes them easier to eat. For apples, core them, then slice into thin wedges. Toss the apple slices in a bowl with 1 tablespoon lemon juice and 1 tablespoon water to prevent browning. For cucumbers, use a crinkle cutter if you have one—the wavy edges make them more fun. For cherry tomatoes, slice them in half.
Step 3: Portion Your Crunchy Items
Count out your crackers or pretzels. I usually do 10-12 crackers per box. If you’re using rice cakes, break them into smaller pieces. Place these in a separate container or a silicone muffin cup within the lunch box. This keeps them from getting soggy.
Step 4: Assemble the Box
Now the fun part. Start with the largest items—place your protein pinwheels or egg quarters in one compartment. Add your fruit in another. Vegetables go in a third. Use small silicone cups for the yogurt dip and for the crackers. The goal is to keep everything separated so nothing gets soggy or mixed together. This is especially important for picky eaters who don’t like their food touching.
Step 5: Add the Fun Elements
This is where you get creative. Use a small cookie cutter to cut cheese slices into stars or hearts. Cut cucumber rounds into flower shapes. Add a small note or a sticker. These little touches make the lunch feel special—and trust me, kids notice.
Step 6: Pack It Up
Close the lid tightly and add an ice pack if your lunch box doesn’t have one built in. For school lunches, I put the entire bento box inside a reusable lunch bag with an ice pack on top. This keeps everything cold until lunchtime.
A few notes from experience: Don’t overpack the box. Kids get overwhelmed if there’s too much food. I’ve learned that a smaller portion with variety is better than a huge amount of one thing. Also, let your kids help with assembly. My daughter loves placing the cheese stars in her box. It gives her ownership over the meal, and she’s more likely to eat it if she helped make it.
Cooking Tips & Techniques
After months of making these boxes, I’ve learned a few things the hard way. Here are my best tips:
Batch prep on Sunday. I spend 30 minutes on Sunday afternoon washing, cutting, and portioning ingredients. Hard-boiled eggs, washed grapes, cut veggies—everything goes into separate containers in the fridge. Then each morning, assembly takes under 5 minutes. This is a game-changer for busy mornings.
Keep wet and dry separate. This is non-negotiable. If yogurt dip touches crackers, you get soggy crackers. And soggy crackers are a deal-breaker for picky eaters. Use silicone muffin cups or small compartment containers to keep everything separated.
Use the “first bite” rule. I always include one familiar, loved item in each box. For my daughter, it’s grapes. For my son, it’s cheese stars. Having that comfort food makes them more willing to try the new things. It sounds simple, but it works.
Don’t overcomplicate it. I once tried to make homemade crackers. They were terrible. The store-bought ones are fine. Pick your battles. The goal is a lunch that gets eaten, not a Pinterest-perfect creation.
Rotate the fun shapes. If you use the same cookie cutter every day, it loses its magic. I have a set of six shapes and rotate them weekly. Stars one week, dinosaurs the next, hearts for Valentine’s week. It keeps the novelty alive.
One mistake I made early on? Packing too much food. I thought more variety was better. But my daughter would pick one or two items and ignore the rest. Now I stick to 4-5 components max. Quality over quantity.
Variations & Adaptations
This recipe is endlessly adaptable. Here are some of my favorite variations:
Vegetarian Version
Swap the deli meat for chickpea salad or hummus. I make a quick chickpea mash with a little mayo, lemon juice, and salt. It’s creamy, filling, and pairs perfectly with crackers. Add some sliced avocado and you’ve got a protein-packed lunch.
Low-Carb Version
Skip the crackers and use cucumber rounds or bell pepper strips as the “vehicle” for dips. Add extra cheese and hard-boiled eggs for protein. My husband loves this version for his work lunches.
Seasonal Variations
In summer, I add fresh berries and peach slices. In fall, I swap grapes for apple slices and add a small container of cinnamon yogurt for dipping. In winter, I include clementine segments and roasted sweet potato cubes. Seasonal produce keeps things interesting.
Allergen-Free Version
For dairy-free, use vegan cheese slices and a dairy-free yogurt dip. For gluten-free, choose gluten-free crackers or rice cakes. For nut-free, skip any nut-based dips and use sunflower seed butter instead. Always check labels on deli meat for hidden allergens.
I once tried a “breakfast for lunch” version with mini pancakes, yogurt, and berries. It was a huge hit. The key is to listen to what your kids actually like and build from there.
Serving & Storage Suggestions
These lunchable boxes are best served cold, straight from the fridge. I pack them in the morning and they stay fresh until lunchtime with a good ice pack.
Serving Suggestions: Pair the box with a small water bottle or a thermos of milk. For a more substantial meal, add a small container of soup or a fruit pouch on the side. My kids love when I add a small treat—a couple of dark chocolate chips or a mini cookie—as a surprise.
Storage Tips: Assemble the boxes the night before and store them in the refrigerator. Keep the lid slightly open if your container is airtight—this prevents condensation from making the crackers soggy. Add the ice pack in the morning before packing in the lunch bag.
Reheating Notes: These boxes are designed to be eaten cold. If you’re including something like leftover chicken tenders or meatballs, reheat those separately and let them cool completely before adding to the box. Never microwave the entire box—the plastic can warp and the other ingredients will get weird.
Flavor Development: Some components actually taste better after sitting. The yogurt dip absorbs the ranch seasoning overnight. The fruit releases a little juice that flavors the cheese slightly. But for the best texture, add crackers and crunchy items right before serving.
For those busy mornings, I’ve found that no-heat thermos lunch ideas work well alongside these boxes. A thermos of cold yogurt or smoothie adds another element without any extra work.
Nutritional Information & Benefits
Here’s the estimated nutritional breakdown for one lunchable box (based on turkey, cheese, crackers, grapes, and cucumber):
- Calories: 350-400
- Protein: 20-25 grams
- Carbohydrates: 35-40 grams
- Fat: 12-15 grams
- Fiber: 4-6 grams
- Sugar: 12-15 grams (naturally occurring from fruit)
The protein from turkey and cheese keeps kids full and focused through the afternoon. The fiber from fruits and vegetables supports healthy digestion. And the variety of textures and flavors encourages adventurous eating without pressure.
For parents concerned about sugar, the sweetness comes entirely from fruit—no added sugars. The Greek yogurt dip adds probiotics for gut health. And the whole-grain crackers provide complex carbohydrates for sustained energy.
This lunch is naturally gluten-free adaptable, nut-free friendly, and can be made dairy-free with simple swaps. Always check with your school’s allergy policy before packing any lunch.
I personally love that this lunch feels indulgent but is actually balanced. My kids think they’re getting a treat. I know they’re getting a nutritious meal. It’s a win-win.
Conclusion
These Easy DIY Lunchable Boxes for Picky Eaters have genuinely changed our mornings. No more battles. No more rejected lunches. Just a simple, customizable system that works for real families with real picky eaters.
I encourage you to start with the basic formula—protein, crunch, fruit, veggie, dip—and then make it your own. Swap in what your kids love. Try new combinations. Let them help with the assembly. The more ownership they have, the more likely they are to eat it.
My favorite part? The quiet moment when I open my daughter’s lunch bag after school and see an empty box. That’s the win. That’s why I do this.
I’d love to hear what combinations your family loves. Drop a comment below and share your favorite lunchable box creations. And if you’re looking for more lunch inspiration, check out our healthy lunch box ideas with hidden veggie shapes or our high-protein bento box lunches for teens. Happy packing!
Frequently Asked Questions
How long do these lunchable boxes stay fresh?
Assembled boxes stay fresh in the refrigerator for up to 3 days. I recommend keeping crackers and crunchy items separate until serving to maintain their texture. With a good ice pack, they’ll stay cold and safe until lunchtime.
Can I make these lunchable boxes the night before?
Absolutely! I actually prefer making them the night before. Just keep the lid slightly open if your container is airtight to prevent condensation. Add any crunchy items in the morning for the best texture.
What if my child is allergic to dairy or nuts?
This recipe is very adaptable. For dairy-free, use vegan cheese and a dairy-free yogurt. For nut-free, skip any nut-based dips and use sunflower seed butter or hummus instead. Always check labels on deli meat for hidden allergens.
How do I keep the crackers from getting soggy?
Use small silicone muffin cups or separate compartments to keep crackers away from moist ingredients like yogurt dip or fruit. Pack the crackers in a separate small container if your lunch box doesn’t have dividers.
Can I use this system for adults too?
Definitely! My husband takes these to work all the time. Just increase the portion sizes and add heartier components like leftover chicken, quinoa salad, or roasted vegetables. The bento format works for any age.
Pin This Recipe!
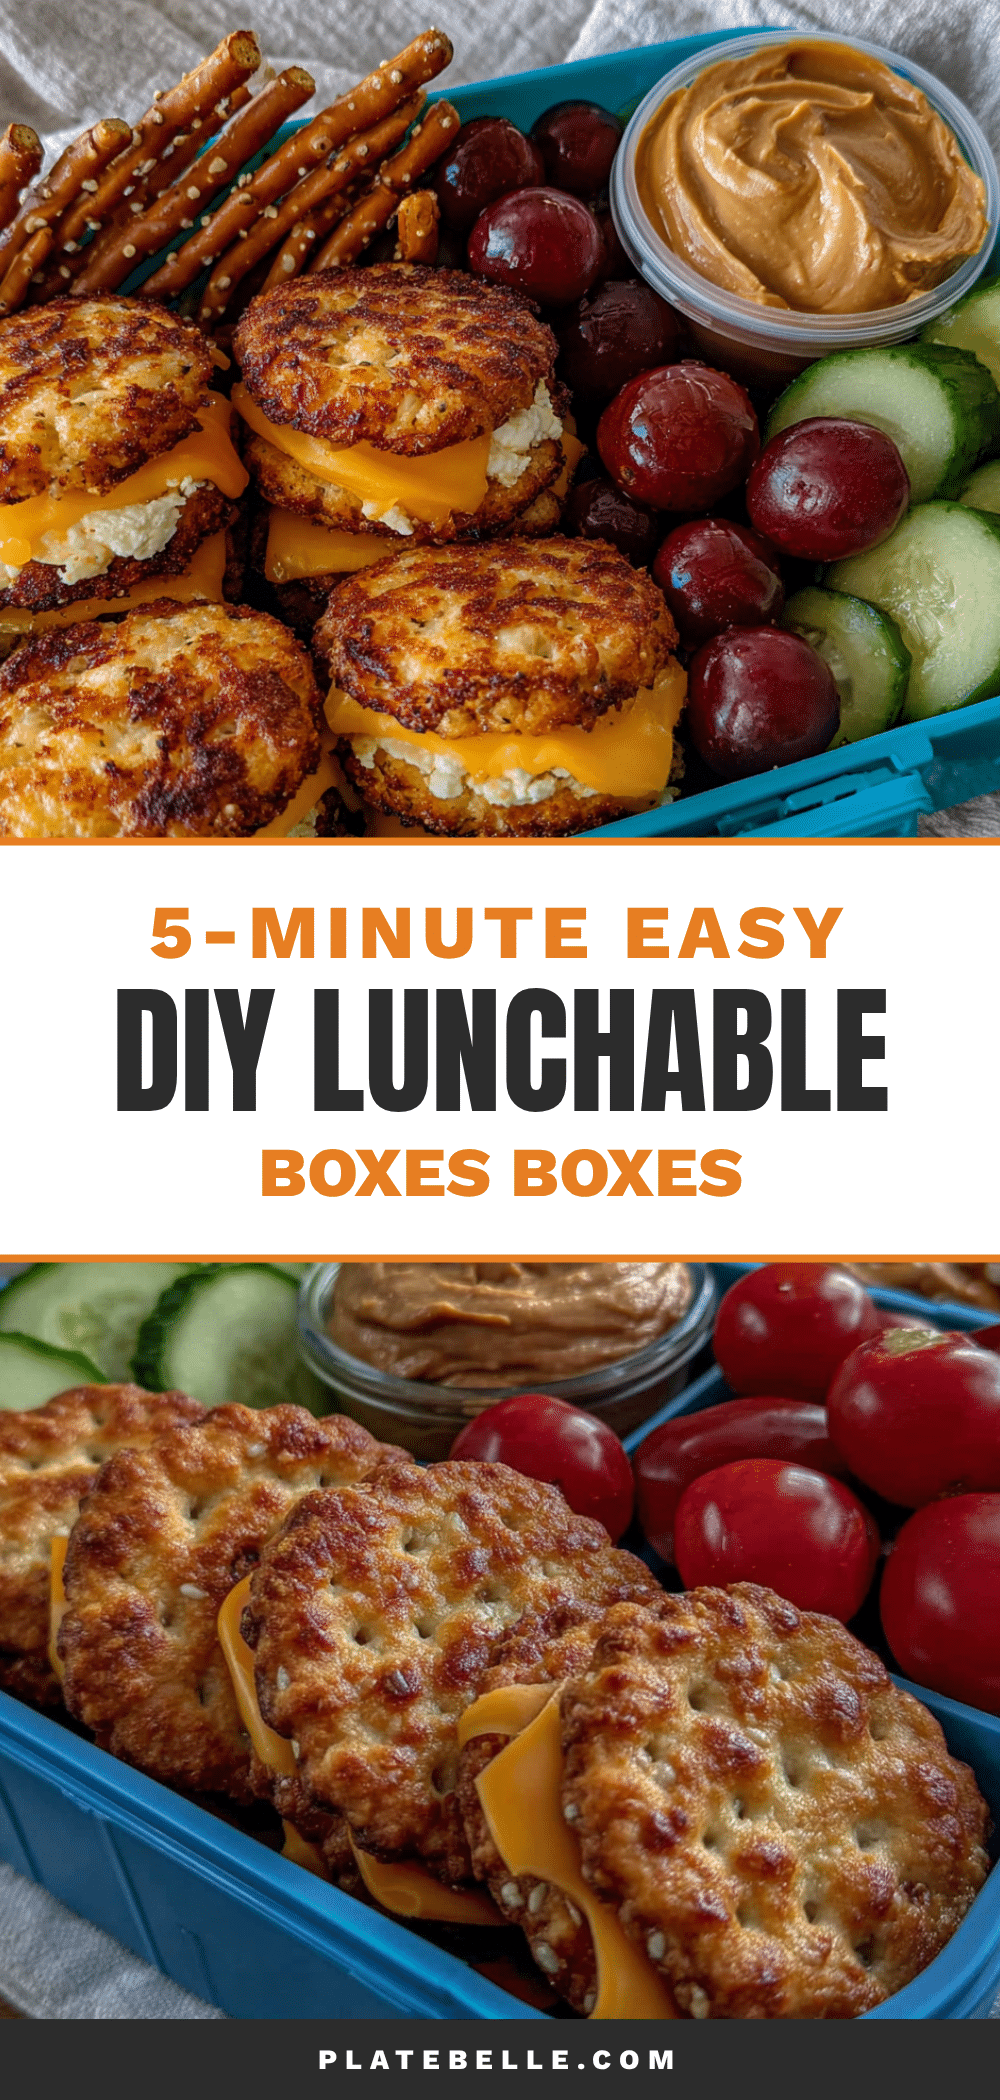
Easy DIY Lunchable Boxes for Picky Eaters
These Easy DIY Lunchable Boxes for Picky Eaters are a quick, customizable lunch solution that gives kids control over their meal. With a perfect balance of protein, crunch, fruit, and fun, these bento-style boxes come together in under 10 minutes and end lunchtime battles.
- Prep Time: 10 minutes
- Cook Time: 0 minutes
- Total Time: 10 minutes
- Yield: 1 serving 1x
- Category: Lunch
- Cuisine: American
Ingredients
- 4–6 slices deli turkey or ham per box
- 1–2 string cheese per box
- 1–2 hard-boiled eggs per box
- 1/4 cup Greek yogurt dip per box (plain Greek yogurt mixed with ranch seasoning)
- 10–12 whole-grain crackers per box
- 1 small handful pretzel sticks per box
- 1–2 mini rice cakes per box
- 1/2 cup grapes per box
- 1/2 apple per box
- 1 small handful dried fruit (raisins, dried cranberries, or chopped apricots) per box
- 3–4 cherry tomatoes per box
- 4–6 cucumber rounds per box
- 1/2 mini bell pepper per box
- Small cookie cutter shapes (optional)
Instructions
- Prep your proteins: Roll deli meat slices into tight logs and slice into 1/2-inch pinwheels. Peel hard-boiled eggs and slice into quarters lengthwise. Mix 1/2 cup Greek yogurt with 1 tablespoon ranch seasoning until smooth and refrigerate.
- Wash and cut produce: Wash all fruits and vegetables. Slice grapes lengthwise. Core apples and slice into thin wedges, then toss with 1 tablespoon lemon juice and 1 tablespoon water to prevent browning. Use a crinkle cutter on cucumbers if desired. Halve cherry tomatoes.
- Portion crunchy items: Count out 10-12 crackers per box. Break rice cakes into smaller pieces. Place in a separate container or silicone muffin cup to keep them from getting soggy.
- Assemble the box: Place protein pinwheels or egg quarters in one compartment. Add fruit in another. Vegetables go in a third. Use small silicone cups for yogurt dip and crackers to keep everything separated.
- Add fun elements: Use small cookie cutters to cut cheese into stars or hearts. Cut cucumber rounds into flower shapes. Add a small note or sticker.
- Pack it up: Close the lid tightly and add an ice pack. Place the bento box inside a reusable lunch bag with an ice pack on top to keep everything cold until lunchtime.
Notes
Batch prep on Sunday to save time. Keep wet and dry ingredients separate to avoid soggy crackers. Use the ‘first bite’ rule by including one familiar item. Don’t overpack—4-5 components max. Let kids help with assembly for better acceptance. Wash containers immediately after use to prevent dried cheese.
Nutrition
- Serving Size: 1 lunchable box
- Calories: 350400
- Sugar: 1215
- Sodium: 500700
- Fat: 1215
- Saturated Fat: 46
- Carbohydrates: 3540
- Fiber: 46
- Protein: 2025
Keywords: DIY lunchable, picky eater lunch, bento box, school lunch, kid-friendly lunch, no-cook lunch, easy lunch ideas


