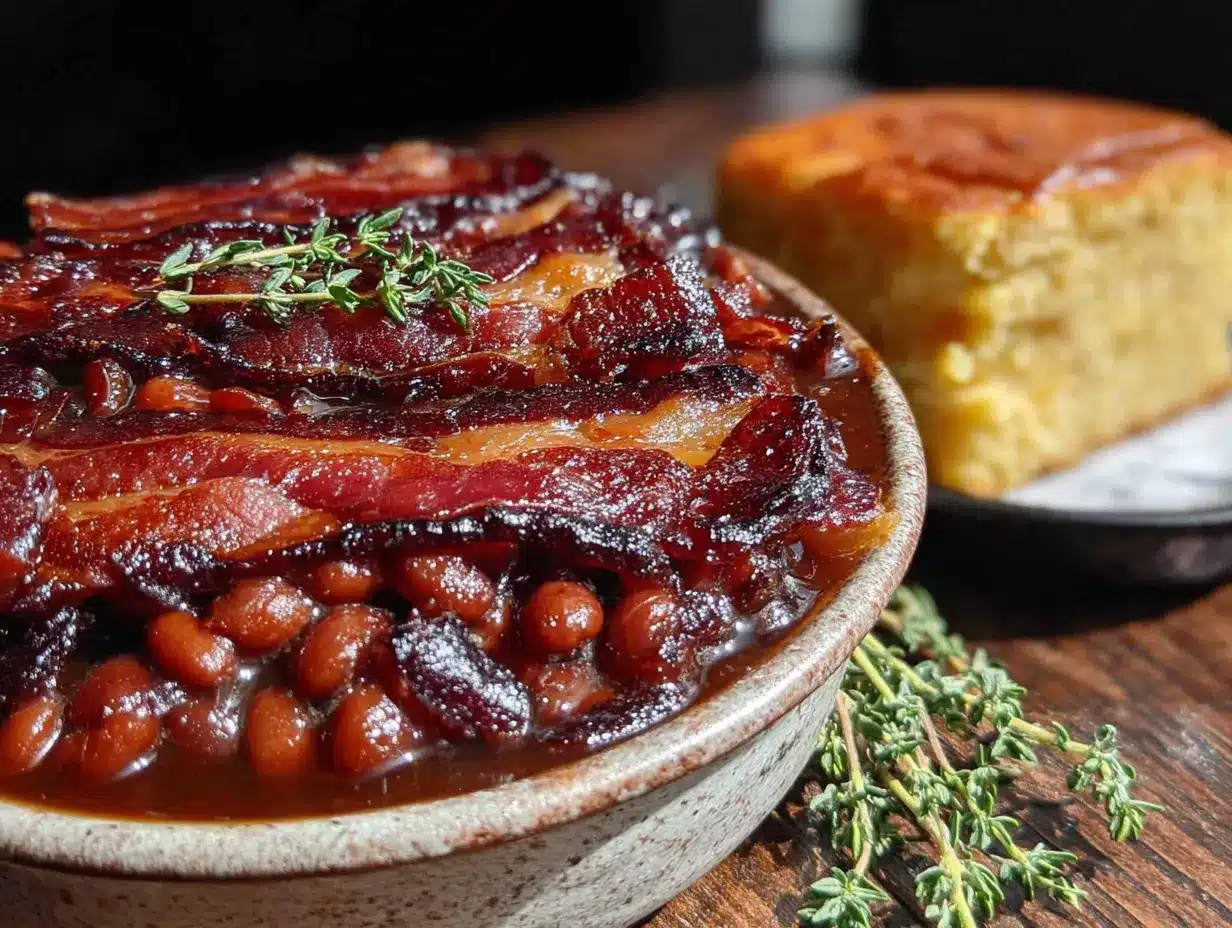
The glossy, almost-sticky sheen on each bean is what I was after. That caramelized lacquer that catches the late afternoon sun and signals something deeply satisfying is about to happen. I spent a whole summer testing batches of these baked beans, chasing that specific visual—the way the bacon fat and brown sugar combine into a glaze that clings to every spoonful. It’s not about the smoke or the spice, though those are there. It’s about that first visual hit of a bean that looks like it’s been slow-cooked into submission, all glossy and dark at the edges.
Honestly, I was never a baked bean person. The canned stuff always felt too sweet and soupy, like a sad side dish that nobody really wanted. But then I found myself at a Labor Day barbecue a few years back, and a friend’s aunt brought a cast iron skillet of these beans. They were thick, almost jammy, with ribbons of bacon woven through. I ate three helpings. I asked for the recipe, and she laughed and said, “There’s no recipe, honey. You just have to feel it.” That was the start of my obsession.
So I started feeling it. Batch after batch. This version—with smoky bacon, rich brown sugar, and a tangy kick—is what I landed on. It’s the kind of side dish that steals the show from the burgers and hot dogs every single time. (And I’m not mad about it.)
Why You’ll Love These Baked Beans
I’ve tested this recipe more times than I care to admit, and every time, it delivers. Here’s why this version is different from the rest:
- Perfect for a Crowd: This recipe scales beautifully. Whether you’re feeding six or sixty, it works. It’s the ultimate Labor Day side dish that everyone will ask for.
- Simple Ingredients: You probably already have most of these in your pantry. No fancy trips to specialty stores—just good, honest ingredients.
- Make-Ahead Friendly: These beans actually taste better the next day. The flavors meld and deepen overnight, making your holiday cooking stress-free.
- Rich, Complex Flavor: The combination of smoky bacon, sweet brown sugar, and tangy mustard creates layers of flavor that hit every note. It’s sweet, savory, and a little bit tangy.
- Thick, Not Soupy: This is the texture I was chasing. These beans are thick and glossy, clinging to each other without being a gloppy mess. They sit perfectly on a plate next to a burger or some grilled chicken.
- Unbelievably Satisfying: There’s something primal about a bowl of these beans. They’re comfort food at its finest, the kind of dish that makes you close your eyes after the first bite and forget about the chaos of the day.
I’ve made these for potlucks, game days, and quiet Sunday dinners. But they really shine at a Labor Day barbecue. They’re the anchor dish—the one people keep coming back to, spoon in hand, long after the burgers are gone.
What Ingredients You Will Need
This recipe uses humble ingredients that work together to create something far greater than the sum of their parts. Here’s what you need:
For the Beans
- 6 slices thick-cut bacon, chopped into 1-inch pieces (I prefer Wright Brand for its meaty texture and smoky flavor)
- 1 medium yellow onion, diced small (about 1 cup)
- 2 cloves garlic, minced
- 2 cans (28 ounces each) navy beans or great northern beans, drained and rinsed (I use Bush’s for consistent texture)
- 1/2 cup packed dark brown sugar (light works too, but dark gives deeper molasses notes)
- 1/4 cup maple syrup (the real stuff, not pancake syrup—it adds a subtle woodsy sweetness)
- 1/4 cup ketchup
- 2 tablespoons yellow mustard
- 1 tablespoon Worcestershire sauce
- 1 tablespoon apple cider vinegar
- 1/2 teaspoon smoked paprika
- 1/4 teaspoon cayenne pepper (optional, for a little heat)
- 1/2 teaspoon black pepper
- 1/2 teaspoon salt (plus more to taste)
The bacon is non-negotiable. It renders down and infuses the entire dish with smoky richness that you just can’t get from liquid smoke or bacon bits. The brown sugar and maple syrup create that thick, glossy consistency I mentioned earlier. And the mustard and vinegar cut through the sweetness, keeping the beans from being cloying.
If you can’t find navy beans, great northern or cannellini beans work perfectly. Just make sure to drain and rinse them well—you want to control the salt level yourself. I’ve tried this with homemade beans from dried, and while it’s lovely, it’s totally unnecessary for a Labor Day cookout. Canned beans save time and are consistently tender.
For a slightly different flavor profile, try swapping the maple syrup for honey or molasses. Molasses will give a darker, more robust flavor that’s fantastic in the fall. Just be warned—it makes the beans look almost black, which some people love and others find alarming.
Equipment Needed
You don’t need a lot of fancy gear for this recipe, which is part of its charm. Here’s what you’ll need:
- A large Dutch oven or heavy-bottomed pot (I use a 5.5-quart Le Creuset, but any oven-safe pot with a lid works)
- A sharp chef’s knife for chopping bacon and onions
- A cutting board
- Wooden spoon or silicone spatula for stirring
- Measuring cups and spoons
- Small bowl for mixing the sauce
- Oven mitts (the pot gets hot!)
If you don’t have a Dutch oven, you can use a large oven-safe skillet or even a 9×13 baking dish. Just cook the bacon and onions on the stovetop first, then transfer everything to the baking dish before baking. I’ve done it this way when my Dutch oven was already being used for another dish, and it worked beautifully.
A note on budget-friendly options: A heavy-bottomed stainless steel pot works just as well as a fancy enameled cast iron one. The key is even heat distribution, not the brand name. I’ve made these beans in a $20 pot from a discount store, and they came out just as good as the ones made in my expensive cookware.
Preparation Method
This is the part where the magic happens. Follow these steps, and you’ll have beans that people will talk about for years.
- Preheat your oven to 325°F (160°C). Position the rack in the middle of the oven.
- Cook the bacon. Place your Dutch oven over medium heat. Add the chopped bacon and cook, stirring occasionally, until the fat renders and the bacon is crispy, about 8-10 minutes. Use a slotted spoon to transfer the bacon to a paper towel-lined plate. Leave the rendered fat in the pot—that’s liquid gold.
- Sauté the aromatics. Add the diced onion to the bacon fat. Cook over medium heat, stirring frequently, until the onion is soft and translucent, about 5-6 minutes. Add the minced garlic and cook for another 30 seconds until fragrant. The kitchen should smell amazing at this point.
- Make the sauce. In a small bowl, whisk together the dark brown sugar, maple syrup, ketchup, yellow mustard, Worcestershire sauce, apple cider vinegar, smoked paprika, cayenne (if using), black pepper, and salt. Stir until the brown sugar is mostly dissolved.
- Combine everything. Add the drained beans to the pot with the onions. Pour the sauce over the beans and stir gently to combine. Add the cooked bacon back in, reserving a few pieces for topping if you want a crunchy garnish.
- Bake low and slow. Bring the mixture to a gentle simmer on the stovetop. Then cover the pot with the lid and transfer it to the preheated oven. Bake for 45 minutes.
- Uncover and thicken. After 45 minutes, remove the lid. Stir the beans gently, then return the pot to the oven, uncovered. Bake for another 30-45 minutes, until the sauce has thickened to your liking. The beans should be glossy and the sauce should coat the back of a spoon.
- Rest and serve. Remove the pot from the oven and let the beans rest for 10-15 minutes before serving. This allows the sauce to settle and thicken a bit more. Taste and adjust seasoning with salt and pepper if needed.
Here’s a tip I learned the hard way: don’t stir the beans too vigorously once they’re in the oven. You want them to stay whole, not turn into bean mush. Gentle folding is the way to go. Also, if the beans look too thick at the end, you can stir in a splash of water or chicken broth to loosen them up. But honestly, I’ve never had that problem—they always come out perfectly thick.
The total time from start to finish is about 1 hour and 45 minutes, but most of that is hands-off oven time. You can prep the bacon and onion the night before to save time on game day.
Cooking Tips & Techniques
I’ve made every mistake in the book with baked beans, so you don’t have to. Here are the lessons I learned the hard way:
Don’t skip the bacon fat. The first time I made this, I drained the bacon fat because I thought I was being healthy. Big mistake. The beans were flat and lifeless. That rendered fat is what gives the beans their rich, savory backbone. Embrace it.
Low and slow is non-negotiable. I once tried to rush these beans by baking at 375°F. The sauce reduced too quickly, and the beans were dry and the sugar was starting to burn. The gentle 325°F temperature allows the flavors to meld without scorching the sugar. Trust the process.
Watch the salt. Bacon, canned beans, and Worcestershire sauce all contain salt. I always start with less salt than I think I need and adjust at the end. You can always add more, but you can’t take it out.
Multitask like a pro. While the beans are baking, you can prep the rest of your barbecue spread. I like to make a batch of fresh cowboy caviar dip with avocado and black beans or a creamy balsamic vinaigrette salad dressing for a side salad. The beans are forgiving—they’ll be fine while you focus on other dishes.
Use the right beans. I’ve tried this with kidney beans and black beans, and it’s just not the same. Navy or great northern beans have the perfect creamy texture and mild flavor that absorbs the sauce without falling apart. Stick with them.
One more thing: if your beans seem too liquidy after the baking time, don’t panic. Let them sit for 15 minutes off the heat, and the sauce will continue to thicken. If they’re still thin, return them to the oven for another 10-15 minutes uncovered. Patience is your friend here.
Variations & Adaptations
These beans are incredibly adaptable. Here are some ways to make them your own:
Vegetarian Version: Omit the bacon and use 2 tablespoons of olive oil to sauté the onions. Add 1 teaspoon of liquid smoke and 1/2 teaspoon of smoked paprika to the sauce for that smoky flavor. I’ve made this for vegetarian friends, and they loved it. It’s not the same as the original, but it’s delicious in its own right.
Spicy Kick: If you like heat, add a diced jalapeño along with the onions. You can also increase the cayenne to 1/2 teaspoon or add a splash of your favorite hot sauce. My husband loves this version—he says it wakes up the beans.
Sweet and Tangy: For a more pronounced tang, increase the apple cider vinegar to 2 tablespoons and add 1 tablespoon of Dijon mustard along with the yellow mustard. This cuts through the sweetness beautifully and is perfect if you’re serving them with rich, fatty meats like brisket.
Slow Cooker Method: Cook the bacon and onions on the stovetop as directed, then transfer everything to a slow cooker. Cook on low for 4-5 hours or on high for 2-3 hours. Remove the lid for the last 30 minutes to let the sauce thicken. This is great for potlucks where you don’t have oven access.
Smoked Version: If you have a smoker, cook the beans at 250°F for 2-3 hours using hickory or applewood chips. The smoky flavor takes these beans to another level. I did this once for a Fourth of July party, and people lost their minds.
I once tried a version with crumbled chorizo instead of bacon for a Tex-Mex twist. It was incredible—spicy, savory, and completely different. Don’t be afraid to experiment. That’s half the fun.
Serving & Storage Suggestions
These beans are best served warm, straight from the pot. I like to set them out in the Dutch oven with a ladle so people can help themselves. They pair beautifully with grilled meats like burgers, hot dogs, or chicken.
For a full barbecue spread, I love serving these beans alongside a easy 5-ingredient grilled salmon bowl or a fresh no-cook high-protein cucumber salad for a lighter option. They also go great with cornbread, coleslaw, and potato salad.
Storage: Leftover beans keep well in an airtight container in the refrigerator for up to 5 days. The flavors actually deepen and get better over time, so don’t be surprised if you like them even more the next day.
Freezing: These beans freeze beautifully. Let them cool completely, then transfer to a freezer-safe container or zip-top bag. They’ll keep for up to 3 months. Thaw overnight in the refrigerator and reheat gently on the stovetop or in the microwave.
Reheating: To reheat, place the beans in a pot over medium-low heat, stirring occasionally. If they seem too thick, add a splash of water or chicken broth to loosen them up. You can also reheat them in the oven at 300°F for 20-30 minutes, covered.
One thing I love about these beans is that they’re actually better the next day. The sauce thickens and the flavors marry overnight. I often make them a day ahead of a party just for this reason. It takes the pressure off and makes the day of the event so much more relaxed.
Nutritional Information & Benefits
While these beans are definitely a treat, they do offer some nutritional benefits. Here’s a rough estimate per serving (about 1/2 cup):
| Nutrient | Amount |
|---|---|
| Calories | 245 |
| Total Fat | 8g |
| Saturated Fat | 3g |
| Cholesterol | 15mg |
| Sodium | 580mg |
| Total Carbohydrates | 36g |
| Dietary Fiber | 8g |
| Sugars | 18g |
| Protein | 10g |
Navy beans are an excellent source of dietary fiber, which supports digestive health and helps keep you feeling full. They’re also rich in folate, iron, and magnesium. The bacon and brown sugar add calories and sugar, but this is a once-in-a-while dish, not an everyday meal. I see it as a celebration food—something to enjoy with family and friends on a special day.
If you’re watching your sodium, you can use low-sodium bacon and no-salt-added canned beans. The flavor will still be great, just a little less salty. I’ve done this for friends with dietary restrictions, and it works well.
Conclusion
These Perfect Labor Day BBQ Baked Beans with Bacon and Brown Sugar are the side dish that everyone will remember. They’re thick, glossy, and packed with layers of sweet, smoky, and tangy flavor. They’re easy to make, forgiving to scale, and they actually get better with time—which is the ultimate party trick.
I’ve made these beans for countless gatherings, and they never fail to get compliments. People always ask for the recipe, and I always smile and say, “There’s no recipe, honey. You just have to feel it.” But now you have the recipe, so you can feel it too.
I’d love to hear how these turn out for you. Leave a comment below and let me know if you tried any variations or if they were a hit at your barbecue. And if you’re looking for more crowd-pleasing recipes, check out my savory sheet pan loaded nachos with pulled pork or my cozy brown sugar peach cobbler for dessert. Happy Labor Day, and happy cooking!
Frequently Asked Questions
Can I make these baked beans in a slow cooker?
Absolutely! Cook the bacon and onions on the stovetop first, then transfer everything to a slow cooker. Cook on low for 4-5 hours or on high for 2-3 hours. Remove the lid for the last 30 minutes to let the sauce thicken.
Can I use a different type of bean?
Yes, great northern beans or cannellini beans work perfectly. I don’t recommend kidney beans or black beans—they have a different texture and flavor that doesn’t work as well with the sweet and tangy sauce.
How do I make these beans less sweet?
Reduce the brown sugar to 1/3 cup and omit the maple syrup. You can also add an extra tablespoon of apple cider vinegar to balance the sweetness. Taste and adjust as you go.
Can I freeze these baked beans?
Yes! Let the beans cool completely, then transfer to a freezer-safe container. They’ll keep for up to 3 months. Thaw overnight in the refrigerator and reheat gently on the stovetop or in the microwave.
How do I thicken the beans if they’re too runny?
Let them sit off the heat for 15 minutes—the sauce will continue to thicken. If they’re still runny, return them to the oven uncovered for another 10-15 minutes. You can also mash a few beans against the side of the pot to release their starch and thicken the sauce naturally.
Pin This Recipe!
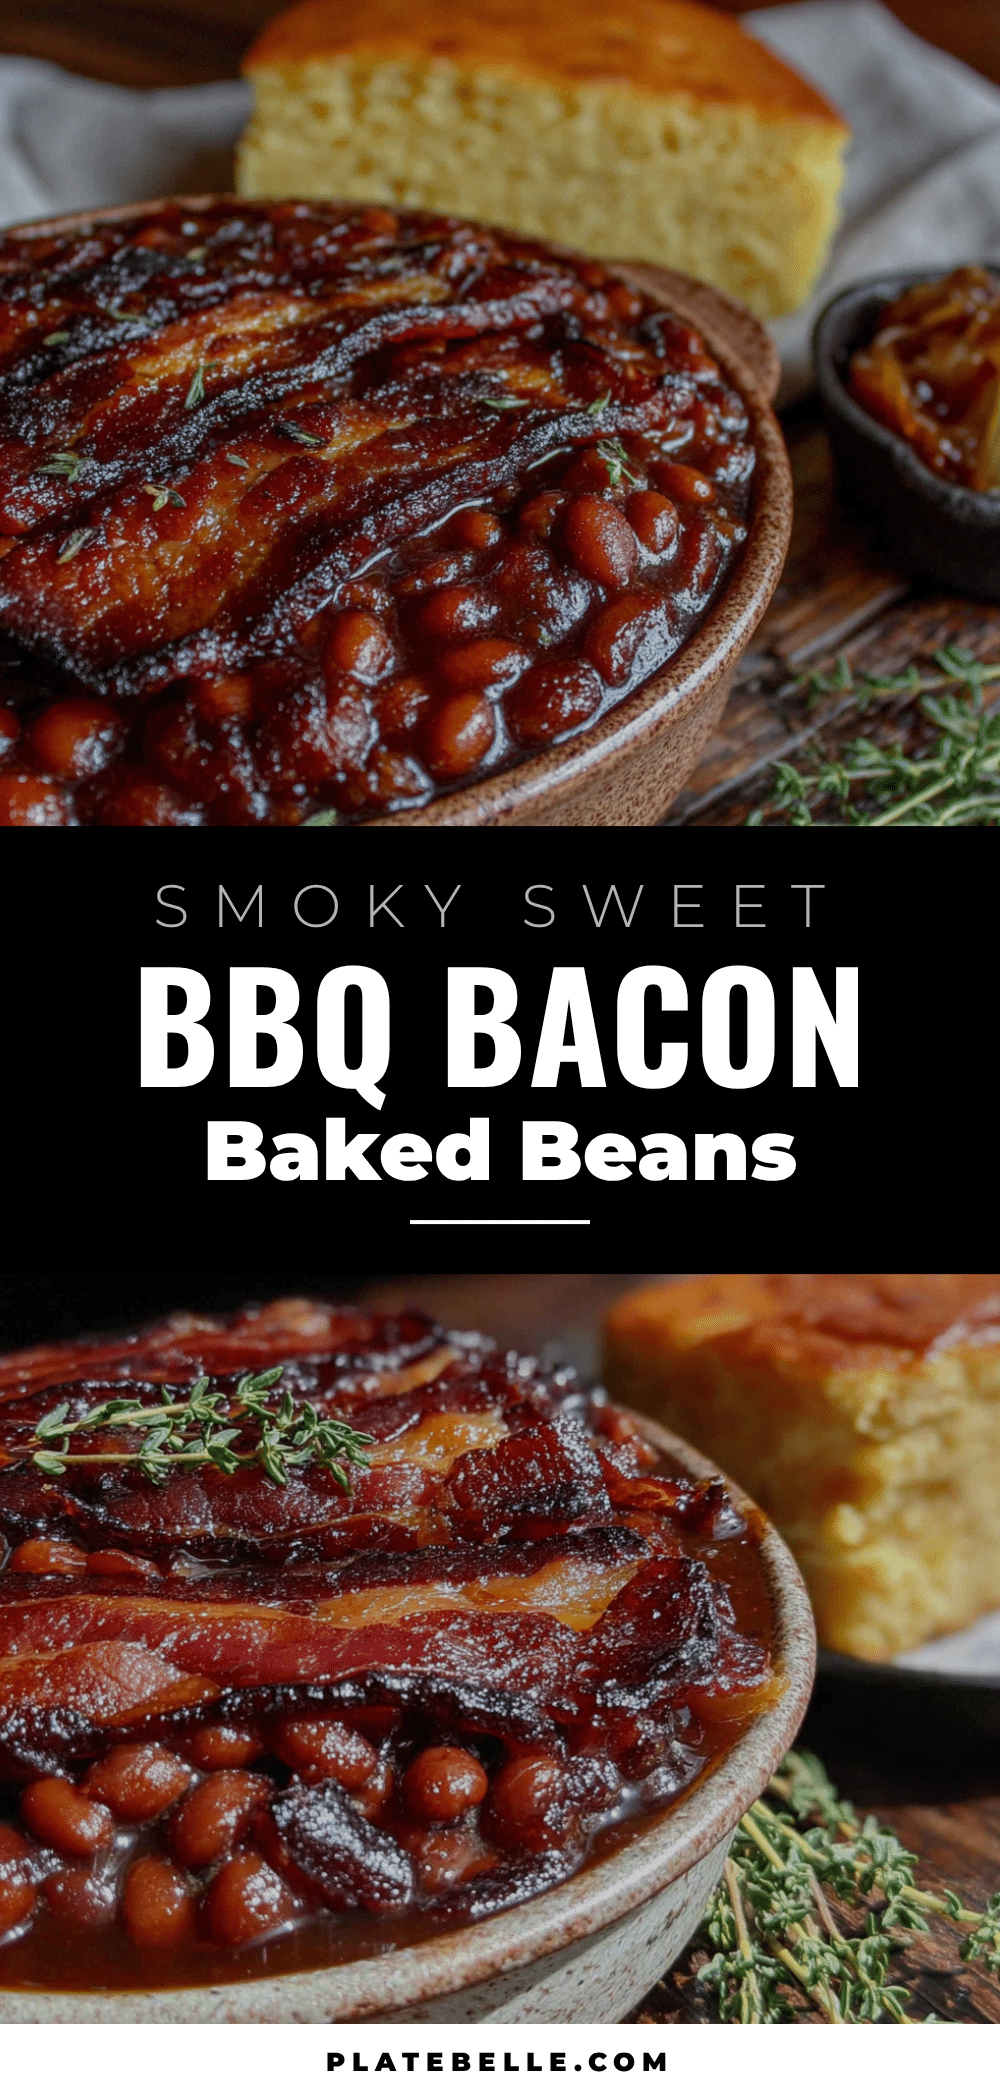
Perfect Labor Day BBQ Baked Beans with Bacon
Thick, glossy baked beans with smoky bacon, rich brown sugar, and a tangy kick. The ultimate side dish that steals the show at any barbecue.
- Prep Time: 15 minutes
- Cook Time: 1 hour 30 minutes
- Total Time: 1 hour 45 minutes
- Yield: 8 servings 1x
- Category: Side Dish
- Cuisine: American
Ingredients
- 6 slices thick-cut bacon, chopped into 1-inch pieces
- 1 medium yellow onion, diced small (about 1 cup)
- 2 cloves garlic, minced
- 2 cans (28 ounces each) navy beans or great northern beans, drained and rinsed
- 1/2 cup packed dark brown sugar
- 1/4 cup maple syrup
- 1/4 cup ketchup
- 2 tablespoons yellow mustard
- 1 tablespoon Worcestershire sauce
- 1 tablespoon apple cider vinegar
- 1/2 teaspoon smoked paprika
- 1/4 teaspoon cayenne pepper (optional)
- 1/2 teaspoon black pepper
- 1/2 teaspoon salt (plus more to taste)
Instructions
- Preheat your oven to 325°F (160°C). Position the rack in the middle of the oven.
- Cook the bacon. Place your Dutch oven over medium heat. Add the chopped bacon and cook, stirring occasionally, until the fat renders and the bacon is crispy, about 8-10 minutes. Use a slotted spoon to transfer the bacon to a paper towel-lined plate. Leave the rendered fat in the pot.
- Sauté the aromatics. Add the diced onion to the bacon fat. Cook over medium heat, stirring frequently, until the onion is soft and translucent, about 5-6 minutes. Add the minced garlic and cook for another 30 seconds until fragrant.
- Make the sauce. In a small bowl, whisk together the dark brown sugar, maple syrup, ketchup, yellow mustard, Worcestershire sauce, apple cider vinegar, smoked paprika, cayenne (if using), black pepper, and salt. Stir until the brown sugar is mostly dissolved.
- Combine everything. Add the drained beans to the pot with the onions. Pour the sauce over the beans and stir gently to combine. Add the cooked bacon back in, reserving a few pieces for topping if you want a crunchy garnish.
- Bake low and slow. Bring the mixture to a gentle simmer on the stovetop. Then cover the pot with the lid and transfer it to the preheated oven. Bake for 45 minutes.
- Uncover and thicken. After 45 minutes, remove the lid. Stir the beans gently, then return the pot to the oven, uncovered. Bake for another 30-45 minutes, until the sauce has thickened to your liking. The beans should be glossy and the sauce should coat the back of a spoon.
- Rest and serve. Remove the pot from the oven and let the beans rest for 10-15 minutes before serving. This allows the sauce to settle and thicken a bit more. Taste and adjust seasoning with salt and pepper if needed.
Notes
Don’t skip the bacon fat; it gives the beans their rich, savory backbone. Low and slow baking at 325°F is non-negotiable to avoid burning the sugar. Watch the salt as bacon, canned beans, and Worcestershire sauce all contain salt. Let the beans rest for 15 minutes off the heat to thicken naturally. These beans taste even better the next day.
Nutrition
- Serving Size: 1/2 cup
- Calories: 245
- Sugar: 18
- Sodium: 580
- Fat: 8
- Saturated Fat: 3
- Carbohydrates: 36
- Fiber: 8
- Protein: 10
Keywords: baked beans, bacon, brown sugar, Labor Day, barbecue, side dish, comfort food


