My husband did not trust no-churn ice cream. He said it sounded like a science experiment gone wrong, something that would freeze into a solid brick or melt into a puddle before you could even scoop it. I’ll be honest—I had my own doubts. I’d seen the recipes floating around online, the ones that promised creamy, scoopable results with just a can of sweetened condensed milk and some heavy cream. It felt too good to be true. So when a heatwave hit last July and our freezer was packed with popsicles that just weren’t cutting it, I decided to prove him—and myself—wrong.
I grabbed a carton of heavy cream, a can of sweetened condensed milk, and a bottle of good-quality salted caramel sauce I’d been hoarding. I whipped the cream until soft peaks formed, folded in the caramel, and poured the whole thing into a loaf pan. I didn’t even own an ice cream maker, which felt oddly liberating. I tucked it into the back of the freezer, expecting the worst, and went to bed. The next afternoon, I pulled it out, let it sit on the counter for a few minutes, and gingerly dipped a spoon in. The spoon slid through like it was cutting through soft butter. The texture was smooth, rich, and utterly luxurious—no ice crystals, no weird graininess.
I called him over. He took one bite, paused, and then took another. He didn’t say much, but he didn’t have to. He just walked back to the freezer and served himself a proper bowl. That was the moment I knew we had something special. This Easy No-Churn Salted Caramel Ice Cream isn’t just a shortcut; it’s genuinely the best homemade ice cream I’ve ever made. It’s the kind of thing that makes you wonder why you ever bothered with complicated custards and churning machines.
Why You’ll Love This Recipe
This isn’t just another ice cream recipe. It’s a game-changer for anyone who loves rich, creamy desserts but doesn’t want to deal with the fuss of an ice cream maker or tempering eggs. I’ve tested this method more times than I can count, and it consistently delivers a texture that rivals premium store-bought brands. Here’s why it works so well:
- No Machine Required: You don’t need an ice cream maker, a KitchenAid attachment, or any fancy gadget. Just a mixing bowl and a whisk (or a hand mixer, which makes it even easier).
- Simple Ingredients: This recipe uses just four main ingredients—heavy cream, sweetened condensed milk, salted caramel sauce, and flaky sea salt. You probably already have the first two in your pantry right now.
- Incredibly Creamy Texture: The combination of whipped heavy cream and sweetened condensed milk creates a base that freezes without forming large ice crystals. The result is a scoopable, velvety texture every single time.
- Perfect for Any Occasion: Whether you’re hosting a summer barbecue, need a last-minute dessert for a dinner party, or just want something indulgent on a Tuesday night, this ice cream fits the bill. It also makes a fantastic base for other desserts—try it on top of a warm slice of fresh peach cobbler with buttermilk biscuit topping for a truly unforgettable combination.
- Customizable: Once you master the basic technique, you can swap in different flavors. But honestly, this salted caramel version is so good that you’ll want to make it again and again.
This recipe is different because it uses a two-step caramel swirl technique. Instead of just mixing everything together, we layer the caramel into the whipped cream base, creating ribbons of rich, buttery caramel that run through every bite. The salt cuts through the sweetness perfectly, making it feel balanced rather than cloying. It’s the kind of dessert that makes you slow down and savor each spoonful.
What Ingredients You Will Need
This recipe relies on a handful of high-quality ingredients to deliver maximum flavor with minimal effort. Each one plays a specific role in creating that perfect creamy texture and balanced sweet-salty taste.
- Heavy Cream (2 cups / 480 ml): This is the backbone of your ice cream. Look for heavy cream with at least 36% milk fat for the best results. The high fat content is what gives the ice cream its rich, velvety texture and helps prevent ice crystals from forming. I recommend using a brand like Organic Valley or Horizon for consistent quality. Make sure it’s very cold before you whip it—cold cream whips up faster and holds its shape better.
- Sweetened Condensed Milk (14 oz / 397 g, one can): This is your sweetener and your stabilizer all in one. The high sugar content lowers the freezing point of the ice cream, which is what keeps it soft and scoopable straight from the freezer. Don’t confuse it with evaporated milk, which is unsweetened and won’t work the same way. I’ve tried a few brands, and I always go back to Eagle Brand for its consistently thick, creamy texture.
- Salted Caramel Sauce (¾ cup / 180 ml, plus extra for swirling): You can use store-bought or homemade, but I find that a good-quality store-bought version works wonderfully and saves time. Look for one that lists cream and butter as the first ingredients, not corn syrup. If you’re feeling ambitious, making your own is simple—just melt sugar, add butter and cream, and stir in salt. I’ve used both, and honestly, a jar of Stonewall Kitchen or Trader Joe’s salted caramel sauce works like a charm. You’ll need a total of about 1 cup (240 ml) for the entire recipe.
- Flaky Sea Salt (1 teaspoon, plus more for garnish): This is non-negotiable. The flaky salt adds a crunchy texture and a burst of salty flavor that balances the sweetness of the caramel. I love Maldon sea salt flakes for this. Regular table salt is too fine and will dissolve, so stick with flaky salt for the best results.
- Vanilla Extract (1 teaspoon, optional but recommended): A splash of vanilla rounds out the flavors and adds depth. It’s not strictly necessary, but it makes the caramel taste even richer. Use pure vanilla extract, not imitation, for the best flavor.
Equipment Needed
You don’t need a lot of fancy equipment for this recipe, which is part of its charm. Here’s what you’ll need:
- Large Mixing Bowl: A stainless steel or glass bowl works best. Make sure it’s clean and completely dry—any trace of grease can prevent your cream from whipping properly.
- Hand Mixer or Stand Mixer: While you can whip the cream by hand with a whisk, it will take a while and your arm will get tired. A hand mixer makes the job quick and easy. If you’re using a stand mixer, use the whisk attachment.
- Loaf Pan (9×5 inch / 23×13 cm): This is the perfect size for a single batch of no-churn ice cream. If you don’t have a loaf pan, you can use an 8×8 inch square pan or even a metal mixing bowl. The key is to have a container that allows the ice cream to freeze evenly.
- Rubber Spatula: A good spatula is essential for folding the caramel into the cream without deflating it.
- Plastic Wrap or Parchment Paper: You’ll need this to cover the surface of the ice cream directly before freezing. This prevents ice crystals from forming on top.
- Measuring Cups and Spoons: For accuracy. I’ve learned the hard way that eyeballing ingredients in no-churn ice cream can lead to inconsistent results.
If you don’t have a hand mixer, you can absolutely whip the cream by hand with a whisk. It will take about 5 to 7 minutes of vigorous whisking, but it’s a great arm workout! Just make sure the cream is very cold and your bowl is chilled.
Preparation Method
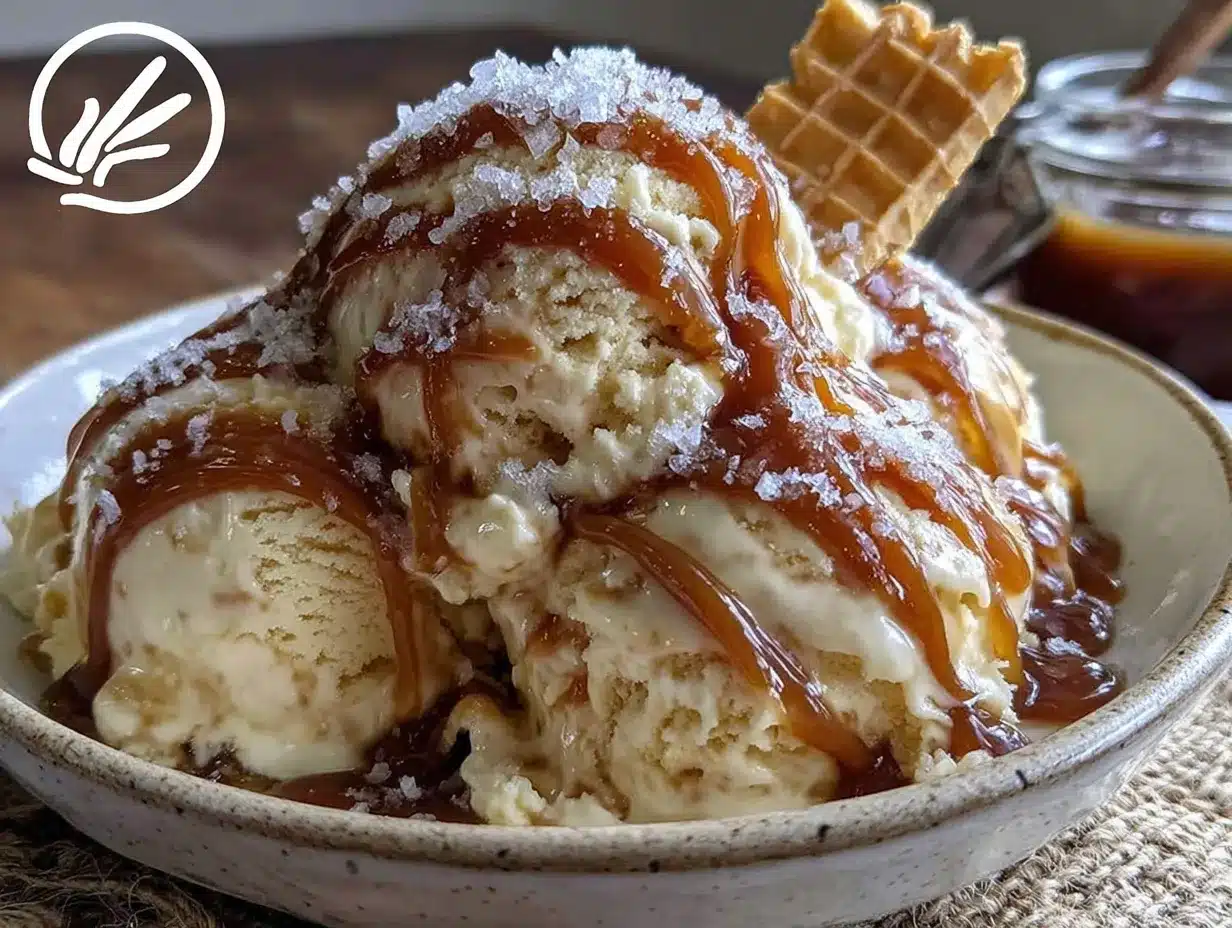
This is where the magic happens. Follow these steps carefully, and you’ll have a perfect batch of ice cream every time.
- Chill Your Bowl and Cream: Place your large mixing bowl and the beaters from your hand mixer in the freezer for 10 to 15 minutes. This helps the cream whip up faster and hold its shape better. While you’re at it, make sure your heavy cream is very cold straight from the fridge.
- Whip the Cream: Pour the 2 cups of heavy cream into the chilled bowl. Using your hand mixer on medium-low speed, start whipping the cream. After about 1 minute, increase the speed to medium-high. Whip until soft peaks form—this means the cream will hold a gentle curl when you lift the beaters, but the peaks will flop over slightly. This should take about 3 to 4 minutes. Be careful not to overwhip; if the cream turns into butter, you’ll have to start over. I may or may not have learned this the hard way.
- Fold in the Sweetened Condensed Milk: Pour the entire can of sweetened condensed milk into the whipped cream. Add the 1 teaspoon of vanilla extract if using. Using your rubber spatula, gently fold the mixture together. Start from the bottom of the bowl and bring the mixture up and over itself. Turn the bowl as you go. Fold just until no white streaks remain. The mixture should look thick, creamy, and uniform.
- Prepare the Caramel Swirl: In a small bowl, warm your ¾ cup of salted caramel sauce in the microwave for 10 to 15 seconds until it’s loose and pourable. Don’t let it get hot—just warm enough to drizzle easily. Set aside 2 to 3 tablespoons of the caramel sauce for the final swirl on top.
- Layer the Ice Cream Base: Spoon about one-third of the cream mixture into your loaf pan and spread it into an even layer. Drizzle about one-third of the warm caramel sauce over the top. Use a butter knife or a skewer to gently swirl the caramel into the cream. Don’t overmix—you want distinct ribbons of caramel, not a uniform color. Repeat this process with the remaining cream and caramel, creating two more layers. You should have three layers of cream and three layers of caramel swirls.
- Top with the Final Swirl and Salt: Drizzle the reserved 2 to 3 tablespoons of caramel sauce over the top of the ice cream. Sprinkle the 1 teaspoon of flaky sea salt evenly over the surface. The salt will sink slightly as it freezes, creating little bursts of salty flavor in every bite.
- Cover and Freeze: Press a piece of plastic wrap directly onto the surface of the ice cream. This is crucial—it prevents air from reaching the surface and forming ice crystals. Alternatively, you can press a piece of parchment paper against the surface. Place the loaf pan in the freezer and freeze for at least 6 hours, but preferably overnight. The ice cream needs time to set up completely.
- The Patience Test: I know it’s hard to wait, but resist the urge to peek for at least 4 hours. Opening the freezer door repeatedly can cause temperature fluctuations that affect the texture. Trust the process. When it’s ready, the ice cream should be firm but still scoopable.
A quick note: If your ice cream freezes too hard (which can happen if your freezer runs very cold), simply let it sit at room temperature for 5 to 10 minutes before scooping. This softens it just enough to make scooping easy.
Cooking Tips & Techniques
I’ve made this recipe more times than I can count, and I’ve picked up a few tricks along the way. Here are my best tips for success:
- Don’t Overwhip the Cream: This is the number one mistake I see. Soft peaks are perfect—the cream should be billowy and hold a gentle shape. If you whip to stiff peaks, the ice cream can become slightly grainy. If you go too far and the cream starts to look curdled, you’ve made butter. Start over with fresh cream. It’s heartbreaking, but it’s better than ruining the whole batch.
- Warm the Caramel Slightly: Cold caramel sauce is thick and difficult to swirl. Warming it for just 10 to 15 seconds makes it pourable and creates those beautiful, distinct ribbons throughout the ice cream. Just don’t make it hot, or it will melt the cream base.
- Use a Cold Loaf Pan: If you have room in your freezer, pop the empty loaf pan in there for 10 minutes before you start layering. This helps the mixture firm up faster as you build the layers, preventing the caramel from sinking to the bottom.
- Press the Plastic Wrap Directly onto the Surface: This is non-negotiable for a smooth, ice-crystal-free top. Air is the enemy of creamy ice cream. If you don’t have plastic wrap, you can use a piece of parchment paper cut to fit the pan and press it down gently.
- Let It Sit Before Scooping: No-churn ice cream freezes a bit harder than churned ice cream because it has a slightly higher water content. Letting it sit on the counter for 5 to 10 minutes before scooping makes a huge difference. It will be perfectly scoopable and creamy.
- Use Flaky Salt, Not Table Salt: This is a small detail that makes a big difference. Table salt dissolves into the ice cream and you lose that satisfying crunch. Flaky salt stays intact and delivers a burst of salty flavor with every bite.
I once forgot to press the plastic wrap onto the surface, and the top layer developed a thin crust of ice crystals. It was still delicious, but the texture was noticeably less creamy. Now I never skip that step. It’s one of those little things that separates good ice cream from great ice cream.
Variations & Adaptations
Once you’ve mastered the basic recipe, the possibilities are endless. Here are a few of my favorite variations:
- Chocolate Salted Caramel: Add ¼ cup of unsweetened cocoa powder to the sweetened condensed milk before folding it into the cream. Whisk it until smooth, then proceed with the recipe. The chocolate and caramel combination is absolutely divine.
- Espresso Salted Caramel: Dissolve 2 teaspoons of instant espresso powder in 1 tablespoon of warm water. Fold this into the cream mixture along with the sweetened condensed milk. The coffee flavor enhances the caramel and adds a grown-up twist. This version is incredible served alongside a slice of fudgy chocolate zucchini bundt cake.
- Nutty Salted Caramel: Toast ½ cup of chopped pecans or walnuts in a dry skillet over medium heat for 3 to 4 minutes until fragrant. Let them cool completely, then fold them into the ice cream base during the last layer. The crunch adds a lovely textural contrast.
- Dairy-Free Version: Substitute the heavy cream with two cans of full-fat coconut cream (chilled overnight) and use a dairy-free sweetened condensed milk (like Nature’s Charm). The texture will be slightly different—a bit icier—but still delicious. I’ve tested this, and it works best when you eat it within a week.
- Less Sweet Version: If you prefer a less sweet ice cream, use ¾ cup of sweetened condensed milk instead of the full can. The texture will be slightly harder, but it’s still very scoopable. You can also use a sugar-free caramel sauce, but make sure it’s made with real cream and butter for the best flavor.
My personal favorite variation is the espresso version. I love the way the bitterness of the coffee cuts through the sweetness of the caramel. It’s my go-to when I need a little pick-me-up in dessert form.
Serving & Storage Suggestions
This ice cream is best served straight from the freezer, after a brief 5-minute rest on the counter. Scoop it into chilled bowls or cones for the most satisfying experience.
- Serving Temperature: Let the ice cream sit at room temperature for 5 to 10 minutes before scooping. This softens it just enough to make scooping easy without melting it. If you’re serving it on a hot day, you might only need 3 to 4 minutes.
- Presentation Ideas: Serve in a waffle cone or a glass bowl. Drizzle a little extra caramel sauce on top and sprinkle with a pinch of flaky sea salt. A dollop of whipped cream is never a bad idea. For a truly decadent dessert, serve a scoop on top of a warm brownie or a slice of fresh peach cobbler.
- Complementary Dishes: This ice cream pairs beautifully with warm desserts. Try it alongside a slice of brown sugar banana zucchini bread for a sweet and salty combination. It’s also fantastic with a simple chocolate chip cookie or a piece of apple pie.
- Storage: Store the ice cream in the loaf pan, covered tightly with plastic wrap pressed directly onto the surface, then a layer of aluminum foil. It will keep well for up to 2 weeks in the freezer. After that, it may start to develop ice crystals and lose some of its creamy texture.
- Freezing for Longer: If you want to keep it longer, transfer the fully frozen ice cream to an airtight, freezer-safe container. Press a piece of parchment paper onto the surface before sealing the lid. It will keep for up to 1 month, though the texture will be slightly less creamy.
- Reheating Note: You don’t reheat ice cream, but if you find it too hard, simply let it sit at room temperature for 10 to 15 minutes. Don’t microwave it—that will melt the caramel and ruin the texture.
The flavors actually deepen after a day or two in the freezer. The salt and caramel meld together beautifully, and the texture becomes even more homogeneous. So don’t be afraid to make it a day ahead—it might be even better.
Nutritional Information & Benefits
Let’s be honest: this is a treat. But that doesn’t mean you can’t enjoy it mindfully. Here’s a rough estimate of the nutritional values per serving (based on 8 servings):
- Calories: Approximately 420 per serving
- Fat: 28g
- Carbohydrates: 38g
- Protein: 4g
- Sugar: 34g
- Sodium: 320mg
While this isn’t a health food, there are a few bright spots. The heavy cream provides a good amount of fat-soluble vitamins like A and D, and the calcium content is decent. The caramel, when made with real butter and cream, offers a small amount of vitamin A and calcium as well. The flaky sea salt provides trace minerals, though you’re not eating enough to make a significant difference.
If you’re watching your sugar intake, you can reduce the amount of sweetened condensed milk or use a sugar-free caramel sauce. For a lower-fat option, you can use half-and-half instead of heavy cream, but the texture will be noticeably less creamy. This is a dessert meant to be enjoyed in moderation, not a daily indulgence. And honestly, sometimes you just need a little bit of indulgence.
Conclusion
This Easy No-Churn Salted Caramel Ice Cream is proof that you don’t need fancy equipment or complicated techniques to make something truly special. It’s creamy, rich, perfectly balanced between sweet and salty, and it comes together in about 15 minutes of active work. The hardest part is waiting for it to freeze.
I love this recipe because it feels like a little secret. When you serve it to friends and family, they’ll never believe you made it without an ice cream maker. It’s the kind of dessert that makes you look like a rock star in the kitchen with almost zero effort. And honestly, isn’t that what we all want?
I encourage you to make this your own. Play with the variations, adjust the salt level to your taste, and serve it with your favorite warm desserts. If you try it, I’d love to hear how it turned out. Leave a comment below and let me know what you think—did you try the espresso version? Did you serve it with something unexpected? Your feedback helps other readers, and it makes my day to hear about your kitchen victories. Happy scooping!
Frequently Asked Questions
Can I use half-and-half instead of heavy cream?
You can, but the texture will be noticeably less creamy and more icy. The high fat content in heavy cream is what gives no-churn ice cream its smooth, velvety texture. If you use half-and-half, you may end up with a more icy, less scoopable result. Stick with heavy cream for the best results.
Why did my ice cream turn out icy?
Icy ice cream is usually caused by one of two things: either you didn’t press the plastic wrap directly onto the surface before freezing (which allows air to create ice crystals), or you let the ice cream sit in the freezer for more than 2 weeks. It could also mean you didn’t whip the cream enough—soft peaks are essential for trapping air and creating a creamy texture.
Can I use homemade caramel sauce?
Absolutely! Homemade caramel sauce works beautifully in this recipe. Just make sure it’s cooled to room temperature before you swirl it into the cream. If it’s too warm, it will melt the whipped cream and deflate the mixture. I’ve used both homemade and store-bought, and both work great.
How long does this ice cream last in the freezer?
Properly stored (with plastic wrap pressed onto the surface and the pan covered with foil), this ice cream will stay creamy and delicious for up to 2 weeks. After that, it may start to develop ice crystals and lose some of its smooth texture. It’s still safe to eat, but it won’t be as good.
Can I double this recipe?
Yes! Simply double all the ingredients and use a 9×13 inch baking dish instead of a loaf pan. The freezing time will be slightly longer—about 8 to 10 hours—because the mixture is thicker. Just make sure you have enough room in your freezer for a larger pan.
Pin This Recipe!
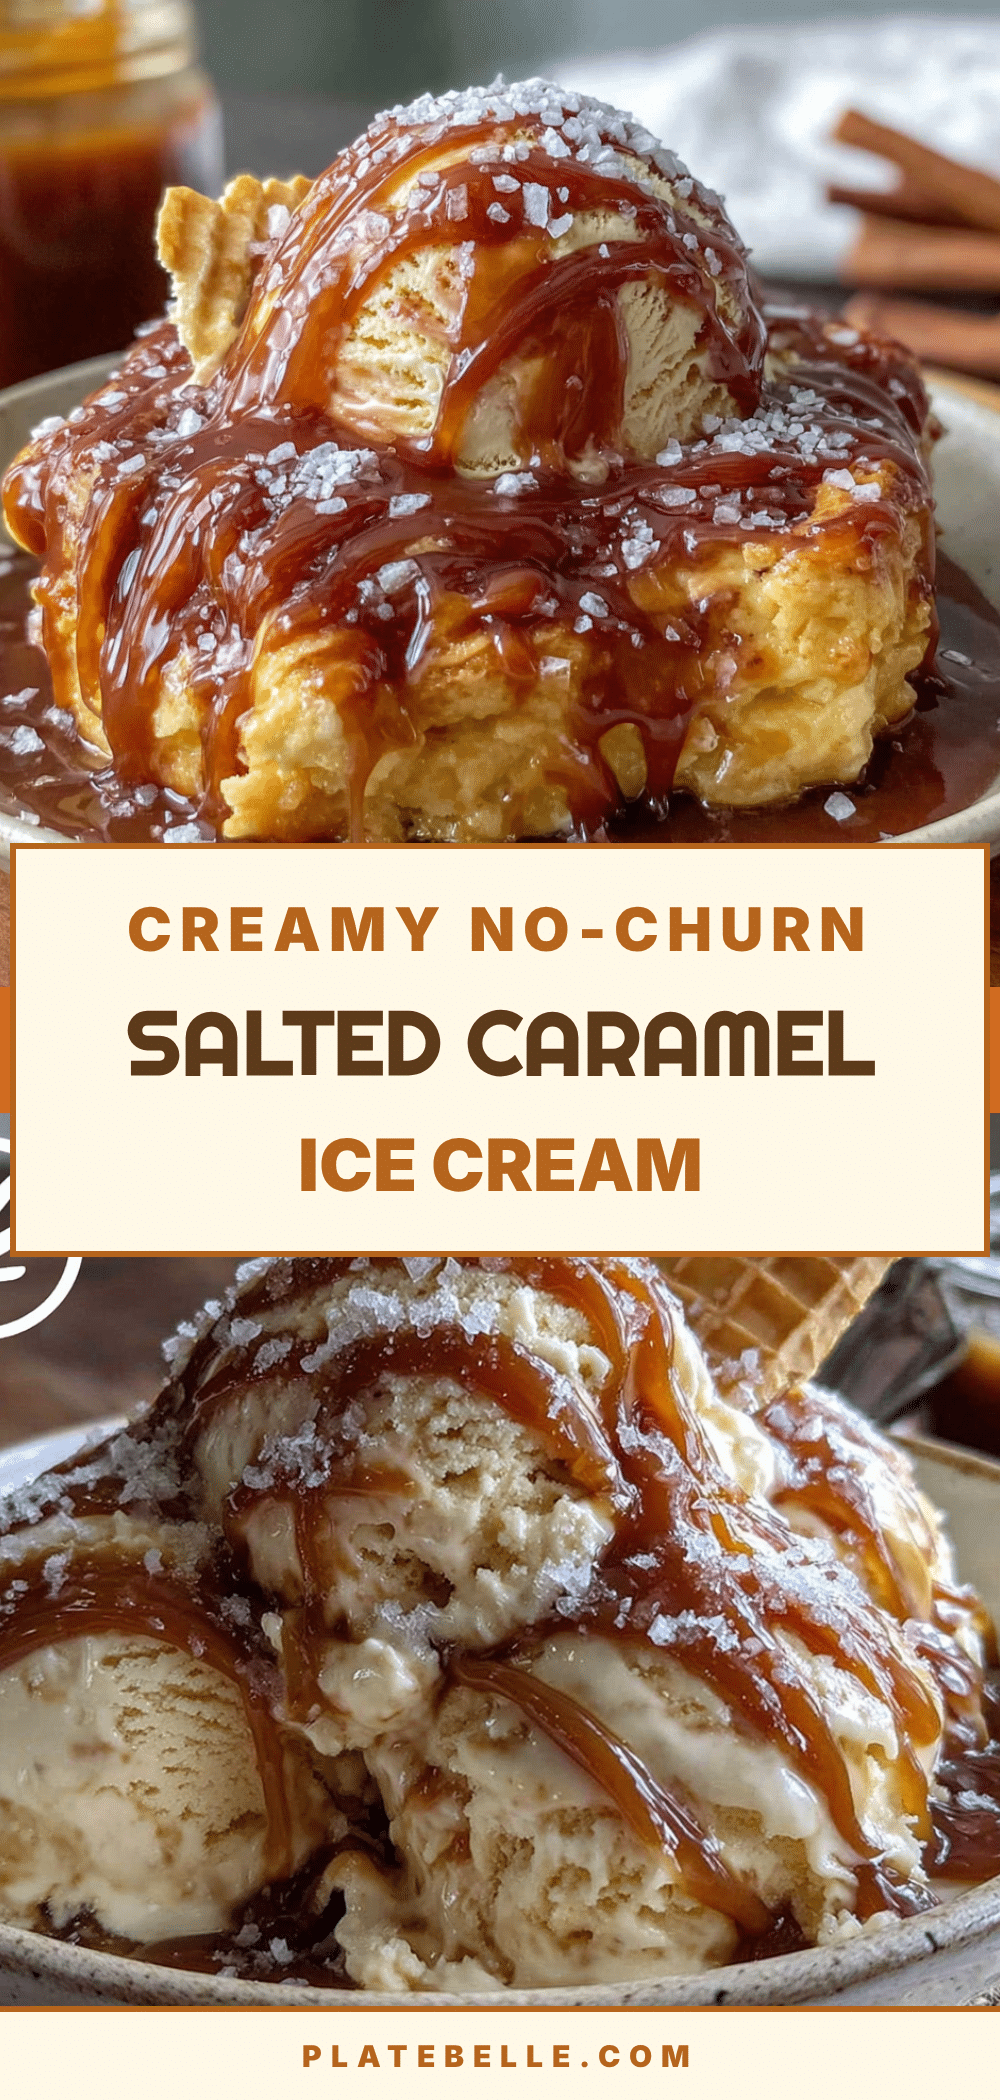
Easy No-Churn Salted Caramel Ice Cream

This no-churn salted caramel ice cream is incredibly creamy and rich, made without an ice cream maker. It’s a simple, foolproof dessert that delivers premium results with just a few ingredients.
- Prep Time: 15 minutes
- Cook Time: 0 minutes
- Total Time: 6 hours 15 minutes (includes freezing)
- Yield: 8 servings 1x
- Category: Dessert
- Cuisine: American
Ingredients
- 2 cups (480 ml) heavy cream
- 14 oz (397 g) sweetened condensed milk (one can)
- ¾ cup (180 ml) salted caramel sauce, plus extra for swirling
- 1 teaspoon flaky sea salt, plus more for garnish
- 1 teaspoon vanilla extract (optional)
Instructions
- Chill your large mixing bowl and hand mixer beaters in the freezer for 10 to 15 minutes. Ensure heavy cream is very cold.
- Pour the heavy cream into the chilled bowl. Whip with a hand mixer on medium-low speed for 1 minute, then increase to medium-high. Whip until soft peaks form, about 3 to 4 minutes. Do not overwhip.
- Pour the sweetened condensed milk and vanilla extract (if using) into the whipped cream. Gently fold with a rubber spatula until no white streaks remain. The mixture should be thick and creamy.
- Warm ¾ cup of salted caramel sauce in the microwave for 10 to 15 seconds until loose and pourable. Set aside 2 to 3 tablespoons for the final swirl.
- Spoon one-third of the cream mixture into a 9×5-inch loaf pan and spread evenly. Drizzle one-third of the warm caramel sauce over the top. Gently swirl with a butter knife or skewer. Repeat with remaining cream and caramel to create three layers.
- Drizzle the reserved 2 to 3 tablespoons of caramel sauce over the top. Sprinkle 1 teaspoon of flaky sea salt evenly over the surface.
- Press a piece of plastic wrap directly onto the surface of the ice cream to prevent ice crystals. Freeze for at least 6 hours, preferably overnight.
- Before serving, let the ice cream sit at room temperature for 5 to 10 minutes to soften slightly for easy scooping.
Notes
For best results, use heavy cream with at least 36% milk fat. Do not overwhip the cream; soft peaks are ideal. Warm the caramel slightly for easier swirling. Press plastic wrap directly onto the surface to prevent ice crystals. Let ice cream sit at room temperature for 5-10 minutes before scooping. Store covered for up to 2 weeks.
Nutrition
- Serving Size: 1 serving (about ½ c
- Calories: 420
- Sugar: 34
- Sodium: 320
- Fat: 28
- Saturated Fat: 17
- Carbohydrates: 38
- Protein: 4
Keywords: no-churn ice cream, salted caramel ice cream, easy ice cream, homemade ice cream, no machine ice cream


