Shaking the jar when I realized the store-bought pickles were all gone was the last straw—half an hour before the weekend barbecue, and no tangy crunch in sight. The fridge was practically begging for a quick fix, and honestly, I couldn’t face another trip to the store. That’s when this recipe for quick tangy garlic dill refrigerator pickles came to life in my chaotic kitchen. The scent of fresh dill and garlic filled the air as I hurriedly sliced cucumbers, feeling that odd mix of desperation and excitement. It wasn’t about fuss or fancy—just something easy, fast, and satisfying enough to rescue the party.
These pickles aren’t your typical slow-fermented jars that take weeks to develop flavor. Nope, they’re a no-fuss, fridge-friendly snack that hits all the right notes: sharp, garlicky, and bright with a hint of dill. The tanginess wakes up your palate, the garlic gives it a punch, and the crunch? Oh, that satisfying crunch that makes you want to keep snacking (and maybe hide a jar for yourself). I’ve made these pickles countless times, whether scrambling to throw together a last-minute appetizer or just craving something fresh and zesty during the week. Somehow, they always steal the show.
What’s funny is how this recipe stuck around—originally just a quick solution, it’s now a staple in my kitchen. It’s that kind of snack that feels like a small victory when life’s a bit hectic. And honestly, the best part is knowing exactly what’s inside, no mystery preservatives or weird additives. If you’ve ever had a moment like mine, juggling too many things and needing a quick homemade snack that actually tastes amazing, this recipe will feel like a friend who shows up right when you need it.
Why You’ll Love This Recipe
Honestly, quick tangy garlic dill refrigerator pickles have become my go-to not just because they’re fast, but because they’re downright delicious and reliable. After trying tons of pickle recipes over the years, this one nails the balance between flavor and ease, which is a rare treat if you ask me. Here’s why I keep coming back to it:
- Quick & Easy: Ready to eat in as little as 24 hours, and you don’t have to boil or wait weeks for that perfect tang.
- Simple Ingredients: Uses everyday pantry staples and fresh cucumbers—you probably already have everything on hand.
- Perfect for Any Occasion: Whether it’s a casual snack, a side for your slow cooker jackfruit barbacoa tacos, or an addition to your picnic basket, these pickles fit right in.
- Crowd-Pleaser: Kids, adults, picky eaters—you name it, everyone seems to love the crunch and zing.
- Unbelievably Delicious: The combination of garlic and dill with that perfect tang hits a level of comfort that’s hard to beat.
What really sets this recipe apart is the way it combines speed with an authentic, fresh flavor. Instead of drowning the cucumbers in heavy vinegar or too much sugar, it uses just the right mix, so the dill and garlic shine through naturally. Plus, I learned early on that using fresh garlic cloves crushed just before adding them makes a huge difference. It’s not just another pickle recipe—it’s the quick tangy garlic dill refrigerator pickles recipe that feels homemade and honest.
What Ingredients You Will Need
This recipe uses simple, wholesome ingredients to deliver bold flavor and satisfying crunch without any fuss. Most of these are pantry staples, and fresh cucumbers are easy to swap out depending on the season or what you have on hand.
- Cucumbers: About 4-5 medium Kirby or pickling cucumbers, sliced into spears or rounds (Kirby cucumbers hold up best for pickling).
- Fresh Dill: 3-4 sprigs of fresh dill (you can use dill seeds if fresh isn’t available, but fresh dill really amps the flavor).
- Garlic Cloves: 3-4 large cloves, peeled and crushed (fresh garlic is a must for that punchy flavor).
- White Vinegar: 1 cup (240 ml) – the backbone for tanginess, unseasoned and clear.
- Water: 1 cup (240 ml) – balances out the vinegar to keep it crisp, not overwhelming.
- Salt: 1 tablespoon kosher salt (avoid iodized salt as it can cloud the brine).
- Sugar: 1 teaspoon granulated sugar (just a touch to round out the acidity).
- Black Peppercorns: 1 teaspoon whole peppercorns (adds subtle warmth).
- Red Pepper Flakes (Optional): 1/4 teaspoon for a slight kick if you like it spicy.
If you want to customize, you can swap white vinegar with apple cider vinegar for a milder tang or use sea salt instead of kosher. I tend to stick with kosher salt from Diamond Crystal—it dissolves well and keeps the brine clear, which matters when you’re making quick pickles.
Equipment Needed
- Glass Jar: A clean quart-sized (1 liter) mason jar or any glass container with a tight-fitting lid works best. Avoid metal lids that might react with the vinegar.
- Sharp Knife: For slicing the cucumbers into spears or rounds (a serrated knife can help with delicate slicing).
- Measuring Cups and Spoons: To get your brine just right — precise salt and vinegar amounts are key.
- Small Mixing Bowl: For combining vinegar, water, salt, and sugar before pouring over the cucumbers.
If you don’t have a mason jar, a food-grade plastic container with a lid can work in a pinch, though glass is always my preference for flavor and ease of cleaning. I’ve also found that a funnel helps when pouring the brine, but it’s not essential — just be careful not to spill that tangy goodness!
Preparation Method
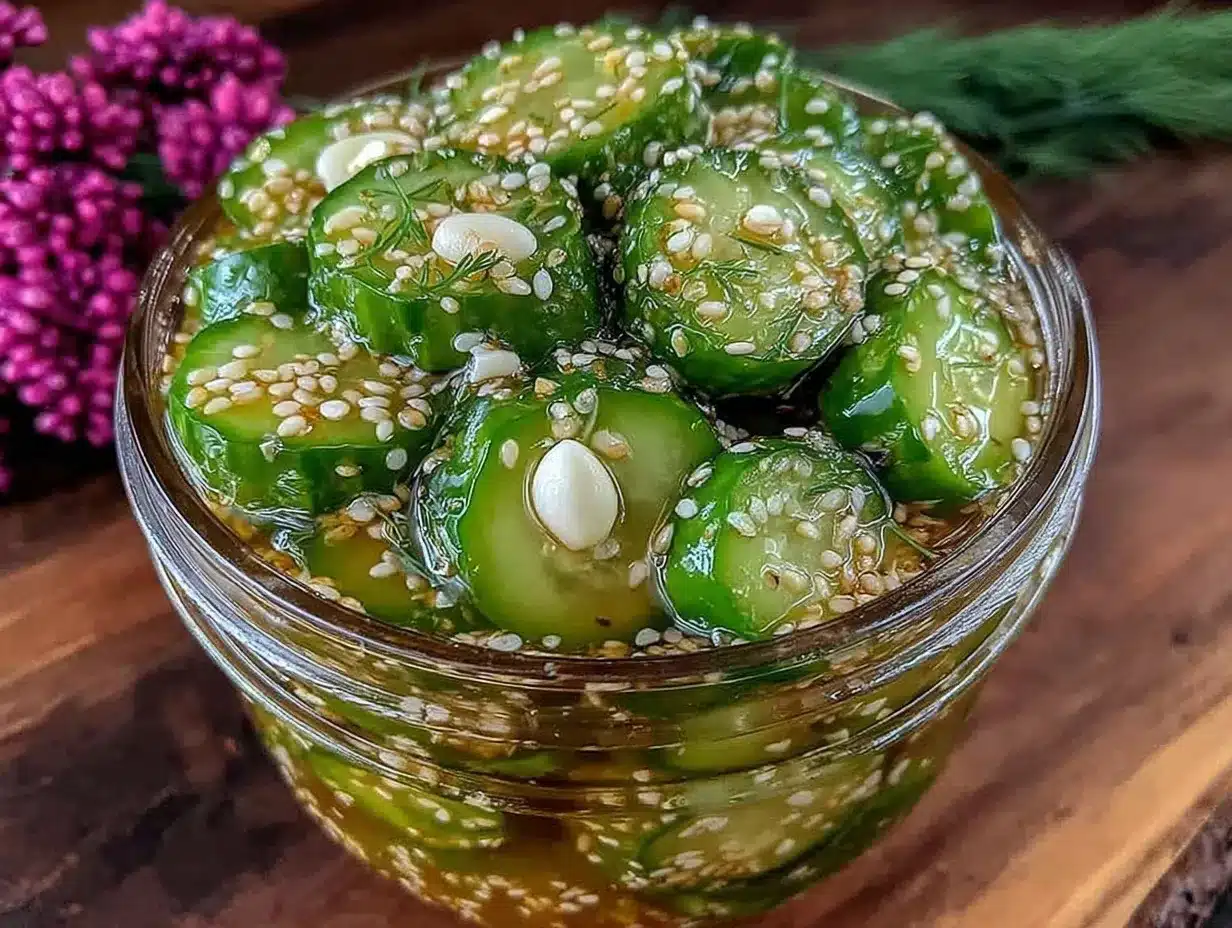
- Wash and Slice the Cucumbers: Thoroughly rinse 4-5 medium Kirby cucumbers under cold water. Cut off the ends (the blossom end can cause bitterness) and slice them into spears about 3-4 inches long or into 1/4-inch thick rounds, depending on your preference. This step takes roughly 5 minutes.
- Prepare the Brine: In a small bowl, combine 1 cup (240 ml) white vinegar, 1 cup (240 ml) water, 1 tablespoon kosher salt, and 1 teaspoon granulated sugar. Stir well until salt and sugar dissolve completely, about 2 minutes. A well-balanced brine is the heart of these pickles, so don’t rush it.
- Fill the Jar: Place 3-4 sprigs of fresh dill, 3-4 crushed garlic cloves, 1 teaspoon whole black peppercorns, and optional 1/4 teaspoon red pepper flakes into your clean quart-sized jar. Then pack the cucumber slices tightly but without crushing them — this preserves crunch. This should take about 3-4 minutes.
- Pour the Brine: Carefully pour the brine over the cucumbers, making sure everything is submerged. Leave about 1/2 inch of headspace at the top of the jar. If cucumbers float, add a clean weight (like a small glass or a pickling stone) to keep them under the brine. This step takes 2 minutes.
- Seal and Refrigerate: Screw on the lid tightly and give the jar a gentle shake to distribute ingredients. Place in the refrigerator and let it chill for at least 24 hours before tasting. The flavors develop more fully after 48 hours, but they’re snack-worthy after just one day.
- Taste and Serve: After the initial 24 hours, taste your pickles. If you want them tangier or more garlicky, leave them a bit longer. For me, 2-3 days in the fridge is just right, and they keep for up to 2 weeks. Don’t forget to use a clean utensil each time to avoid contamination.
Quick tip: If the cucumbers soften too much, it usually means they were sliced too thin or left too long in the brine. For the crunchiest pickles, slice thicker and enjoy sooner rather than later. And if you find the flavor too sharp, a splash of water can mellow it out when serving.
Cooking Tips & Techniques
Making quick tangy garlic dill refrigerator pickles feels like a breeze once you get the hang of a few tricks I’ve picked up along the way. First, always use fresh, firm cucumbers. I once tried it with supermarket cucumbers labeled “pickling,” but they were too soft and watery, resulting in limp pickles. Trust me, the crunch is everything.
Another thing: crushing the garlic just before adding it to the jar releases more oils and flavor, so don’t skip that. If you leave it whole or chop it too early, the sharpness fades and you lose that punch. And here’s a little secret — if you want a milder garlic flavor, slice the cloves instead of crushing.
Don’t underestimate the importance of salt type. Kosher salt dissolves evenly and keeps the brine clear, while table salt can cloud it and add an off taste. Also, stirring the brine until the salt and sugar dissolve fully is essential. I’ve had batches turn out less tasty when I dumped everything in cold and skipped stirring.
Timing-wise, these pickles are forgiving but don’t wait too long. After about 10 days, they start losing their crispness and can become mushy. I keep an eye on the jar and often make fresh batches weekly if I’m snacking a lot.
And finally, multitasking tip: while your quick pickles are chilling, prep a fresh batch of avocado and edamame hummus with zaatar flatbread or whip up a refreshing cucumber basil gin fizz to make your snack time feel like a mini feast.
Variations & Adaptations
One of the best things about quick tangy garlic dill refrigerator pickles is how easy they are to tweak. Over time, I’ve experimented with a few variations to suit different moods and dietary needs.
- Spicy Pickles: Add more red pepper flakes or a sliced jalapeño for a fiery kick. This version pairs amazingly with rich dishes to cut through the fat.
- Low-Sodium: Cut the salt in half and add a few drops of liquid smoke or smoked paprika for complexity without the extra salt.
- Herb Variations: Swap fresh dill for fresh tarragon or fresh thyme for a unique twist. Tarragon adds a subtle anise flavor that’s surprisingly good with garlic.
- Vinegar Swap: Use apple cider vinegar for a fruitier flavor or white wine vinegar for something lighter.
- Quick Sweet Pickles: Double the sugar to 2 tablespoons and add a cinnamon stick for a sweet-and-spicy profile.
Personally, I once tried these pickles with a mix of cucumbers and carrots for added crunch and sweetness — it was a hit at a potluck! Feel free to experiment with what you have; the basic brine formula is forgiving and adaptable.
Serving & Storage Suggestions
These quick tangy garlic dill refrigerator pickles are best served chilled straight from the fridge, giving you that refreshing snap and zing. They make a fantastic side for sandwiches, burgers, or even alongside the miso-glazed salmon with roasted fennel and orange for a bright contrast.
For storage, keep the pickles sealed in their brine inside the fridge for up to two weeks. I recommend using a clean fork or tongs to avoid introducing bacteria to the jar. The flavor actually improves after a day or two and mellows slightly after about a week, so if you like sharper pickles, eat them early; if you prefer mellow, wait a couple of days.
Reheating isn’t necessary since they’re a cold snack, but if you want to add them to cooked dishes, try tossing chopped pickles into potato salad or grain bowls for a tangy surprise. They also make a killer topping for tacos or burgers, adding crunch and acidity that cuts through richness beautifully.
Nutritional Information & Benefits
These quick tangy garlic dill refrigerator pickles are low in calories—about 10-15 calories per serving—and naturally gluten-free, vegan, and low-carb. The cucumbers provide hydration and a small dose of vitamins K and C. Garlic brings antioxidant properties and may support immunity, while dill adds trace minerals and a fresh aroma that stimulates appetite.
Because there’s no canning or preservatives involved, you’re getting a fresh, clean snack without added chemicals. Just watch the sodium content if you’re on a low-salt diet. You can always reduce salt slightly or rinse the pickles before eating to lower sodium intake.
From a wellness perspective, these pickles are a great way to add flavor and crunch to meals without heavy sauces or dressings. They encourage veggie consumption and offer a satisfying snack that won’t derail clean-eating goals.
Conclusion
Quick tangy garlic dill refrigerator pickles are a lifesaver when you want that homemade crunch and zing without the wait or fuss. They’re straightforward, flexible, and reliably tasty—perfect for busy days, last-minute gatherings, or whenever you crave something bright and fresh. I love how they bring a little spark to my meals, whether it’s a simple sandwich or a spread that includes dishes like the wholesome chickpea and sweet potato buddha bowl.
Don’t hesitate to tweak the garlic, dill, or spice levels to make these pickles your own. It’s a recipe that feels personal every time I make it, and that’s why it’s stuck around in my kitchen. Give it a try, and I’d love to hear how you customize it—drop a comment or share your adaptations!
Frequently Asked Questions
How long do refrigerator pickles last?
They’re best eaten within 2 weeks when kept sealed in the fridge. After that, they may lose crunch and flavor.
Can I use regular cucumbers instead of Kirby cucumbers?
Yes, but Kirby cucumbers are preferred because they stay firmer. Regular cucumbers can become soggy faster.
Do I need to boil the brine?
Nope! For quick refrigerator pickles, just mixing the vinegar, water, salt, and sugar until dissolved is enough.
Can I make these pickles without garlic?
You can skip the garlic, but it’s a key flavor here. Try adding extra dill or a splash of mustard seeds for different taste.
How can I make these pickles spicy?
Add red pepper flakes or a sliced jalapeño to the jar before pouring the brine for a nice heat kick.
Pin This Recipe!
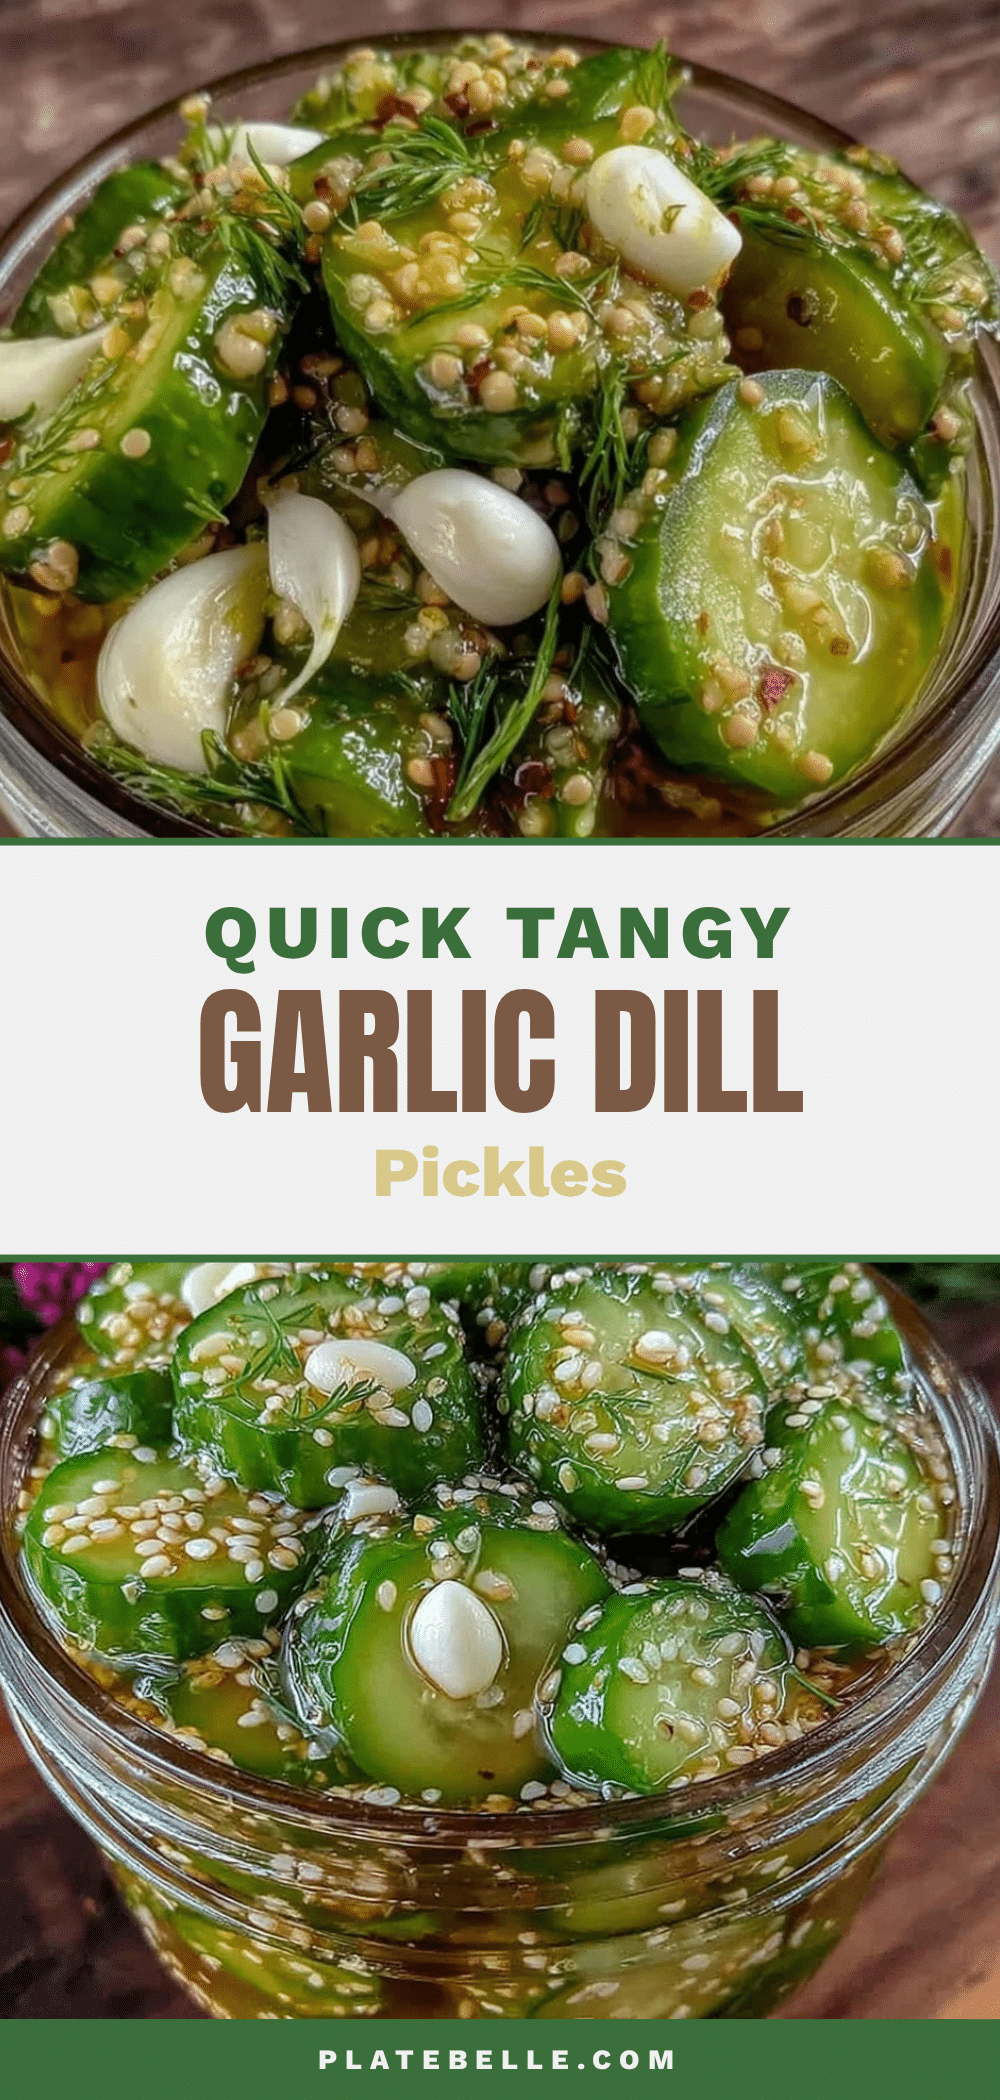
Quick Tangy Garlic Dill Refrigerator Pickles
A fast and easy recipe for homemade refrigerator pickles with a sharp, garlicky, and bright dill flavor. Ready to eat in as little as 24 hours, these pickles offer a satisfying crunch and tangy zing perfect for snacks or sides.
- Prep Time: 10 minutes
- Cook Time: 0 minutes
- Total Time: 24 hours (including refrigeration time)
- Yield: 4 servings 1x
- Category: Snack
- Cuisine: American
Ingredients
- 4–5 medium Kirby or pickling cucumbers, sliced into spears or rounds
- 3–4 sprigs fresh dill
- 3–4 large garlic cloves, peeled and crushed
- 1 cup (240 ml) white vinegar
- 1 cup (240 ml) water
- 1 tablespoon kosher salt
- 1 teaspoon granulated sugar
- 1 teaspoon whole black peppercorns
- 1/4 teaspoon red pepper flakes (optional)
Instructions
- Wash and slice the cucumbers into 3-4 inch spears or 1/4-inch thick rounds, removing the ends.
- In a small bowl, combine white vinegar, water, kosher salt, and sugar. Stir until salt and sugar dissolve completely.
- Place fresh dill sprigs, crushed garlic cloves, black peppercorns, and optional red pepper flakes into a clean quart-sized glass jar.
- Pack the cucumber slices tightly into the jar without crushing them.
- Pour the brine over the cucumbers, ensuring they are fully submerged with about 1/2 inch headspace.
- Seal the jar tightly and shake gently to distribute ingredients.
- Refrigerate for at least 24 hours before tasting; flavors develop more fully after 48 hours.
- Use a clean utensil to serve and keep refrigerated for up to 2 weeks.
Notes
Use fresh, firm Kirby cucumbers for best crunch. Crush garlic just before adding for maximum flavor. Kosher salt keeps the brine clear. Pickles are best eaten within 2 weeks. Adjust spice level by adding more red pepper flakes or jalapeño. For milder garlic flavor, slice cloves instead of crushing.
Nutrition
- Serving Size: About 1/2 cup pickle
- Calories: 15
- Sugar: 1
- Sodium: 800
- Carbohydrates: 3
- Fiber: 1
Keywords: quick pickles, refrigerator pickles, garlic dill pickles, easy pickles, homemade pickles, tangy pickles, crunchy pickles


