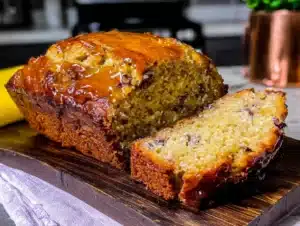
It was 10:47 PM on a random Wednesday, and I needed banana bread right then. Not the kind of need where you think, “Oh, that would be nice tomorrow.” I mean the kind where you’re already in your pajamas, the kids are finally asleep, and your brain has decided that the only thing standing between you and a good night’s rest is a slice of something warm and sweet. The problem? I didn’t have softened butter. I didn’t have a mixer. I didn’t even have the energy to pull out more than one bowl. But I had three spotty bananas on the counter, a half-empty bag of sugar, and this wild idea that maybe, just maybe, I could throw it all together in a single bowl and it would still work. Honestly, I was ready to accept failure. I mean, I was tired. But that first bite—still warm from the pan, slightly uneven on top because I’d been too lazy to smooth the batter—told me I’d accidentally stumbled onto something special.
Let me back up. I’m not a midnight baker by nature. I’m a “set a timer, follow the recipe, don’t mess with the formula” kind of cook during daylight hours. But there’s something about the late night that loosens the usual rules. Maybe it’s the quiet. Maybe it’s the freedom of knowing no one is watching you lick the spatula. That Wednesday, I grabbed the biggest mixing bowl I owned—the one with the chip on the rim from when my son tried to “help” wash dishes—and I just started dumping things in. Mashed bananas first. Then an egg, some oil because I was out of butter, sugar, flour, a pinch of salt. I stirred it with a wooden spoon that’s older than my marriage. I poured it into a loaf pan I forgot to grease properly. And when it came out of the oven, lopsided and smelling like pure comfort, I knew I’d never go back to the fussy, multi-bowl method.
Maybe you’ve been there. You know that feeling when a recipe just clicks, not because it’s fancy, but because it’s forgiving? This banana bread is exactly that. It doesn’t care if your bananas are practically black. It doesn’t mind if you use vegetable oil instead of butter. It certainly doesn’t require you to dirty every dish in your kitchen. And the best part? It’s the kind of bread that makes kids close their eyes when they take a bite. My neighbor, Mrs. Chen, who has raised four kids and knows a thing or two about feeding a family, tried a slice the next morning and asked for the recipe before she finished chewing. That’s when I knew this wasn’t just a late-night experiment. This was a keeper.
Why You’ll Love This Recipe
I have tested this easy one-bowl banana bread more times than I care to admit. I’ve made it with overripe bananas that were practically liquid. I’ve made it with frozen bananas I forgot to thaw. I’ve even made it when I was out of eggs (applesauce works, by the way). Every single time, it delivers that soft, moist crumb with a perfectly golden crust that makes banana bread so beloved. Here is why I think this will become your go-to recipe too.
- Truly One Bowl : No sifting. No separate mixing of wet and dry ingredients. You mash, you stir, you pour. The bowl you use for mixing is the same one you wash afterward. That’s it.
- Budget-Friendly Ingredients : This recipe uses basics you likely already have—flour, sugar, oil, eggs, and those sad bananas sitting on your counter. No fancy extracts, no specialty flours, no trips to a gourmet store.
- Kid-Approved Texture : It’s not too dense, not too cakey. It’s just right. My kids call it “the good bread” and ask for it in their lunchboxes. Picky eaters who usually turn up their noses at anything with fruit gobble this up.
- Forgiving and Flexible : You can swap the oil for melted butter, use whole wheat flour for half the white flour, or add chocolate chips without changing the base recipe. It’s hard to mess this up.
- Perfect for Using Up Spots : We all have those bananas. You know the ones—brown, soft, too ugly for a lunchbox but perfect for baking. This recipe was made for them.
What makes this different from every other banana bread recipe out there? It’s the method. By mixing everything in one bowl, you actually get a more tender crumb because you’re not overworking the gluten. I learned that from a pastry chef friend who told me that less mixing equals more tenderness. She was right. This isn’t just another version of banana bread—it’s the easiest, most forgiving, and most consistently delicious one I’ve ever made. And honestly, after the first time you make it, you’ll probably memorize it. It’s that simple.
What Ingredients You Will Need
This easy one-bowl banana bread uses simple, wholesome ingredients to deliver that classic, moist texture without any fuss. Everything here is a pantry staple or a common household item, which is exactly what you want when a banana bread craving hits unexpectedly.
For the Banana Bread Batter
- 3 large ripe bananas, mashed (about 1 ½ cups or 340g) — The riper the better. Look for bananas with plenty of brown spots. They’re sweeter and easier to mash. If your bananas are still yellow, you can speed up ripening by baking them at 300°F for 15 minutes.
- ⅓ cup (80ml) vegetable oil — I use canola or avocado oil for a neutral flavor. You can substitute melted coconut oil or melted butter if you prefer. Butter will give a slightly richer flavor but the texture remains just as moist.
- ½ cup (100g) granulated sugar — Regular white sugar works perfectly. For a deeper flavor, you can use light brown sugar or coconut sugar. Brown sugar adds a slight molasses note that pairs beautifully with banana.
- 1 large egg, room temperature — Room temperature egg blends more evenly into the batter. If you forgot to take it out of the fridge, place it in a bowl of warm water for 5 minutes.
- 1 teaspoon vanilla extract — Pure vanilla extract gives the best flavor, but imitation vanilla works fine too. I personally love using Mexican vanilla for its slightly floral note.
- 1 ½ cups (190g) all-purpose flour — Spoon and level your flour for accuracy. Scooping directly from the bag can pack in too much flour and make the bread dry. You can substitute up to half with whole wheat flour for a heartier texture.
- 1 teaspoon baking soda — This is the only leavening agent you need. Make sure it’s fresh by testing a spoonful in vinegar—it should fizz vigorously.
- ½ teaspoon salt — Fine sea salt or table salt works. Salt balances the sweetness and enhances the banana flavor.
- ½ teaspoon ground cinnamon (optional) — I almost always add this. It complements the banana beautifully and makes the kitchen smell incredible.
Optional Add-Ins
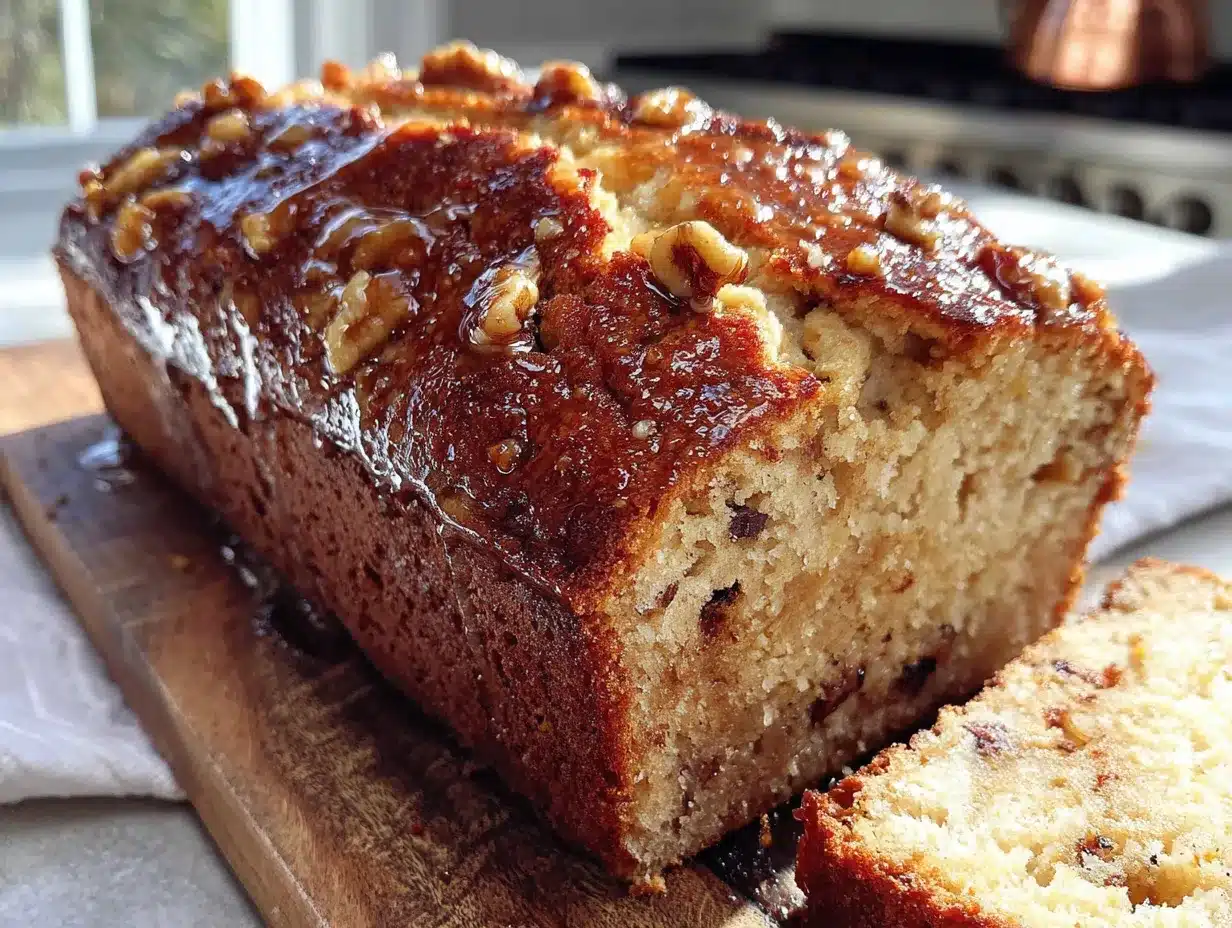
- ½ cup (90g) chocolate chips — Semi-sweet or dark chocolate chips are my go-to. Milk chocolate makes it sweeter, which kids love.
- ½ cup (60g) chopped walnuts or pecans — Toast them lightly in a dry pan for extra crunch and flavor before folding into the batter.
- ¼ cup (40g) raisins or dried cranberries — Adds chewy pockets of sweetness. Soak them in warm water for 10 minutes first to keep them plump.
For the best results, I recommend using Gold Medal or King Arthur all-purpose flour—they have consistent protein content that works well in quick breads. And for chocolate chips, Guittard or Ghirardelli hold their shape better during baking. But honestly, store brands work just fine. This recipe is forgiving, remember?
Equipment Needed
One of the best things about this easy one-bowl banana bread is how little equipment it requires. You don’t need a stand mixer, a hand mixer, or any fancy gadgets. Here’s what you’ll actually need.
- One large mixing bowl — Any bowl works, but a 2-3 quart bowl gives you enough room to mash and stir without making a mess. I use a ceramic bowl that belonged to my grandmother, but a glass or stainless steel bowl works just as well.
- A wooden spoon or silicone spatula — For mashing the bananas and mixing the batter. A potato masher also works great for the bananas if you have one.
- A 9×5 inch loaf pan — Standard size. If you only have an 8×4 inch pan, increase the baking time by 5-10 minutes. If you use a larger pan, check for doneness earlier.
- Parchment paper or non-stick spray — I prefer parchment paper because it makes lifting the bread out effortless. Just leave an overhang on two sides.
- Cooling rack — Essential for even cooling. If you don’t have one, you can use the grates from your oven, just make sure they’re clean.
- Measuring cups and spoons — For accuracy. I keep a set of dry measuring cups for flour and sugar and a liquid measuring cup for oil.
- A fork or small whisk — For beating the egg before adding it to the batter. This ensures even distribution.
If you don’t have a loaf pan, you can bake this batter in a 9-inch square pan for about 25-30 minutes, or even in a muffin tin for banana bread muffins (bake for 18-20 minutes). I’ve done both, and they work beautifully. The muffins are especially great for lunchboxes.
Preparation Method
This is where the magic happens. Follow these steps, and you’ll have the best easy one-bowl banana bread of your life. I’ve included all the little details I wish someone had told me the first time I made banana bread.
- Preheat your oven to 350°F (175°C). Place the rack in the center position. While the oven heats, prepare your loaf pan by lining it with parchment paper or greasing it thoroughly with butter or non-stick spray. I like to leave a 2-inch overhang of parchment on the long sides—it makes lifting the bread out so much easier.
- Mash the bananas in your large mixing bowl. Peel the bananas and add them to the bowl. Use a fork or potato masher to mash them until smooth with only a few small lumps remaining. You want some texture, but not chunks. This should take about 1 minute. If your bananas are very ripe, they’ll mash almost instantly.
- Add the wet ingredients. Pour in the vegetable oil, then crack the egg directly into the bowl. Add the vanilla extract. Stir everything together with your wooden spoon or spatula until well combined. The mixture will look slightly separated at first, but keep stirring—it will come together into a smooth, glossy mixture. This takes about 30 seconds of gentle mixing.
- Add the sugar. Pour in the granulated sugar and stir until fully incorporated. You shouldn’t feel any grittiness when you rub a bit of the mixture between your fingers. The sugar helps tenderize the crumb, so don’t skip this step.
- Add the dry ingredients. Sprinkle the flour, baking soda, salt, and cinnamon (if using) over the wet mixture. Do not dump them all in one pile—scatter them evenly so they incorporate more easily. Stir gently, using a folding motion, until just combined. A few streaks of flour are okay. Overmixing at this stage will make your bread tough. Stop as soon as you don’t see any more dry flour.
- Fold in any add-ins. If you’re using chocolate chips, nuts, or dried fruit, add them now. Use 3-4 gentle folds to distribute them evenly. The batter will be thick and slightly lumpy—that’s perfect.
- Pour the batter into the prepared loaf pan. Use your spatula to scrape every last bit from the bowl. Gently spread the batter into an even layer. Tap the pan on the counter 2-3 times to release any air bubbles. If you want a prettier top, you can sprinkle a few extra chocolate chips or a tablespoon of turbinado sugar on top before baking.
- Bake for 50-60 minutes. Place the pan in the preheated oven and bake until a toothpick inserted into the center comes out clean or with just a few moist crumbs. The top should be deeply golden brown and cracked. Start checking at 50 minutes. Every oven runs differently—mine takes exactly 55 minutes. If the top is browning too quickly after 40 minutes, tent loosely with aluminum foil.
- Cool in the pan for 10 minutes. Place the loaf pan on a cooling rack. Let it sit for exactly 10 minutes. This allows the bread to set and makes it easier to remove without crumbling.
- Transfer to the cooling rack to cool completely. Use the parchment overhang to lift the bread out of the pan. Place it directly on the cooling rack. Let it cool for at least 30 minutes before slicing. I know it’s tempting to cut into it right away, but warm banana bread is fragile and will crumble. Patience pays off here.
One thing I learned the hard way: don’t open the oven door during the first 30 minutes of baking. The cold air can cause the bread to sink in the middle. Trust the process and let it do its thing.
Cooking Tips & Techniques
After making this easy one-bowl banana bread more times than I can count, I’ve collected a few tricks that make a real difference. Some I learned from failures, others from happy accidents.
Room temperature ingredients matter. I know, I know—it’s one more thing to remember. But cold eggs and cold bananas don’t emulsify as well, which can lead to a denser bread. If you’re in a rush, place the egg in a cup of warm water for 5 minutes and microwave the peeled bananas for 10 seconds to take the chill off.
Don’t overmix the batter. This is the most common mistake I see. Once you add the flour, mix only until the streaks disappear. Overmixing develops gluten, and too much gluten makes banana bread tough and rubbery. You want tender, not tough. A few lumps are your friend.
Check your baking soda. Baking soda loses its potency over time. If your bread doesn’t rise well, stale baking soda is usually the culprit. To test it, drop a teaspoon into a small bowl of vinegar. If it bubbles vigorously, it’s good. If it barely fizzes, buy a new box.
Use the toothpick test correctly. Insert the toothpick into the center of the bread, not near the edges. If it comes out with wet batter, bake for 5 more minutes and test again. If it comes out with a few moist crumbs, it’s done. The internal temperature should be around 200-205°F if you want to use a thermometer.
Let it cool properly. I once cut into a loaf after only 15 minutes because I couldn’t wait. The middle was still slightly gummy and the slices fell apart. Give it at least 30 minutes on the cooling rack. The bread continues to set as it cools, and the texture improves dramatically.
Double the recipe for meal prep. This bread freezes beautifully. I often make two loaves at once—one for now, one for later. Wrap the cooled loaf tightly in plastic wrap, then aluminum foil, and freeze for up to 3 months. Thaw overnight in the fridge or on the counter for a few hours.
Variations & Adaptations
This easy one-bowl banana bread is incredibly versatile. I’ve tried many variations over the years, and these are my favorites. Feel free to experiment—the base recipe is forgiving enough to handle almost any twist.
Chocolate Chip Banana Bread. Fold in ½ cup of semi-sweet chocolate chips along with the flour. For an extra indulgent version, swirl in 2 tablespoons of chocolate hazelnut spread before baking. My kids beg for this version every time we have ripe bananas.
Whole Wheat Banana Bread. Substitute half the all-purpose flour with whole wheat flour. The bread will be slightly denser and nuttier in flavor. Add an extra tablespoon of milk or water if the batter seems too thick. This is my go-to when I want to sneak in a bit more fiber.
Vegan Banana Bread. Replace the egg with a flax egg (1 tablespoon ground flaxseed mixed with 3 tablespoons water, left to sit for 5 minutes) and use melted coconut oil instead of vegetable oil. The texture is slightly more tender but just as delicious. I’ve served this to non-vegans and they didn’t notice the difference.
Gluten-Free Banana Bread. Use a 1:1 gluten-free baking flour blend that contains xanthan gum. Cup4Cup and Bob’s Red Mill both work well. Do not overmix, as gluten-free batters can become gummy if overworked. Bake for an extra 5-10 minutes since gluten-free flours absorb moisture differently.
Add Some Spice. Swap the cinnamon for pumpkin pie spice or chai spice blend. Add ¼ teaspoon of nutmeg and ⅛ teaspoon of cloves for a warming fall version. This is perfect for holiday mornings or when you want something that tastes like autumn in a slice.
Banana Nut Bread. Toast ½ cup of chopped walnuts or pecans in a dry skillet over medium heat for 3-4 minutes until fragrant. Fold them into the batter. The toasting step is important—raw nuts can taste bitter, but toasted nuts add incredible depth.
I once made a version with shredded coconut and lime zest because I had leftover coconut from a curry night. It was weirdly amazing. Don’t be afraid to try something unconventional—sometimes the best discoveries come from using what you have.
Serving & Storage Suggestions
This easy one-bowl banana bread is wonderful served warm or at room temperature. Here’s how I like to enjoy it and how to keep it fresh for days.
Serving Suggestions. For breakfast, a thick slice with a pat of salted butter and a cup of coffee is pure heaven. For dessert, warm it slightly and top with a scoop of vanilla ice cream and a drizzle of caramel sauce. For a snack, I spread a thin layer of cream cheese on a slice—the tanginess balances the sweetness perfectly. My kids like theirs plain, straight from the counter, often while standing over the kitchen sink.
Storage. Store leftover banana bread wrapped tightly in plastic wrap or in an airtight container at room temperature for up to 4 days. Do not refrigerate—the cold air dries out the bread and makes it stale faster. If your kitchen is very warm, you can store it in a cool, dark place like a pantry.
Freezing. This bread freezes exceptionally well. For whole loaves, cool completely, wrap in plastic wrap, then a layer of aluminum foil, and freeze for up to 3 months. For individual slices, wrap each slice in plastic wrap and place them in a freezer bag. This way, you can pull out one slice at a time. To thaw, leave at room temperature for about 30 minutes or microwave a slice for 15-20 seconds.
Reheating. For that fresh-from-the-oven taste, reheat slices in a 300°F oven for 5-7 minutes. You can also toast slices in a toaster or toaster oven—the edges get slightly crispy while the center stays soft. My favorite method is to warm a slice in a buttered skillet for about a minute per side. It creates a lovely buttery crust.
Flavor Development. Here’s a secret: this banana bread actually tastes better on the second day. The flavors meld and deepen overnight. If you can resist eating it all on day one, wrap it tightly and let it sit at room temperature. The texture stays moist and the banana flavor becomes more pronounced.
Nutritional Information & Benefits
While this easy one-bowl banana bread is definitely a treat, it does offer some nutritional benefits, especially compared to store-bought versions that often contain preservatives and artificial flavors.
Estimated Nutrition Per Slice (based on 10 slices, without add-ins):
- Calories: 220
- Total Fat: 9g
- Saturated Fat: 1.5g
- Carbohydrates: 33g
- Fiber: 1.5g
- Sugar: 16g
- Protein: 3.5g
- Sodium: 220mg
Health Benefits of Key Ingredients. Bananas are rich in potassium, which supports heart health and muscle function. They also contain vitamin B6 and vitamin C. Using oil instead of butter reduces saturated fat content. If you use whole wheat flour for half the all-purpose flour, you’ll add fiber and B vitamins.
Dietary Considerations. This recipe can be made dairy-free by using oil and skipping any butter-based toppings. It can be made vegan with a flax egg. For a lower-sugar version, reduce the sugar to ⅓ cup (67g) and use very ripe bananas—their natural sweetness will compensate.
Potential Allergens. This recipe contains gluten (from the flour) and eggs. If you add nuts, it contains tree nuts. Always check your chocolate chips for dairy if you’re avoiding it.
I personally love that this recipe uses simple, recognizable ingredients. There’s nothing artificial here. When I bake this for my family, I know exactly what’s in it, and that gives me peace of mind.
Conclusion
This easy one-bowl banana bread has become a staple in my kitchen for so many reasons. It’s the recipe I turn to when I need something reliable, something that won’t let me down, something that makes the whole house smell like comfort. It’s the recipe I send to friends who say they can’t bake, because I know they can bake this. It’s the recipe my kids ask for by name, the one that disappears from the counter in less than 24 hours.
What I love most is how it brings people together. That first late-night experiment taught me that the best recipes aren’t always the most complicated. Sometimes they’re the ones you throw together in a single bowl when you’re too tired to care about perfection. And somehow, those are the ones that taste the most like home.
I’d love to hear how this recipe turns out for you. Did you add chocolate chips? Did your kids ask for seconds? Did you discover a new variation I haven’t tried? Drop a comment below and share your experience. And if you loved this recipe, please share it with a friend who needs a little banana bread magic in their life. Happy baking, friend. You’ve got this.
Frequently Asked Questions
Can I use frozen bananas for this recipe?
Absolutely. Thaw frozen bananas completely, then drain off any excess liquid before mashing. The texture might be slightly softer, but the flavor is just as good. I often freeze overripe bananas specifically for this purpose.
Why did my banana bread sink in the middle?
This usually happens for one of three reasons: the batter was overmixed, the oven door was opened too early, or the baking soda was old. Make sure your baking soda is fresh, mix gently, and resist the urge to peek until the 30-minute mark.
Can I make this recipe into muffins instead of a loaf?
Yes! Divide the batter evenly among 12 lined muffin cups. Bake at 350°F for 18-22 minutes, or until a toothpick inserted into the center comes out clean. Muffins bake faster, so start checking at 18 minutes.
How do I know when the banana bread is done baking?
Insert a toothpick or wooden skewer into the center of the loaf. If it comes out clean or with just a few moist crumbs, it’s done. If it’s wet with batter, bake for 5 more minutes and test again. The top should be golden brown and cracked.
Can I reduce the sugar in this recipe?
You can reduce the sugar to ⅓ cup without significantly affecting the texture. The bread will be slightly less sweet, but the natural sweetness of very ripe bananas will still shine through. I’ve made it with ¼ cup and found it a bit too savory for my taste, but it still worked.
Pin This Recipe!
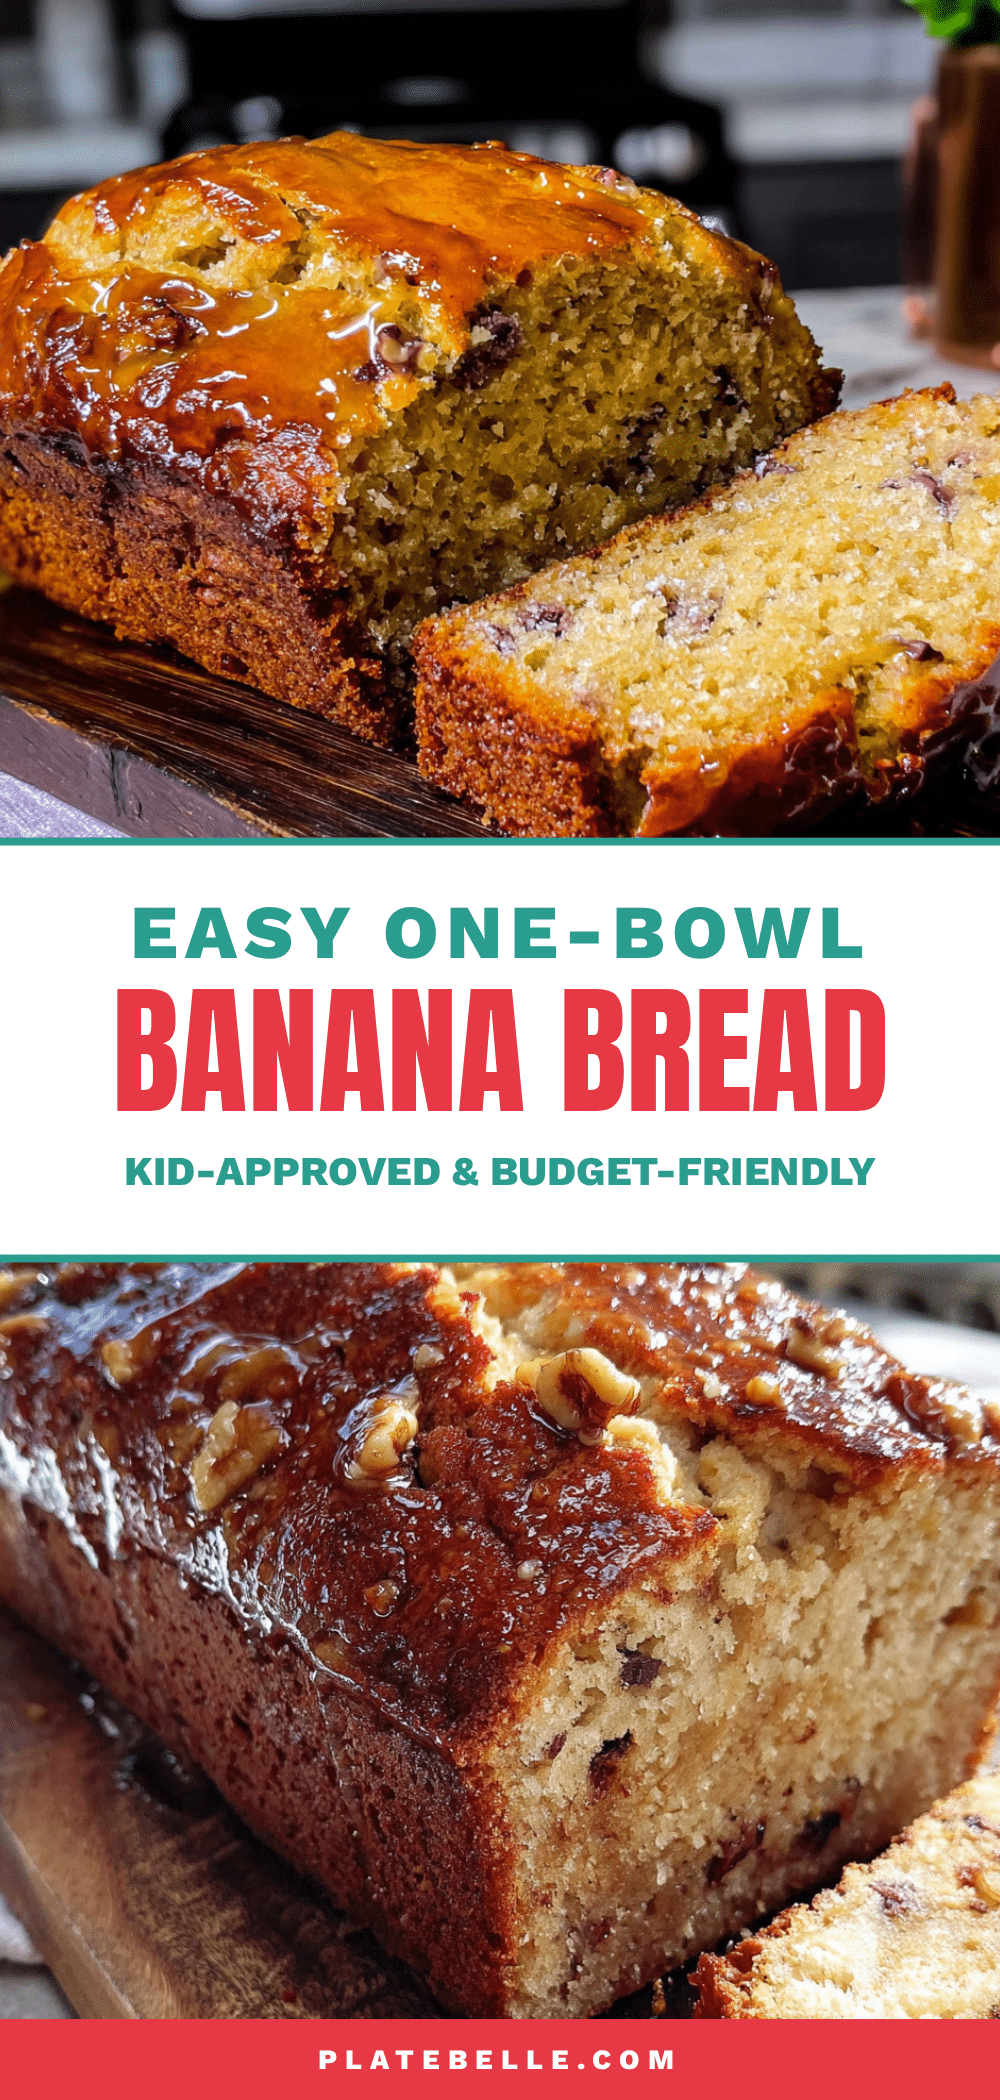
Easy One-Bowl Banana Bread: Best Budget-Friendly Recipe
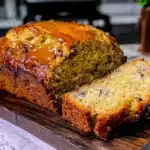
This easy one-bowl banana bread is the ultimate budget-friendly recipe that delivers a soft, moist crumb with a perfectly golden crust. Made with simple pantry staples, it’s forgiving, flexible, and perfect for using up overripe bananas.
- Prep Time: 10 minutes
- Cook Time: 55 minutes
- Total Time: 1 hour 5 minutes
- Yield: 10 servings 1x
- Category: Dessert
- Cuisine: American
Ingredients
- 3 large ripe bananas, mashed (about 1 ½ cups or 340g)
- ⅓ cup (80ml) vegetable oil (canola or avocado oil)
- ½ cup (100g) granulated sugar
- 1 large egg, room temperature
- 1 teaspoon vanilla extract
- 1 ½ cups (190g) all-purpose flour
- 1 teaspoon baking soda
- ½ teaspoon salt
- ½ teaspoon ground cinnamon (optional)
- ½ cup (90g) chocolate chips (optional)
- ½ cup (60g) chopped walnuts or pecans (optional)
- ¼ cup (40g) raisins or dried cranberries (optional)
Instructions
- Preheat your oven to 350°F (175°C). Place the rack in the center position. Prepare your loaf pan by lining it with parchment paper or greasing it thoroughly with butter or non-stick spray. Leave a 2-inch overhang of parchment on the long sides.
- Mash the bananas in your large mixing bowl using a fork or potato masher until smooth with only a few small lumps remaining.
- Add the vegetable oil, egg, and vanilla extract to the mashed bananas. Stir together with a wooden spoon or spatula until well combined and smooth.
- Add the granulated sugar and stir until fully incorporated.
- Sprinkle the flour, baking soda, salt, and cinnamon (if using) over the wet mixture. Stir gently using a folding motion until just combined. A few streaks of flour are okay.
- Fold in any add-ins (chocolate chips, nuts, or dried fruit) with 3-4 gentle folds.
- Pour the batter into the prepared loaf pan. Gently spread into an even layer. Tap the pan on the counter 2-3 times to release air bubbles.
- Bake for 50-60 minutes, until a toothpick inserted into the center comes out clean or with just a few moist crumbs. If the top is browning too quickly after 40 minutes, tent loosely with aluminum foil.
- Cool in the pan for 10 minutes on a cooling rack.
- Use the parchment overhang to lift the bread out of the pan. Transfer to the cooling rack to cool completely for at least 30 minutes before slicing.
Notes
Room temperature ingredients matter for best emulsification. Don’t overmix the batter once flour is added to avoid tough bread. Check baking soda freshness by testing with vinegar. Let bread cool at least 30 minutes before slicing for best texture. Bread tastes even better on the second day.
Nutrition
- Serving Size: 1 slice (1/10 of loa
- Calories: 220
- Sugar: 16
- Sodium: 220
- Fat: 9
- Saturated Fat: 1.5
- Carbohydrates: 33
- Fiber: 1.5
- Protein: 3.5
Keywords: banana bread, one-bowl banana bread, easy banana bread, budget-friendly banana bread, moist banana bread, quick bread