I ruined corn on the cob four times before I figured out how to freeze it properly.
The first batch came out mushy. The second batch was waterlogged and sad. The third batch—well, let me just say my family pretended to be full that night. And the fourth batch? I finally stopped treating frozen corn like fresh corn and started treating it like a project worth getting right.
Here is the thing nobody tells you about freezing corn on the cob. You cannot just shuck it, toss it in a bag, and hope for the best. That is a one-way ticket to disappointment (and I have the freezer burn scars to prove it). But after some serious trial and error—and a few late-night Google spirals—I landed on this method. Butter herb foil packs. Simple. Foolproof. And honestly, better than most fresh corn I have had in January.
This recipe is not complicated. It is corn, butter, herbs, and foil. But the way it comes together? That is where the magic lives. The corn stays crisp-tender. The butter melts into every single kernel. The herbs—thyme, parsley, maybe a little dill if you are feeling wild—infuse the whole thing without overpowering it.
So if you have ever stared at a bag of frozen corn on the cob and wondered if there was a way to make it taste like summer again, this is your answer. No more sad, soggy corn. No more flavorless kernels. Just buttery, herby, perfectly cooked corn that tastes like you actually tried.
Why You Will Love This Recipe
This is not just another way to cook frozen corn. This is the way to cook frozen corn. And once you try it, you will never go back to boiling or microwaving again.
- Freezer-Friendly Genius: Make a big batch now, pull out packs all winter long. Dinner just got a whole lot easier.
- Minimal Effort, Maximum Flavor: Five minutes of prep. No boiling water. No messy pots. Just wrap, freeze, and forget until you need them.
- Perfect for Busy Nights: When you are scrambling to get dinner on the table, these foil packs are a lifesaver. Straight from freezer to oven or grill.
- Customizable to Your Taste: Garlic butter. Chili lime. Smoked paprika. The herb combo is yours to play with.
- No More Mushy Corn: The foil pack method steams the corn perfectly without drowning it. Every kernel stays crisp and juicy.
I have tested this recipe more times than I care to admit. I have burned my fingers on hot foil. I have undercooked the corn. I have over-seasoned it. But this version? This is the one I keep coming back to. It is the one my kids actually request. And it is the one I pack into the freezer every single summer without fail.
If you love make-ahead meals as much as I do, you might also enjoy my easy 5-day high-protein chicken rice meal prep for another freezer-friendly staple.
What Ingredients You Will Need
This recipe keeps things simple. You probably already have most of these ingredients in your kitchen right now. That is the beauty of it.
For the Corn
- 6 ears fresh corn on the cob, husked and silk removed (look for bright green husks and plump kernels)
- 4 tablespoons unsalted butter, softened (I prefer Kerrygold for its rich flavor, but any good-quality butter works)
- 2 cloves garlic, minced (fresh garlic makes a difference here—skip the jarred stuff)
- 1 tablespoon fresh parsley, finely chopped (flat-leaf or curly, both work)
- 1 teaspoon fresh thyme leaves (or ½ teaspoon dried thyme if that is what you have)
- ½ teaspoon salt (sea salt or kosher, your call)
- ¼ teaspoon black pepper, freshly ground
- Optional: ½ teaspoon red pepper flakes for a little heat
For the Foil Packs
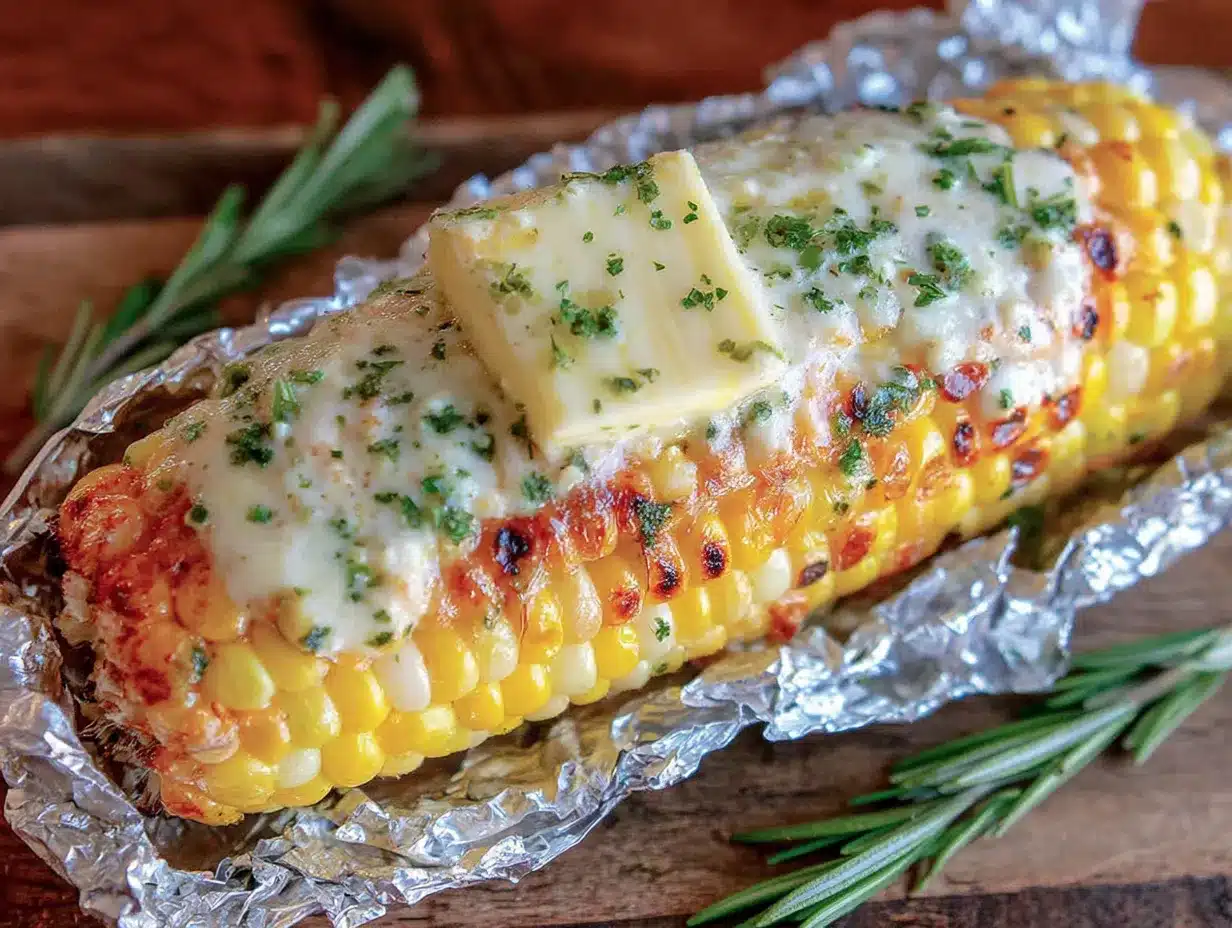
- Heavy-duty aluminum foil (regular foil works but double it up to prevent tearing)
- Freezer-safe zip-top bags or airtight containers (for long-term storage)
The butter herb mixture is where all the flavor lives. I have tried this with margarine and honestly, do not do it. Real butter gives you that rich, creamy coating that makes the corn taste indulgent even though it is just vegetables. If you are dairy-free, swap in a good vegan butter—just make sure it is salted to keep the flavor balanced.
For the herbs, fresh is best but dried works in a pinch. If you use dried thyme, crush it between your fingers before adding to release the oils. And if you do not have parsley, chives or even a little cilantro can work depending on your mood.
Equipment Needed
You do not need fancy gadgets for this recipe. That is kind of the point.
- Large baking sheet (optional but helpful for freezing the packs flat)
- Heavy-duty aluminum foil (do not skimp here—cheap foil tears and leaks butter everywhere)
- Sharp knife for cutting herbs and trimming corn if needed
- Small bowl for mixing the butter herb compound
- Tongs for handling hot foil packs after cooking
- Freezer-safe zip-top bags (I prefer the ones with a double seal for extra protection against freezer burn)
If you do not have heavy-duty foil, just double up regular foil. I learned that lesson the hard way when melted butter leaked all over my freezer shelf. Not fun to clean up, trust me.
Preparation Method
This is where the magic happens. Follow these steps carefully, and you will have perfect freezer corn every single time.
- Make the butter herb mixture. In a small bowl, combine the softened butter, minced garlic, parsley, thyme, salt, pepper, and red pepper flakes if using. Mash it together with a fork until everything is evenly distributed. The butter should be spreadable but not melted. If your butter is too hard, let it sit at room temperature for 15 minutes.
- Prep the corn. Shuck each ear of corn and remove all the silk. I run the corn under cold water while I pull off the silk—it helps get those stubborn strands off. Pat the corn dry with a clean kitchen towel. Wet corn = watery butter mixture, and nobody wants that.
- Spread the butter. Using a butter knife or your fingers (clean hands work great here), spread about 2 teaspoons of the butter herb mixture evenly over each ear of corn. Make sure you get the ends too—those kernels deserve flavor just as much as the middle ones.
- Wrap in foil. Tear off a sheet of heavy-duty foil about 12 inches long for each ear of corn. Place the buttered corn in the center. Fold the sides up and over the corn, then crimp the ends tightly. You want a sealed packet that will trap steam and butter inside. Leave a little air space around the corn—about ½ inch—so the steam can circulate.
- Double wrap for freezing. Wrap each foil packet again with another layer of foil. This extra layer prevents freezer burn and protects against tears. Press out as much air as possible before sealing.
- Flash freeze. Place the wrapped corn packets on a baking sheet in a single layer, making sure they are not touching. Pop the baking sheet into the freezer for 2-3 hours, or until the packets are completely frozen solid. This step keeps them from sticking together later.
- Transfer to storage bags. Once frozen, remove the packets from the baking sheet and place them in a freezer-safe zip-top bag. Squeeze out as much air as possible before sealing. Label the bag with the date and contents—trust me, you will forget what is in there by next month.
- Cook from frozen. When you are ready to eat, preheat your oven to 400°F (200°C) or your grill to medium-high heat. Place the frozen foil packets directly on the oven rack or grill grates. Cook for 25-30 minutes, flipping halfway through. The corn is done when it is tender and steaming hot. Carefully open the foil (watch out for steam!) and serve immediately.
If you are short on time, you can skip the flash-freezing step and just cook the corn right away. The foil packets work just as well for immediate cooking—just reduce the cooking time to 15-20 minutes since the corn is not frozen.
Cooking Tips & Techniques
I have made every mistake in the book with this recipe so you do not have to. Here is what I learned.
Do not overcook the corn. Frozen corn cooks faster than you think. Check it at 20 minutes. If the kernels are tender and the butter is bubbling, it is done. Overcooking turns crisp corn into sad, mushy corn.
Let the foil packs rest. After cooking, let the packets sit for 2-3 minutes before opening. The steam inside is seriously hot—I have burned my fingers more times than I want to admit. Use tongs to open the foil away from your face.
Double wrap is non-negotiable for freezing. Single foil layers tear easily in the freezer. Double wrapping prevents butter leaks and freezer burn. If you are cooking immediately, one layer is fine.
Season generously. Frozen corn needs a little more salt than fresh corn because freezing dulls flavors slightly. Taste the butter mixture before spreading and adjust seasoning if needed.
Batch cooking saves time. Make a dozen foil packs at once. They keep for up to 3 months in the freezer. That means summer corn in December, and honestly, that feels like a superpower.
Variations & Adaptations
This recipe is a starting point, not a rulebook. Here are some of my favorite twists.
- Spicy Chipotle Lime: Swap the herbs for 1 teaspoon chipotle powder, the zest of one lime, and a pinch of cayenne. The smokiness pairs beautifully with grilled meats.
- Parmesan Herb: Add 2 tablespoons grated Parmesan cheese to the butter mixture. The cheese gets slightly crispy on the corn as it cooks. I have made this version for parties and it disappears fast.
- Dairy-Free Option: Use vegan butter or olive oil instead of regular butter. Coconut oil works too, but it adds a subtle sweetness that is actually pretty good with the herbs.
- Grill Method: Cook the foil packs on a medium-hot grill for 20-25 minutes, turning once. You get a slight smoky flavor that is incredible with the butter herb combo.
- Air Fryer Adaptation: If you are cooking just one or two ears, the air fryer works great. Cook at 375°F (190°C) for 12-15 minutes, flipping halfway. No foil needed for the air fryer—just brush the corn with the butter mixture directly.
I once tried a version with brown sugar and cinnamon for a sweet twist. It was interesting, but honestly, I prefer savory corn. If you want something sweet, stick with the basic butter and skip the herbs.
Serving & Storage Suggestions
These foil packs are incredibly versatile. Here is how to get the most out of them.
Serving Temperature: Serve the corn hot, straight from the foil. The butter will be melted and glossy, coating every kernel. If you want to dress it up, sprinkle extra fresh herbs or a pinch of flaky salt on top right before serving.
What to Serve With It: This corn pairs beautifully with grilled chicken, steak, or fish. It also works as a side for burgers, tacos, or BBQ ribs. For a lighter meal, serve it alongside a fresh no-cook high-protein cucumber salad for a complete summer plate.
Storage Instructions: Keep the foil packets in the freezer for up to 3 months. For best quality, use them within 2 months. Do not thaw before cooking—cook straight from frozen for the best texture.
Reheating Tips: If you have leftover cooked corn, remove it from the foil and store in an airtight container in the fridge for up to 3 days. To reheat, wrap in a damp paper towel and microwave for 30-45 seconds. Or toss the kernels into a salad or grain bowl for an easy lunch.
Flavor Development: The butter herb mixture actually gets better after a week in the freezer. The herbs infuse the butter more deeply, so the corn tastes even more flavorful after storage.
Nutritional Information & Benefits
Here is the breakdown per serving (one ear of corn with butter herb mixture).
- Calories: 180
- Fat: 10g
- Carbohydrates: 22g
- Fiber: 3g
- Protein: 4g
- Vitamin C: 10% of daily value
- Folate: 15% of daily value
Corn often gets a bad reputation, but it is actually a whole grain with plenty of fiber and antioxidants. The butter adds healthy fats that help your body absorb the fat-soluble vitamins in the corn. If you are watching your calorie intake, you can reduce the butter to 1 tablespoon per ear, but honestly, the flavor is worth the extra few calories.
This recipe is naturally gluten-free and vegetarian. For a vegan version, use plant-based butter. The herbs add a boost of antioxidants without any extra effort.
Conclusion
This easy freezer-friendly corn on the cob with butter herb foil packs is the kind of recipe that makes you feel like you have hacked the system. Summer corn in the middle of winter? Yes, please. Minimal effort for maximum flavor? Absolutely. A recipe that actually works every single time? That is rare, and this is it.
I love this recipe because it reminds me that cooking does not have to be complicated to be good. It is just corn, butter, herbs, and a little bit of planning. And honestly, that is enough.
Try these foil packs once, and I promise you will be making them all summer long—and all winter too. If you give them a shot, leave a comment below and let me know how they turned out. Did you try a different herb combo? Cook them on the grill? I would love to hear about your version.
Happy cooking, friends. Your freezer is about to get a whole lot more exciting.
Frequently Asked Questions
Can I use frozen corn on the cob instead of fresh?
Yes, absolutely. If you are starting with already frozen corn, thaw it slightly before adding the butter mixture so the butter spreads evenly. Then wrap and freeze as directed. The cooking time stays the same since you are cooking from frozen anyway.
How long do these foil packs last in the freezer?
Properly wrapped and sealed, these foil packs stay fresh for up to 3 months. For the best flavor and texture, try to use them within 2 months. Label your bags with the date so you do not forget what is in there.
Can I cook these in the microwave?
You can, but the texture will be slightly different. Remove the foil (do not put foil in the microwave!), place the corn on a microwave-safe plate, and cover with a damp paper towel. Microwave on high for 3-4 minutes, rotating halfway through. The corn will be tender but less crisp than oven or grill cooking.
Do I need to thaw the foil packs before cooking?
No, and I actually recommend cooking them straight from frozen. Thawing first can make the corn mushy because the ice crystals melt and waterlog the kernels. Straight from freezer to oven or grill gives you the best texture every time.
Can I add other vegetables to the foil packs?
Definitely. Try adding zucchini slices, bell pepper strips, or cherry tomatoes to the foil pack along with the corn. Just make sure everything is cut to a similar size so it cooks evenly. You might need to add an extra 5 minutes of cooking time for the vegetables to soften.
Pin This Recipe!
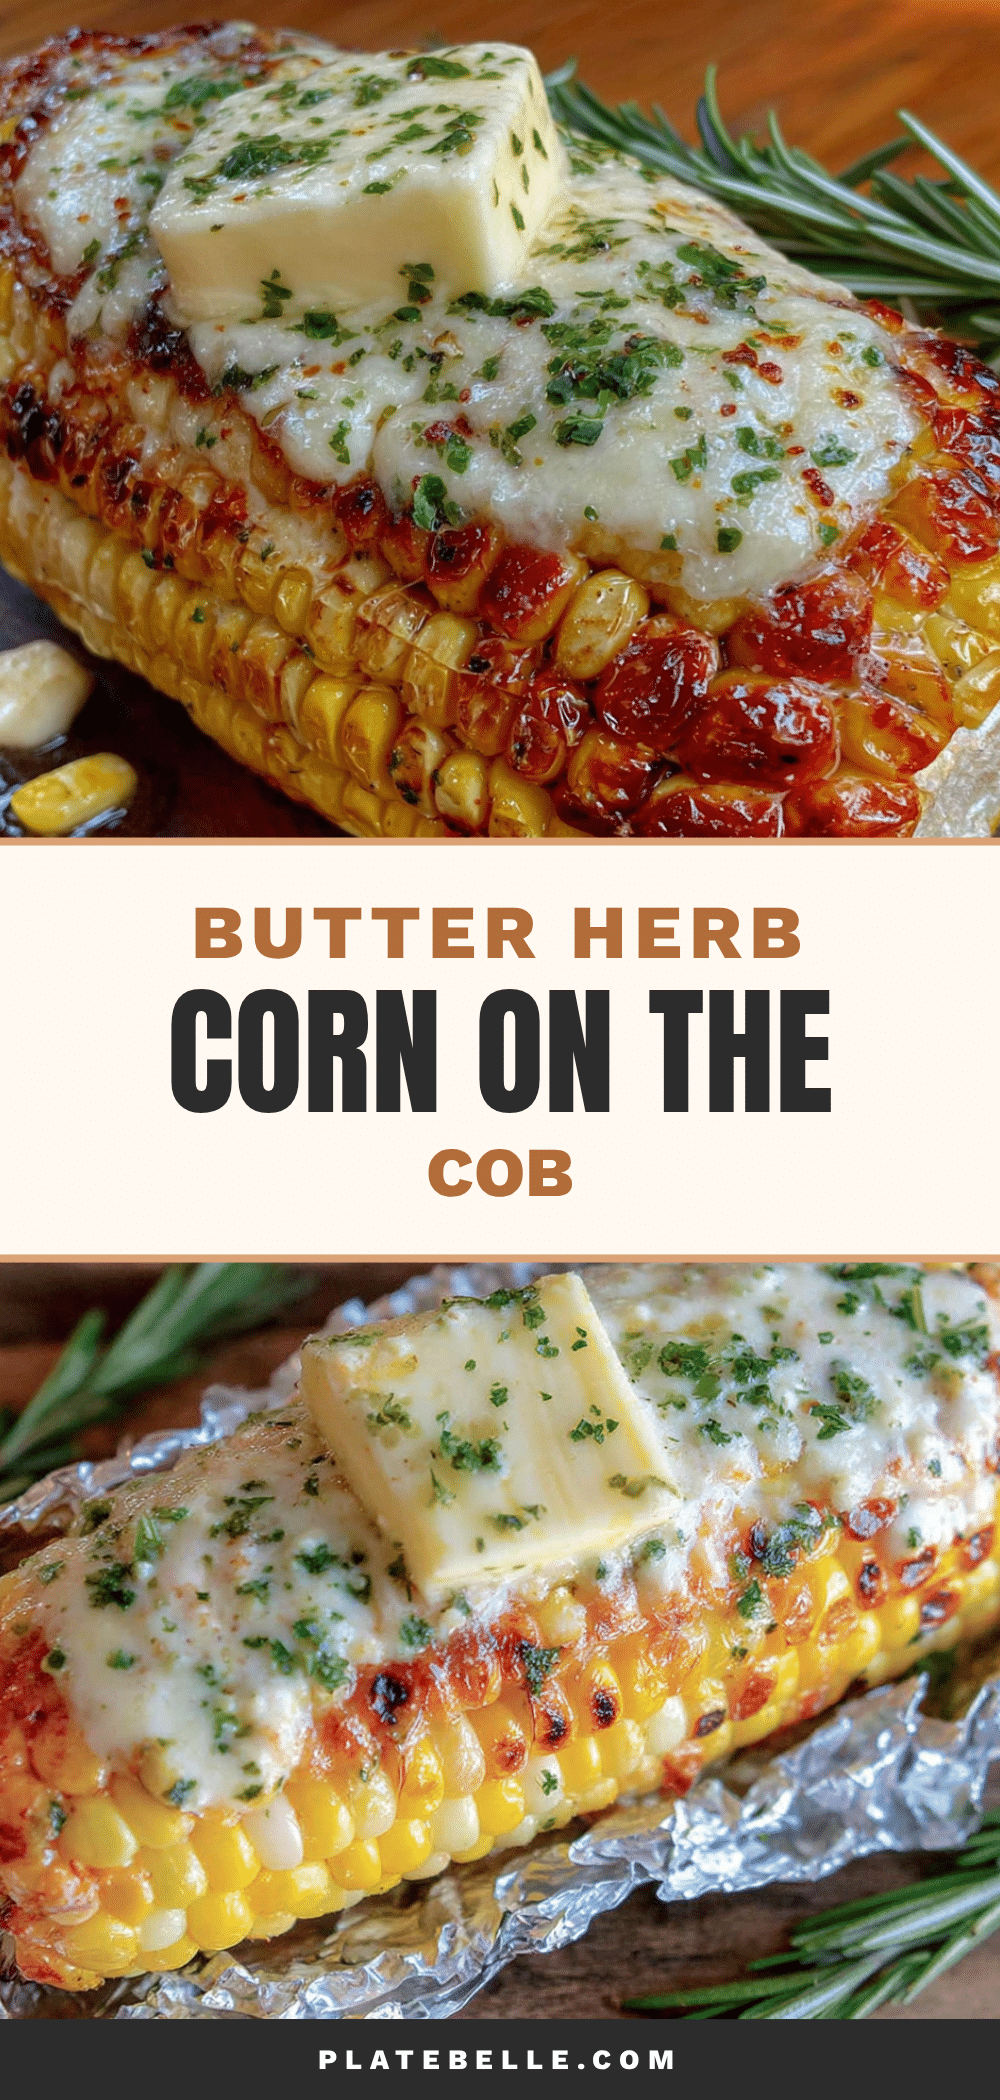
Easy Freezer-Friendly Corn on the Cob with Butter Herb

Perfectly frozen corn on the cob with a buttery herb coating, wrapped in foil packs for easy freezer storage and cooking. This foolproof method delivers crisp-tender corn every time, straight from freezer to oven or grill.
- Prep Time: 15 minutes
- Cook Time: 25 minutes
- Total Time: 40 minutes
- Yield: 6 servings 1x
- Category: Side Dish
- Cuisine: American
Ingredients
- 6 ears fresh corn on the cob, husked and silk removed
- 4 tablespoons unsalted butter, softened
- 2 cloves garlic, minced
- 1 tablespoon fresh parsley, finely chopped
- 1 teaspoon fresh thyme leaves (or ½ teaspoon dried thyme)
- ½ teaspoon salt (sea salt or kosher)
- ¼ teaspoon black pepper, freshly ground
- Optional: ½ teaspoon red pepper flakes
- Heavy-duty aluminum foil
- Freezer-safe zip-top bags or airtight containers
Instructions
- Make the butter herb mixture: In a small bowl, combine the softened butter, minced garlic, parsley, thyme, salt, pepper, and red pepper flakes if using. Mash together with a fork until evenly distributed.
- Prep the corn: Shuck each ear of corn and remove all silk. Run under cold water to help remove stubborn strands, then pat dry with a clean kitchen towel.
- Spread the butter: Using a butter knife or your fingers, spread about 2 teaspoons of the butter herb mixture evenly over each ear of corn, including the ends.
- Wrap in foil: Tear off a sheet of heavy-duty foil about 12 inches long for each ear. Place buttered corn in the center, fold sides up and over, and crimp ends tightly, leaving about ½ inch air space for steam circulation.
- Double wrap for freezing: Wrap each foil packet again with another layer of foil to prevent freezer burn and tears. Press out as much air as possible before sealing.
- Flash freeze: Place wrapped corn packets on a baking sheet in a single layer, not touching. Freeze for 2-3 hours until completely solid.
- Transfer to storage bags: Once frozen, place packets in a freezer-safe zip-top bag, squeeze out air, seal, and label with date and contents.
- Cook from frozen: Preheat oven to 400°F (200°C) or grill to medium-high heat. Place frozen foil packets directly on oven rack or grill grates. Cook for 25-30 minutes, flipping halfway. Corn is done when tender and steaming hot. Carefully open foil and serve immediately.
Notes
Do not overcook the corn; check at 20 minutes. Let foil packs rest 2-3 minutes before opening to avoid steam burns. Double wrapping is essential for freezing; single layer is fine for immediate cooking. Season generously as freezing dulls flavors. Batch cooking saves time; packs keep up to 3 months. Cook straight from frozen for best texture.
Nutrition
- Serving Size: 1 ear of corn with b
- Calories: 180
- Sugar: 4
- Sodium: 200
- Fat: 10
- Saturated Fat: 6
- Carbohydrates: 22
- Fiber: 3
- Protein: 4
Keywords: freezer-friendly corn on the cob, butter herb corn, foil pack corn, frozen corn on the cob, easy corn recipe, make-ahead corn, summer corn, corn on the cob with butter and herbs


