Thursday night, just past seven, and the kitchen is quiet except for the low sizzle of butter melting in a cast-iron skillet. I’d had one of those days where the fridge felt emptier than it should, and the thought of washing more than one pan made me want to order takeout. But then I spotted the chicken thighs, a forgotten half-bag of jasmine rice, and a head of garlic that was starting to sprout. Honestly, that sprouting garlic was the push I needed. I wasn’t planning anything fancy—I just wanted something warm, buttery, and deeply savory that would come together without a sink full of dishes.
So I tossed the chicken in skin-side down, let it get golden and crisp, and built everything else right there in the same pan. The rice soaked up all that garlicky, buttery goodness as it simmered, and by the time the chicken was done, the whole kitchen smelled like a hug. That’s how this One-Pan Garlic Butter Chicken and Rice was born—not from a planned recipe test, but from a tired cook who needed dinner to be easy and still taste like she tried.
And you know what? It’s become my go-to for those nights when I need dinner to do the heavy lifting. No complicated steps, no pile of dishes, just honest, comforting food that feels like a little bit of magic in a single pan.
Why You’ll Love This Recipe
This isn’t just another chicken and rice recipe, I promise. It’s the kind of meal that makes you look forward to leftovers, and honestly, I don’t say that lightly. Here’s why it works so well:
- One Pan, Zero Stress: Everything cooks in a single skillet, which means you get dinner on the table with minimal cleanup. That’s a win for any weeknight.
- Simple Pantry Ingredients: You probably already have chicken, rice, garlic, and butter in your kitchen. No fancy grocery runs required.
- Perfect for Busy Weeknights: From start to finish, this meal comes together in about 40 minutes. That’s fast enough for a Tuesday but satisfying enough for a Sunday dinner.
- Crowd-Pleasing Flavor: The garlic butter sauce coats every grain of rice, and the chicken stays juicy and tender. Kids and adults both go back for seconds.
- Chef-Tested and Family-Approved: I’ve made this recipe at least a dozen times, tweaking the liquid ratios and seasoning until it was just right. It’s been tested by picky eaters and hungry friends, and it never disappoints.
What really sets this apart is the technique. By searing the chicken first, you build a rich, golden fond on the bottom of the pan that infuses the rice with incredible depth. It’s a small step that makes a huge difference—the kind of trick that makes people think you spent hours in the kitchen when you really didn’t.
I still remember the first time I made this for a friend who came over last-minute. She took one bite, closed her eyes, and said, “This is exactly what I needed today.” That’s the kind of reaction this recipe gets. It’s comfort food that feels like a warm blanket on a chilly evening, and it’s ready before you even have time to stress about what’s for dinner.
What Ingredients You Will Need
Let’s talk about the ingredients. This recipe keeps things simple, but each component plays a key role in building that rich, savory flavor. Most of these are pantry staples, which makes this dish perfect for those nights when you need dinner to come together without a trip to the store.
- Chicken Thighs (1.5 lbs or about 6 thighs, bone-in, skin-on): I prefer bone-in, skin-on thighs here because they stay incredibly juicy and the skin gets beautifully crisp. If you only have boneless, skinless thighs, they’ll work too—just reduce the cooking time slightly. I’ve tested this with chicken breasts as well, but thighs really are the star for moisture and flavor.
- Unsalted Butter (4 tablespoons, divided): Butter is the backbone of this dish. We use half for searing the chicken and the rest for sautéing the aromatics. I recommend using a good-quality unsalted butter so you can control the salt level yourself.
- Garlic (6 cloves, minced): Fresh garlic is non-negotiable here. Pre-minced jarred garlic just doesn’t have the same punch. If you’re a garlic lover (like me), feel free to add an extra clove or two.
- Yellow Onion (1 medium, diced): Onion adds a sweet, savory base that melds beautifully with the garlic and butter. You could use a white or sweet onion in a pinch.
- Long-Grain White Rice (1 cup, uncooked): Jasmine or basmati rice works wonderfully here. I’ve tested this with brown rice too, but you’ll need to increase the liquid and cooking time by about 15 minutes. Avoid short-grain rice, as it can get gummy.
- Chicken Broth (2 cups, low-sodium): This is the liquid that cooks the rice and creates the sauce. Low-sodium broth lets you control the salt level. If you only have regular broth, just be careful with additional salt.
- Water (½ cup): A little extra liquid helps the rice cook perfectly without drying out.
- Dried Thyme (1 teaspoon): Thyme adds an earthy, slightly floral note that pairs beautifully with garlic and butter. You can substitute with dried oregano or rosemary if that’s what you have.
- Paprika (1 teaspoon): Paprika gives the chicken a lovely color and a subtle smoky sweetness. Smoked paprika would be amazing here too.
- Salt and Black Pepper (to taste): Simple seasonings that let the other flavors shine.
- Fresh Parsley (for garnish, optional): A sprinkle of fresh parsley adds a pop of color and freshness. It’s optional, but it does make the dish look prettier.
I always use Better Than Bouillon chicken base when I’m out of boxed broth—it dissolves easily and has a richer flavor than most cartons. And for the butter, I’m partial to Kerrygold because its higher fat content makes everything taste a little more luxurious. But honestly, any unsalted butter you have on hand will work just fine.
If you’re looking for a complete weeknight dinner lineup, this chicken and rice pairs beautifully with a simple green salad or some roasted vegetables. I’ve even served it alongside my easy sheet pan honey garlic shrimp and broccoli for a surf-and-turf kind of night that still keeps cleanup minimal.
Equipment Needed
You don’t need a fancy kitchen to pull this off—just a few basics that you probably already own.
- Large Skillet or Dutch Oven (12-inch, with a lid): A heavy-bottomed skillet is ideal for even heat distribution. A cast-iron or stainless steel pan works best for getting that golden sear on the chicken. If you have a non-stick skillet, it’ll work, but you won’t get quite as much browning on the chicken skin.
- Wooden Spoon or Spatula: For stirring the rice and scraping up those delicious browned bits from the bottom of the pan.
- Sharp Knife and Cutting Board: For mincing garlic and dicing the onion. A good chef’s knife makes prep faster and safer.
- Measuring Cups and Spoons: Accurate measurements matter, especially for the rice-to-liquid ratio.
- Tongs: For flipping the chicken without piercing the skin and losing those precious juices.
If you don’t have a lid for your skillet, you can use a piece of aluminum foil tightly crimped around the edges. I’ve done this more times than I’d like to admit, and it works perfectly. Also, if you’re using a Dutch oven, it retains heat beautifully and makes the rice extra fluffy.
Preparation Method
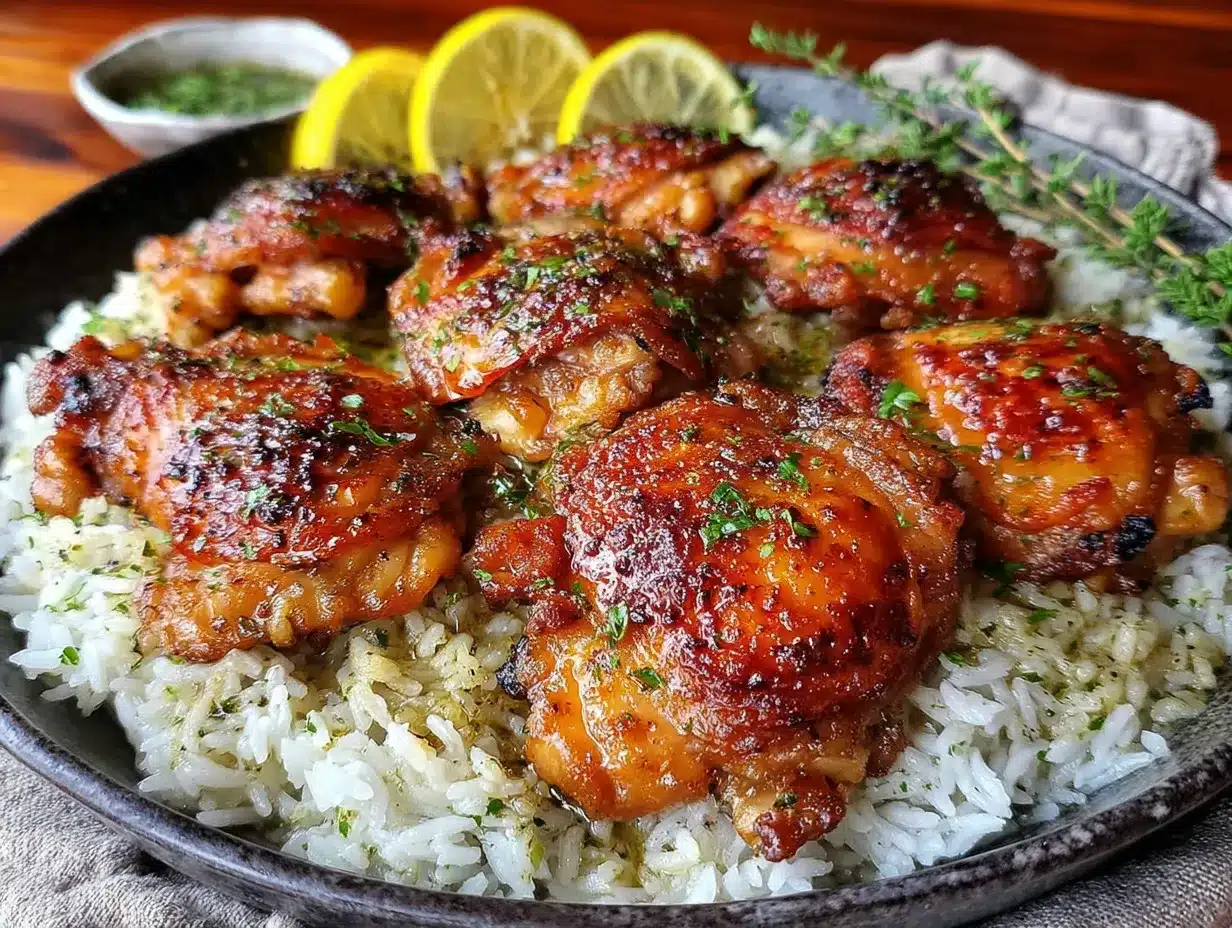
Alright, let’s get cooking. I’ll walk you through each step so you feel confident, even if it’s your first time making this.
- Prep Your Chicken (5 minutes): Pat the chicken thighs dry with paper towels. This is important—dry skin means crispy skin. Season both sides generously with salt, pepper, and paprika. Don’t be shy with the seasoning; a lot of it will stay in the pan and flavor the rice.
- Sear the Chicken (10 minutes): Heat 2 tablespoons of butter in your skillet over medium-high heat until it’s melted and sizzling. Place the chicken thighs skin-side down in the pan, being careful not to overcrowd them. Let them cook undisturbed for 5-6 minutes, until the skin is deep golden brown and crispy. Flip and cook for another 3-4 minutes on the other side. The chicken won’t be fully cooked through yet—that’s fine. Transfer the chicken to a plate and set it aside.
- Sauté the Aromatics (3 minutes): Reduce the heat to medium. Add the remaining 2 tablespoons of butter to the pan. Once it melts, toss in the diced onion and cook for about 2 minutes, stirring occasionally, until it’s soft and translucent. Add the minced garlic and cook for another 30 seconds, just until fragrant. Be careful not to burn the garlic—it can turn bitter quickly.
- Toast the Rice (2 minutes): Add the uncooked rice to the pan and stir it around in the butter and aromatics for about a minute. This toasting step adds a nutty flavor that makes the rice extra delicious. You’ll notice the rice grains start to look slightly translucent at the edges.
- Add the Liquid (1 minute): Pour in the chicken broth, water, and dried thyme. Stir everything together, scraping up any browned bits from the bottom of the pan with your wooden spoon. Those bits are pure flavor, so don’t leave them behind.
- Return the Chicken (1 minute): Nestle the chicken thighs back into the pan, skin-side up, on top of the rice. They’ll sit above the liquid as the rice cooks, which keeps the skin crispy. Bring the liquid to a gentle simmer.
- Cover and Cook (20 minutes): Reduce the heat to low, cover the skillet with a tight-fitting lid, and let it cook undisturbed for 20 minutes. Do not lift the lid during this time—the steam is what cooks the rice perfectly. Set a timer so you’re not tempted to peek.
- Rest and Fluff (5 minutes): After 20 minutes, turn off the heat and let the pan sit, still covered, for another 5 minutes. This resting time allows the rice to absorb any remaining liquid and become fluffy. Then, remove the lid, fluff the rice gently with a fork, and garnish with fresh parsley if you like.
A quick note: if your rice seems a little wet after resting, don’t panic. Just let it sit uncovered for a couple of minutes, and the excess moisture will evaporate. If it’s still too firm, add a splash of broth or water, cover, and cook on low for another 5 minutes. Every stovetop runs a little differently, so trust your eyes and your nose more than the timer.
Cooking Tips & Techniques
Over the many times I’ve made this dish, I’ve learned a few things the hard way. Let me save you some trouble.
- Don’t Skip the Searing: I know it’s tempting to just throw everything in the pan and call it a day, but that initial sear is where the magic happens. Those browned bits (called fond) are pure flavor, and they’re what make the rice taste so rich. If you skip this step, you’ll end up with pale chicken and bland rice.
- Resist the Urge to Peek: I get it—you’re curious, you want to check if the rice is cooking, maybe you just want to smell it. But every time you lift that lid, you let out steam, and steam is what cooks the rice. Trust the process and keep the lid on for the full 20 minutes.
- Use a Heavy-Bottomed Pan: Thin pans can cause hot spots that burn the rice on the bottom while leaving the top undercooked. A cast-iron skillet or a heavy stainless steel pan distributes heat evenly and gives you better results.
- Season in Layers: Don’t just salt at the end. Season the chicken before searing, add a pinch of salt when you sauté the onions, and season the broth before adding the rice. Layering the seasoning creates a more complex, well-rounded flavor.
- Let the Chicken Rest: After you sear the chicken and before you put it back in the pan, let it rest on a plate for a few minutes. This helps the juices redistribute, so the meat stays moist during the final cooking.
I once made this for a dinner party and forgot to toast the rice before adding the liquid. The rice turned out okay, but it was missing that nutty depth that makes this dish special. Now I never skip that step. It only takes a minute, and the payoff is huge.
Variations & Adaptations
One of the best things about this recipe is how flexible it is. Here are some ways to make it your own.
- Make It Creamy: Stir in ¼ cup of heavy cream or full-fat coconut milk during the last 5 minutes of cooking. It turns the rice into a luscious, almost risotto-like dish that’s incredibly comforting.
- Add Vegetables: Toss in a cup of frozen peas and carrots along with the broth for a pop of color and extra nutrients. You can also add sliced mushrooms when you sauté the onions for an earthy, umami boost.
- Try Different Herbs: Not a fan of thyme? Use dried rosemary, oregano, or even a bay leaf. Fresh herbs like rosemary or sage would be lovely too—just use about 1 tablespoon of fresh herbs instead of dried.
- Make It Spicy: Add a pinch of red pepper flakes or a finely chopped jalapeño along with the garlic for a subtle kick. Or drizzle some hot sauce over the finished dish.
- Go Gluten-Free: This recipe is naturally gluten-free, but double-check your chicken broth to make sure it doesn’t contain any hidden gluten. Most brands are safe, but it’s always good to verify.
- Swap the Protein: Boneless, skinless chicken thighs will work, but reduce the initial sear time to about 3 minutes per side. You can also use bone-in chicken drumsticks or even turkey thighs for a change of pace.
Personally, I love adding a handful of fresh spinach right at the end of cooking. I stir it in after the rice is done and let the residual heat wilt it down. It’s an easy way to sneak in some greens without changing the flavor.
Serving & Storage Suggestions
This dish is best served warm, straight from the pan, with the chicken sitting proudly on top of the fluffy rice. I like to sprinkle a little fresh parsley over everything for a pop of color and freshness.
- What to Serve With It: A simple side salad with a lemon vinaigrette cuts through the richness of the butter beautifully. Steamed green beans or roasted asparagus also make excellent companions. If you’re feeding a crowd, this pairs wonderfully with my cozy slow cooker cinnamon roll casserole for a brunch-style dinner that feels extra special.
- Storing Leftovers: Let the dish cool completely, then transfer it to an airtight container. Store in the refrigerator for up to 4 days. The flavors actually meld and deepen overnight, so leftovers might taste even better the next day.
- Freezing Instructions: You can freeze this dish for up to 3 months. Portion it into freezer-safe containers, leaving a little room for expansion. Thaw overnight in the refrigerator before reheating.
- Reheating Tips: The best way to reheat is in a skillet over medium-low heat with a splash of chicken broth or water. Cover and let it steam for about 5 minutes, stirring occasionally. You can also use the microwave, but the rice might dry out a bit—just add a tablespoon of water before zapping it.
One thing I love about this recipe is that the rice stays fluffy even after a day or two in the fridge. It doesn’t turn into a mushy mess like some rice dishes do. That’s the beauty of the right liquid-to-rice ratio and the gentle simmering method.
Nutritional Information & Benefits
Here’s an approximate breakdown per serving (based on 6 servings):
| Nutrient | Amount |
|---|---|
| Calories | 485 |
| Protein | 32g |
| Fat | 22g |
| Saturated Fat | 10g |
| Carbohydrates | 38g |
| Fiber | 1g |
| Sugar | 2g |
| Sodium | 680mg |
This meal is a great source of lean protein from the chicken, which helps keep you full and supports muscle health. The garlic isn’t just for flavor—it contains compounds that may support immune function and heart health. And while butter adds richness, you can easily reduce the amount or swap in olive oil for a lighter version. If you’re watching your sodium, use low-sodium broth and go easy on the added salt.
I like to think of this as a balanced comfort meal—it satisfies that craving for something indulgent while still being packed with real, whole ingredients. It’s the kind of dinner that leaves you feeling nourished, not weighed down.
Conclusion
This One-Pan Garlic Butter Chicken and Rice has become my secret weapon for busy nights when I need dinner to feel like a hug. It’s simple enough for a Tuesday but impressive enough to serve to guests, and the fact that it all comes together in one pan means I get to spend less time scrubbing and more time actually enjoying my meal.
I hope you give it a try and make it your own. Add your favorite herbs, throw in some extra veggies, or keep it exactly as written—either way, I think you’ll love how something so simple can taste so special. When you do make it, I’d love to hear how it turned out. Drop a comment below, tag me in your photos, or share your own twist on the recipe. Cooking is better when we share it, and your version might just inspire someone else.
Until next time, happy cooking—and remember, the best meals don’t have to be complicated. Sometimes, all you need is butter, garlic, and one good pan.
Frequently Asked Questions
Can I use brown rice instead of white rice?
Yes, but you’ll need to adjust the liquid and cooking time. Use 2 ½ cups of broth instead of 2, and increase the covered cooking time to about 40-45 minutes. Check the rice at the 35-minute mark to see if it needs more time.
Why is my rice still crunchy after 20 minutes?
This usually happens if the heat was too low or the lid wasn’t sealed properly. Make sure your skillet has a tight-fitting lid and that the liquid is at a gentle simmer before covering. If the rice is still crunchy, add ¼ cup of broth, cover, and cook on low for another 5-10 minutes.
Can I make this in a slow cooker or Instant Pot?
Absolutely. For an Instant Pot, use the sauté function to sear the chicken and cook the aromatics, then add the rice and broth, pressure cook on high for 6 minutes, and let the pressure release naturally for 10 minutes. For a slow cooker, sear the chicken first, then add everything to the slow cooker and cook on low for 3-4 hours or high for 1.5-2 hours.
How do I keep the chicken skin crispy?
The key is to sear the chicken skin-side down until it’s deeply golden before adding it back to the pan. Also, make sure the skin sits above the liquid while the rice cooks. If it’s submerged, it will steam and lose its crispiness.
Can I double this recipe?
Yes, but you’ll need a larger pan (at least 14 inches) or divide it between two skillets. The cooking time stays the same as long as the rice is in a single layer and the pan isn’t overcrowded. If using two pans, rotate them halfway through cooking for even heat distribution.
Pin This Recipe!
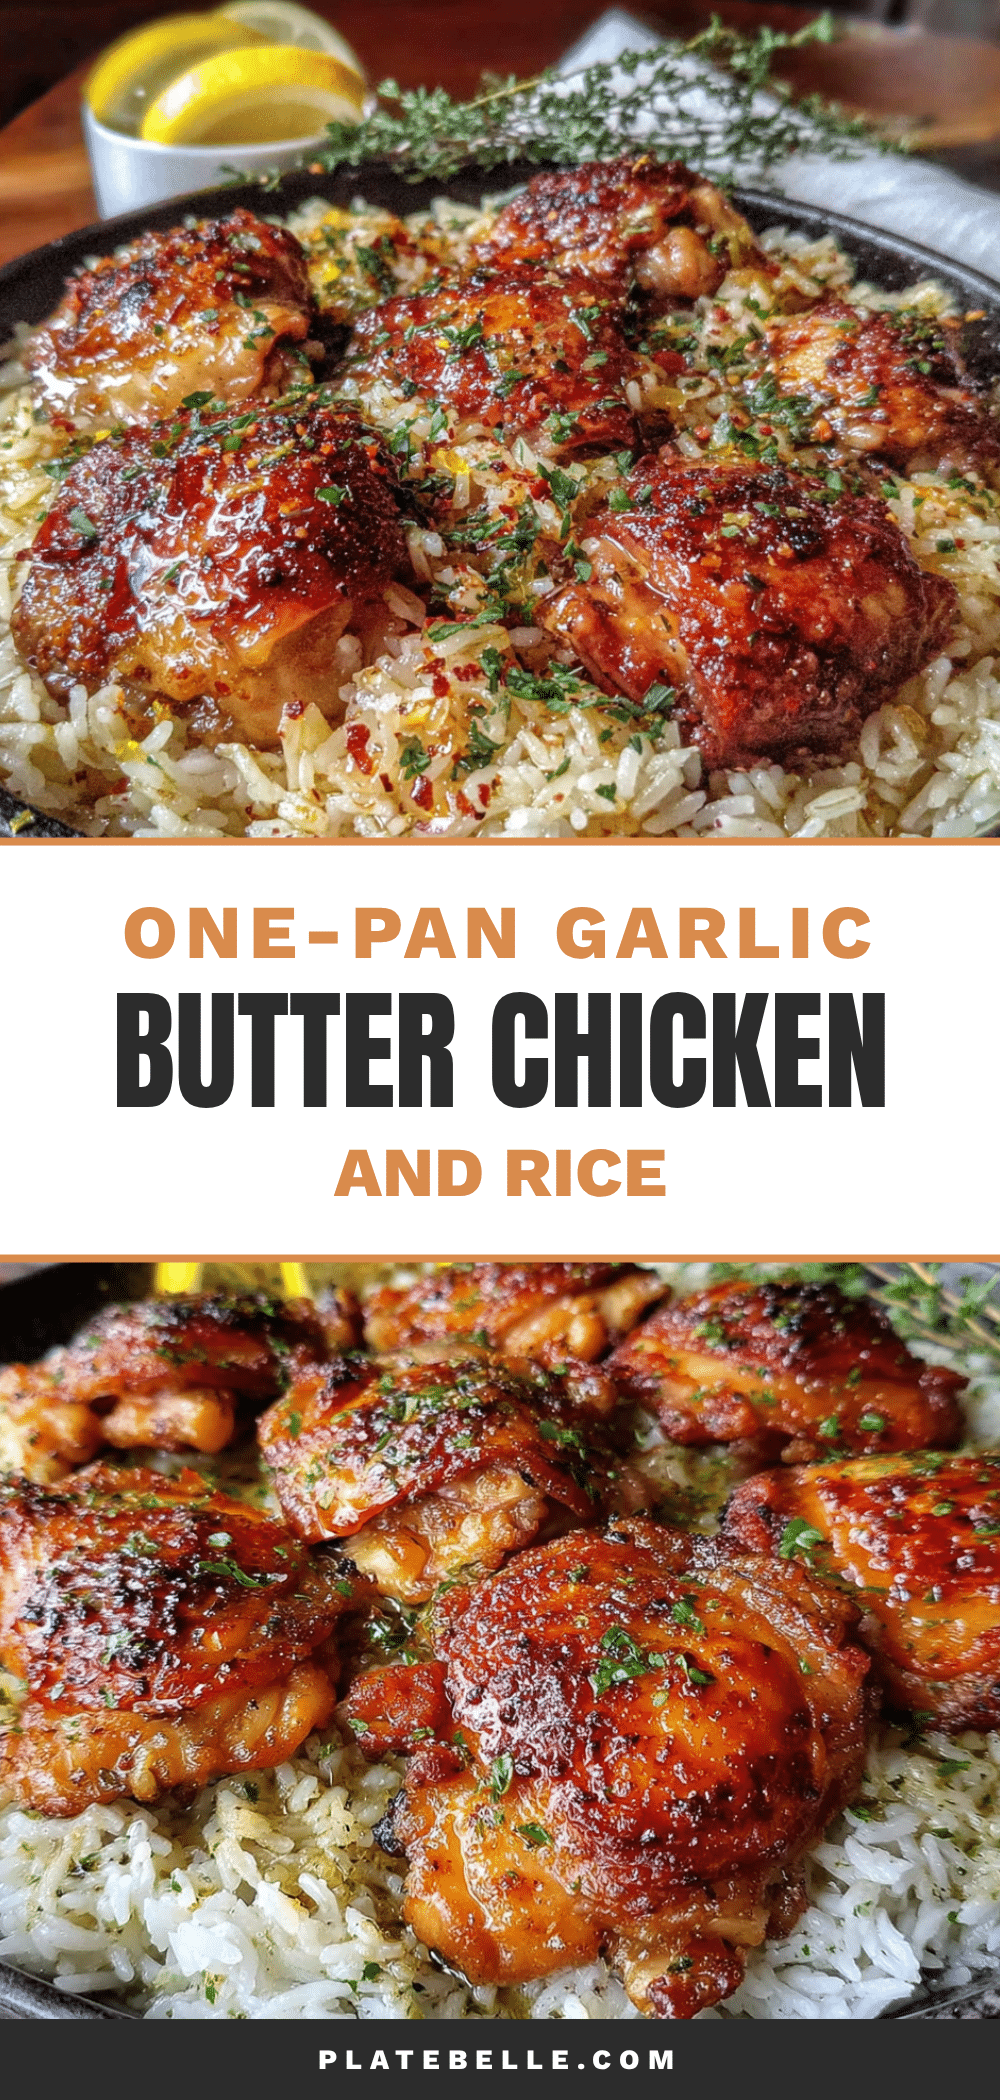
One-Pan Garlic Butter Chicken and Rice: Easy Weeknight Dinner

A simple, one-pan meal featuring juicy chicken thighs and fluffy rice cooked in a rich garlic butter sauce. Perfect for busy weeknights, this recipe requires minimal cleanup and delivers maximum flavor.
- Prep Time: 10 minutes
- Cook Time: 30 minutes
- Total Time: 40 minutes
- Yield: 6 servings 1x
- Category: Main Course
- Cuisine: American
Ingredients
- 1.5 lbs (about 6) bone-in, skin-on chicken thighs
- 4 tablespoons unsalted butter, divided
- 6 cloves garlic, minced
- 1 medium yellow onion, diced
- 1 cup long-grain white rice (jasmine or basmati), uncooked
- 2 cups low-sodium chicken broth
- ½ cup water
- 1 teaspoon dried thyme
- 1 teaspoon paprika
- Salt and black pepper to taste
- Fresh parsley for garnish (optional)
Instructions
- Pat the chicken thighs dry with paper towels. Season both sides generously with salt, pepper, and paprika.
- Heat 2 tablespoons of butter in a large skillet over medium-high heat until melted and sizzling. Place the chicken thighs skin-side down in the pan, cooking undisturbed for 5-6 minutes until the skin is deep golden brown and crispy. Flip and cook for another 3-4 minutes. Transfer the chicken to a plate and set aside.
- Reduce heat to medium. Add the remaining 2 tablespoons of butter to the pan. Once melted, add the diced onion and cook for about 2 minutes until soft and translucent. Add the minced garlic and cook for 30 seconds until fragrant.
- Add the uncooked rice to the pan and stir for about 1 minute until the grains are slightly translucent at the edges.
- Pour in the chicken broth, water, and dried thyme. Stir everything together, scraping up any browned bits from the bottom of the pan.
- Nestle the chicken thighs back into the pan, skin-side up, on top of the rice. Bring the liquid to a gentle simmer.
- Reduce heat to low, cover the skillet with a tight-fitting lid, and cook undisturbed for 20 minutes.
- Turn off the heat and let the pan sit, still covered, for 5 minutes. Remove the lid, fluff the rice gently with a fork, and garnish with fresh parsley if desired.
Notes
For crispy chicken skin, ensure the skin sits above the liquid while the rice cooks. If rice is too wet after resting, let it sit uncovered for a few minutes. If too firm, add a splash of broth, cover, and cook on low for 5 more minutes. Leftovers can be stored in an airtight container in the refrigerator for up to 4 days or frozen for up to 3 months.
Nutrition
- Serving Size: 1 serving (approxima
- Calories: 485
- Sugar: 2
- Sodium: 680
- Fat: 22
- Saturated Fat: 10
- Carbohydrates: 38
- Fiber: 1
- Protein: 32
Keywords: one-pan chicken and rice, garlic butter chicken, easy weeknight dinner, one skillet meal, chicken thighs and rice