My friend Jenna asked why I couldn’t just use black cocoa powder instead of regular cocoa for a birthday cake. I started to explain why that wouldn’t work — then stopped. Honestly, I had no good reason. I’d just never tried it.
It was the week before her 30th birthday, and she wanted something dramatic. Something that looked like it belonged at a goth wedding or an elegant Halloween party, but tasted like a classic birthday cake. I was skeptical. Black cocoa powder has that almost Oreo-like flavor, and I wasn’t sure it would work with a traditional butter cake base. But Jenna had that look in her eye — the one that says “just trust me.”
So I grabbed my bag of black cocoa powder, crossed my fingers, and started mixing. Let me tell you, the batter looked wrong at first. Like, seriously wrong. It was this deep, dark gray that almost looked purple in the bowl. I thought I’d ruined it. I almost dumped the whole thing and started over with regular cocoa. But I kept going, because sometimes you just have to see something through, you know?
The cake came out of the oven looking like velvet midnight — that deep black color with just a hint of red undertone when the light hit it right. And the taste? Completely unexpected. It was rich without being heavy, chocolatey without being sweet. The cream cheese frosting balanced it perfectly, adding that tangy brightness that made every bite feel like a celebration.
I’ve been making this cake for every birthday since. It’s the one people request, the one that gets texted around, the one that makes people say “where did you get this?” Maybe you’ve been there — that moment when a friend’s wild idea turns out to be exactly right. This cake is that moment, baked into something you can actually eat.
Why You’ll Love This Recipe
This isn’t just another chocolate cake recipe. After testing this about six times (my neighbors were very happy volunteers), I can tell you exactly why this version works so well. It’s the kind of cake that makes people close their eyes after the first bite — I’ve seen it happen more times than I can count.
- Stunning Visual Impact : That deep black color looks incredible on any birthday table. No artificial food coloring needed — just black cocoa powder doing its thing.
- Rich But Not Heavy : The texture is light and tender, almost velvety. It melts in your mouth without that dense, fudgy feeling that can be too much.
- Perfect Balance of Flavors : The slightly bitter, Oreo-like cocoa pairs beautifully with tangy cream cheese frosting. It’s not too sweet, not too rich — just right.
- Simple Ingredients : Nothing fancy here. Black cocoa powder is the only special ingredient, and you can find it online or at well-stocked grocery stores.
- Crowd-Pleaser : Kids love the dramatic color. Adults love the sophisticated flavor. Everyone wins.
- Make-Ahead Friendly : The cake layers freeze beautifully, and the frosting keeps for days. You can spread out the work.
What makes this recipe different? It’s the technique of using hot coffee in the batter. That might sound weird, but trust me — it deepens the chocolate flavor without making the cake taste like coffee. I learned this trick from a pastry chef friend who swears by it, and after trying it both ways, I’ll never go back. The coffee doesn’t make it taste like your morning cup — it just makes the chocolate taste more like itself.
This is comfort food reimagined. It’s the cake you make for someone you really care about, the one that says “you’re worth the extra effort.” But honestly, it’s not even that much extra effort. It just looks like it.
What Ingredients You Will Need
This recipe uses simple, wholesome ingredients to deliver that dramatic black color and rich flavor. Most of these are pantry staples, with black cocoa powder being the one special addition. Here’s what you’ll need and why each ingredient matters.
For the Cake
- 2 cups all-purpose flour (spooned and leveled — don’t scoop straight from the bag or you’ll pack it too tight)
- 1 cup black cocoa powder (I prefer the brand from King Arthur Flour for the deepest color, but any brand works — just check that it’s labeled “black” not “Dutch-process”)
- 1 ½ cups granulated sugar (regular white sugar works best here — brown sugar would make it too dense)
- 1 ½ teaspoons baking soda (make sure it’s fresh — test it by dropping a bit in vinegar; it should fizz immediately)
- 1 teaspoon baking powder
- 1 teaspoon salt (fine sea salt, not kosher — kosher salt doesn’t dissolve as evenly in batters)
- 2 large eggs, room temperature (cold eggs will make the batter seize up — leave them out for 30 minutes)
- 1 cup buttermilk, room temperature (adds tenderness and helps activate the baking soda)
- ½ cup vegetable oil (keeps the cake moist — I use canola or avocado oil)
- 1 cup hot coffee (strong brewed coffee, not instant — this is the secret to deepening the chocolate flavor)
- 2 teaspoons vanilla extract (pure vanilla, not imitation — it really makes a difference here)
For the Cream Cheese Frosting
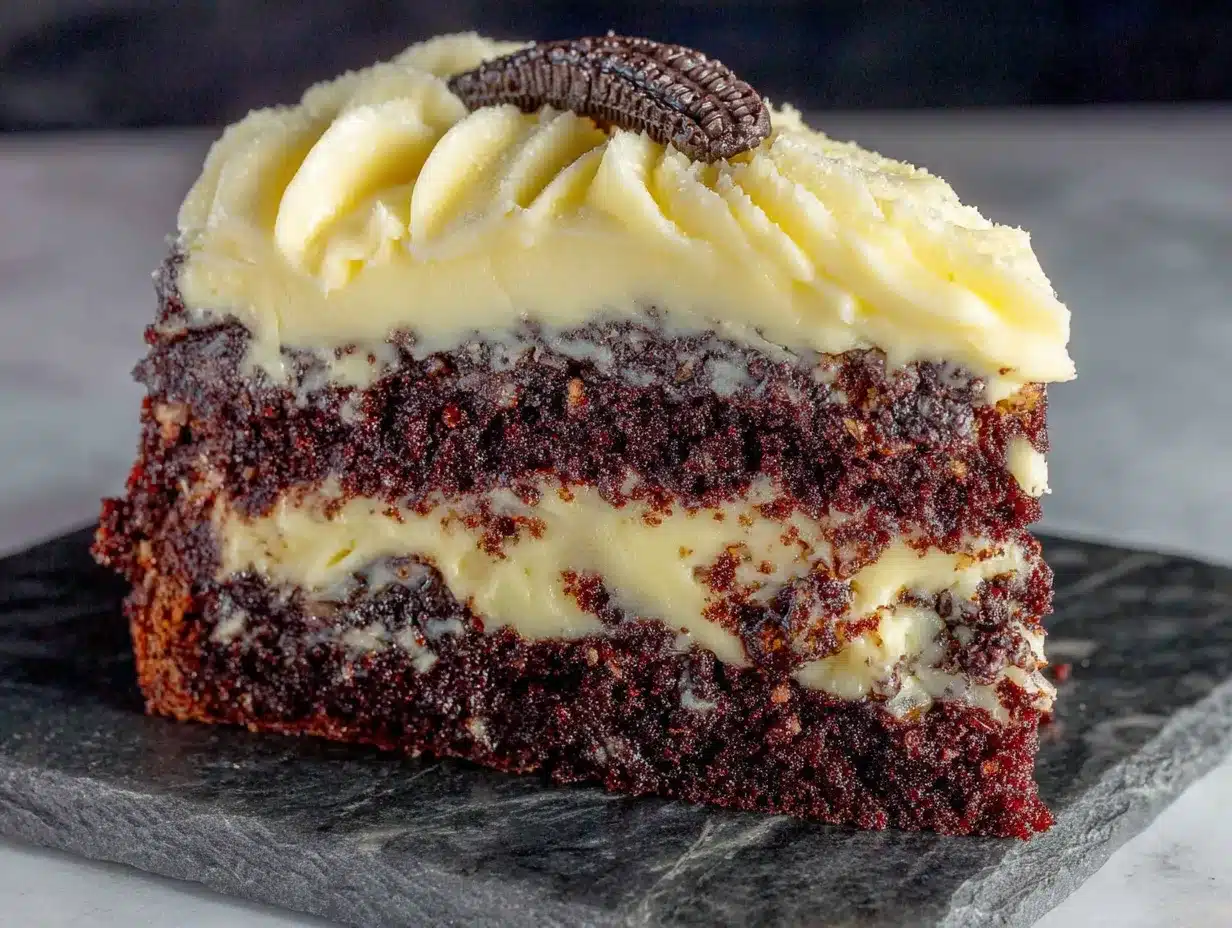
- 16 ounces cream cheese, softened (full-fat brick style, not the spreadable kind in a tub — that has too much water)
- 1 cup unsalted butter, softened (if you use salted butter, skip the added salt in the frosting)
- 4 cups powdered sugar, sifted (sifting prevents lumps — trust me, I’ve learned this the hard way)
- 2 teaspoons vanilla extract
- Pinch of salt (just a tiny bit to balance the sweetness)
For Decoration (Optional)
- Fresh berries (raspberries or strawberries add a beautiful red pop against the black cake)
- Edible flowers (pansies or violets look stunning — just make sure they’re food-safe)
- Gold sprinkles (the contrast of gold on black is absolutely gorgeous)
One quick note about the black cocoa powder: it’s different from regular Dutch-process cocoa. It’s more alkalized, which gives it that dark color and milder flavor. If you can’t find it, you can substitute with regular Dutch-process cocoa, but the color won’t be as dramatic and the flavor will be more intense. I’ve tested it both ways, and honestly, if you’re making a black velvet cake, just get the black cocoa. It’s worth the extra effort to find it.
Equipment Needed
You don’t need a professional kitchen for this cake, but having the right tools makes everything easier. Here’s what I use and what you can substitute if needed.
- Two 9-inch round cake pans (I love my Fat Daddio’s anodized aluminum pans — they heat evenly and release cakes perfectly. If you only have one pan, you can bake the layers one at a time)
- Parchment paper (cut circles for the bottom of the pans — this guarantees your cakes won’t stick)
- Electric hand mixer or stand mixer (you can whisk by hand, but your arm will get tired. I speak from experience)
- Large mixing bowls (at least two — one for dry ingredients, one for wet)
- Whisk (for combining dry ingredients)
- Rubber spatula (for scraping down the bowl and folding ingredients)
- Cooling rack (wire rack is best — if you don’t have one, you can use the overturned pans, but the bottoms might get soggy)
- Offset spatula (for frosting — a butter knife works in a pinch, but an offset spatula makes it so much easier to get smooth sides)
- Turntable (optional but helpful for frosting — I got mine for $15 at a craft store and it’s been worth every penny)
Budget-friendly tip: If you don’t have a turntable, place your cake plate on an upside-down bowl. It’s not perfect, but it gives you enough rotation to get a decent finish.
Preparation Method
Let me walk you through this step by step. I’ve made this cake enough times to know where things can go wrong, so I’ll point those out as we go.
Step 1: Prep Your Pans and Oven
Preheat your oven to 350°F (175°C). Grease two 9-inch round cake pans with butter or cooking spray, then line the bottoms with parchment paper circles. Grease the parchment too. This double-layer approach ensures your cakes release cleanly every time. I learned this after a disastrous first attempt where half the cake stayed in the pan.
Step 2: Mix the Dry Ingredients
In a large bowl, whisk together the flour, black cocoa powder, sugar, baking soda, baking powder, and salt. Whisk for at least 30 seconds to aerate everything and break up any lumps in the cocoa powder. Black cocoa powder can be clumpy, so really get in there. If you see any dark spots, those are cocoa clumps that won’t dissolve later.
Step 3: Combine the Wet Ingredients
In a separate bowl, whisk together the eggs, buttermilk, oil, and vanilla extract. Whisk until everything is smooth and well combined. The mixture should look pale and slightly thick. If your buttermilk is cold, the oil might seize up a bit — that’s okay, just keep whisking.
Step 4: Bring It All Together
Pour the wet ingredients into the dry ingredients and mix on low speed (or by hand) until just combined. The batter will be very thick at this point — almost like a paste. Don’t overmix. A few streaks of flour are fine at this stage.
Step 5: Add the Hot Coffee
Slowly pour in the hot coffee while mixing on low speed. The batter will thin out dramatically — this is normal. It should be the consistency of a thick milkshake. The coffee might look like it’s separating at first, but keep mixing until it’s smooth. Scrape down the sides and bottom of the bowl with your spatula to make sure everything is incorporated.
Step 6: Divide and Bake
Pour the batter evenly into the prepared pans. Each pan should get about 2 ½ cups of batter. Tap the pans gently on the counter to release any air bubbles. Bake for 28-32 minutes, or until a toothpick inserted in the center comes out clean or with just a few moist crumbs. The cake should spring back when lightly touched.
Here’s a sensory cue: the kitchen will smell intensely chocolatey and slightly like coffee — that’s the magic happening. The cake tops will look slightly cracked and darker than the rest of the cake. That’s normal for this recipe.
Step 7: Cool Completely
Let the cakes cool in their pans on a wire rack for 15 minutes. Then run a knife around the edges and invert them onto the rack. Peel off the parchment paper and let them cool completely — and I mean completely. If the cake is even slightly warm, your frosting will melt and slide off. I usually wait at least 2 hours, sometimes longer.
Step 8: Make the Frosting
While the cakes cool, make the frosting. In a large bowl, beat the softened cream cheese and butter together until smooth and creamy — about 2 minutes. Scrape down the bowl. Add the sifted powdered sugar one cup at a time, mixing on low speed to avoid a sugar cloud. Add the vanilla and salt, then beat on medium-high for 2-3 minutes until light and fluffy. Don’t overbeat or the frosting will become too soft.
Step 9: Assemble and Frost
Place one cake layer on your serving plate. Spread about 1 cup of frosting evenly on top. Place the second layer on top, then apply a thin crumb coat — a thin layer of frosting that traps any loose crumbs. Refrigerate for 20 minutes, then apply the final layer of frosting. Use your offset spatula to create smooth sides or decorative swirls on top.
Cooking Tips & Techniques
After making this cake more times than I care to admit, here are the things I wish someone had told me from the start.
Don’t skip the coffee. I know it sounds weird. I was skeptical too. But the coffee doesn’t make the cake taste like coffee — it just makes the chocolate taste deeper and more complex. Think of it like salt in cookies: it doesn’t make them salty, it makes them taste more like themselves. If you’re truly opposed to coffee, you can substitute hot water, but the flavor won’t be as rich.
Room temperature ingredients matter. I used to think this was just chef nonsense until I tested it side by side. Cold eggs and cold buttermilk make the batter seize up. The cake comes out denser and less tender. Leave your eggs and buttermilk on the counter for 30 minutes before starting. Your future self will thank you.
Weigh your flour if you can. I know not everyone has a kitchen scale, but if you do, use it. Flour is notoriously tricky to measure by volume. One cup can weigh anywhere from 120 to 150 grams depending on how you scoop. For this recipe, aim for 240 grams total for the 2 cups. If you don’t have a scale, spoon the flour into your measuring cup and level it off — don’t scoop directly from the bag.
Don’t overmix the batter. Once you add the coffee, mix just until everything comes together. Overmixing develops the gluten and makes the cake tough. A few lumps are fine — they’ll bake out. I learned this after a particularly dense batch that my husband politely called “rustic.”
Let the cakes cool completely. I cannot stress this enough. Warm cake + cream cheese frosting = a slippery, melty mess. I once frosted a slightly warm cake and ended up with frosting sliding down the sides like a chocolate waterfall. Pretty in theory, disastrous in practice.
Variations & Adaptations
One of the best things about this recipe is how adaptable it is. Here are some variations I’ve tried and loved.
Gluten-Free Version
Substitute the all-purpose flour with a 1:1 gluten-free baking flour blend. I’ve had good results with Bob’s Red Mill and King Arthur Flour’s gluten-free blends. Add ½ teaspoon of xanthan gum if your blend doesn’t already include it. The texture will be slightly more delicate, so handle the cake layers gently when stacking.
Dairy-Free Version
Use a dairy-free buttermilk substitute: add 1 tablespoon of lemon juice or vinegar to 1 cup of unsweetened almond milk or oat milk, let it sit for 5 minutes, then use as directed. For the frosting, use dairy-free cream cheese (I like Kite Hill or Miyoko’s) and vegan butter. The flavor will be slightly different, but it still tastes incredible.
Cupcake Version
This batter makes about 24 cupcakes. Bake at 350°F for 18-20 minutes. The black color looks especially dramatic in cupcake form, and they’re perfect for parties. Top with a swirl of cream cheese frosting and a single raspberry for that pop of red.
Layer Cake Variations
For a taller cake, use three 8-inch pans instead of two 9-inch pans. Bake for 22-25 minutes. You’ll have more frosting surface area, so consider making 1.5 times the frosting recipe.
Flavor Twists
Add 1 teaspoon of espresso powder to the dry ingredients for an even deeper chocolate flavor. Or fold in ½ cup of mini chocolate chips for little pockets of melted chocolate. For a peppermint version, add 1 teaspoon of peppermint extract to the batter and crush candy canes on top of the frosting.
Serving & Storage Suggestions
This cake is best served at room temperature — the cream cheese frosting softens slightly and the cake becomes incredibly tender. Take it out of the refrigerator about 30 minutes before serving. Slice with a sharp knife, wiping the blade clean between cuts for those beautiful, Instagram-worthy slices.
For serving, I love pairing this cake with fresh raspberries or strawberries. The bright, tart fruit cuts through the richness of the frosting and complements the dark chocolate flavor. A dollop of lightly sweetened whipped cream on the side never hurts either. If you’re feeling extra fancy, drizzle a little warm chocolate sauce over each slice.
For beverages, this cake pairs beautifully with a strong cup of coffee (surprise, surprise), a cold glass of milk, or even a dessert wine like port or late-harvest Riesling. The sweetness of the cake balances the tannins in red wine surprisingly well too.
Storage: This cake keeps well in the refrigerator for up to 5 days. Store it in an airtight container or cover it loosely with plastic wrap. The cream cheese frosting needs to stay refrigerated, but let slices come to room temperature before serving for the best texture.
Freezing: You can freeze the unfrosted cake layers for up to 3 months. Wrap each layer tightly in plastic wrap, then in aluminum foil. Thaw at room temperature before frosting. You can also freeze the frosted cake — just place it in the freezer unwrapped for 1 hour to firm up the frosting, then wrap it tightly. Thaw in the refrigerator overnight.
Make-Ahead Tip: The frosting can be made up to 3 days in advance and stored in the refrigerator. Let it come to room temperature and re-whip for a minute before using. The cake layers can be baked a day ahead and stored at room temperature, wrapped tightly in plastic wrap.
Nutritional Information & Benefits
Let’s be real — this is a celebration cake. It’s not health food, but it does have some redeeming qualities. Here’s the approximate nutritional breakdown per slice (based on 12 servings):
- Calories: 480-520
- Fat: 28g
- Carbohydrates: 58g
- Protein: 6g
- Fiber: 3g
- Sugar: 40g
The black cocoa powder is actually a good source of antioxidants — cocoa is packed with flavonoids that support heart health. The cream cheese adds a bit of protein and calcium, while the eggs provide high-quality protein and essential vitamins. Of course, the butter and sugar balance things out on the indulgence side, but that’s what birthday cake is for, right?
If you’re watching your sugar intake, you can reduce the sugar in the cake to 1 ¼ cups without affecting the texture too much. The frosting is harder to adjust — cream cheese frosting really needs that powdered sugar for structure. But you can use a sugar-free powdered sugar substitute if needed.
This recipe contains gluten, dairy, and eggs. For allergen-friendly versions, check the variations section above.
Conclusion
This black velvet birthday cake has become my signature dessert for a reason. It’s dramatic enough to impress at any celebration, but simple enough that you don’t need a pastry degree to pull it off. The deep black color, the velvety texture, the tangy cream cheese frosting — every element works together to create something truly special.
I love that this recipe started with a friend’s suggestion I almost dismissed. It reminds me that sometimes the best ideas come from unexpected places. So if you’re making this for someone’s birthday, know that you’re giving them more than just cake — you’re giving them a story, a memory, a moment of pure indulgence.
I’d love to hear how yours turns out. Did you try any variations? Did the black color blow everyone away? Drop a comment below and let me know. And if you share it on social media, tag me — I genuinely love seeing your creations. Happy baking, and here’s to many more celebrations!
Frequently Asked Questions
Can I use regular cocoa powder instead of black cocoa powder?
You can, but the cake won’t be black — it will be a dark brown. The flavor will also be more intense and less mild. If you want that dramatic black color, stick with black cocoa powder. You can find it at specialty baking stores or online.
Why did my cake turn out dry?
The most common reason is overbaking. Start checking your cakes at 28 minutes. Another culprit is overmixing the batter, which develops too much gluten. Finally, make sure you’re measuring your flour correctly — too much flour will dry out the cake.
Can I make this cake in advance?
Absolutely. You can bake the cake layers up to 2 days ahead and store them wrapped in plastic at room temperature. The frosting can be made up to 3 days ahead and refrigerated. Assemble and frost the day you plan to serve it for the best results.
How do I get my cream cheese frosting smooth?
Make sure your cream cheese and butter are truly softened — not melted, but soft enough that your finger leaves an indentation. Sift your powdered sugar to prevent lumps. And don’t overbeat the frosting once the sugar is added, or it will become too soft to hold its shape.
Can I turn this into a sheet cake?
Yes! Pour the batter into a greased 9×13 inch pan and bake at 350°F for 30-35 minutes. The baking time will vary depending on your pan, so start checking at 30 minutes. You’ll need about 1.5 times the frosting recipe for a generous layer on top.
Pin This Recipe!
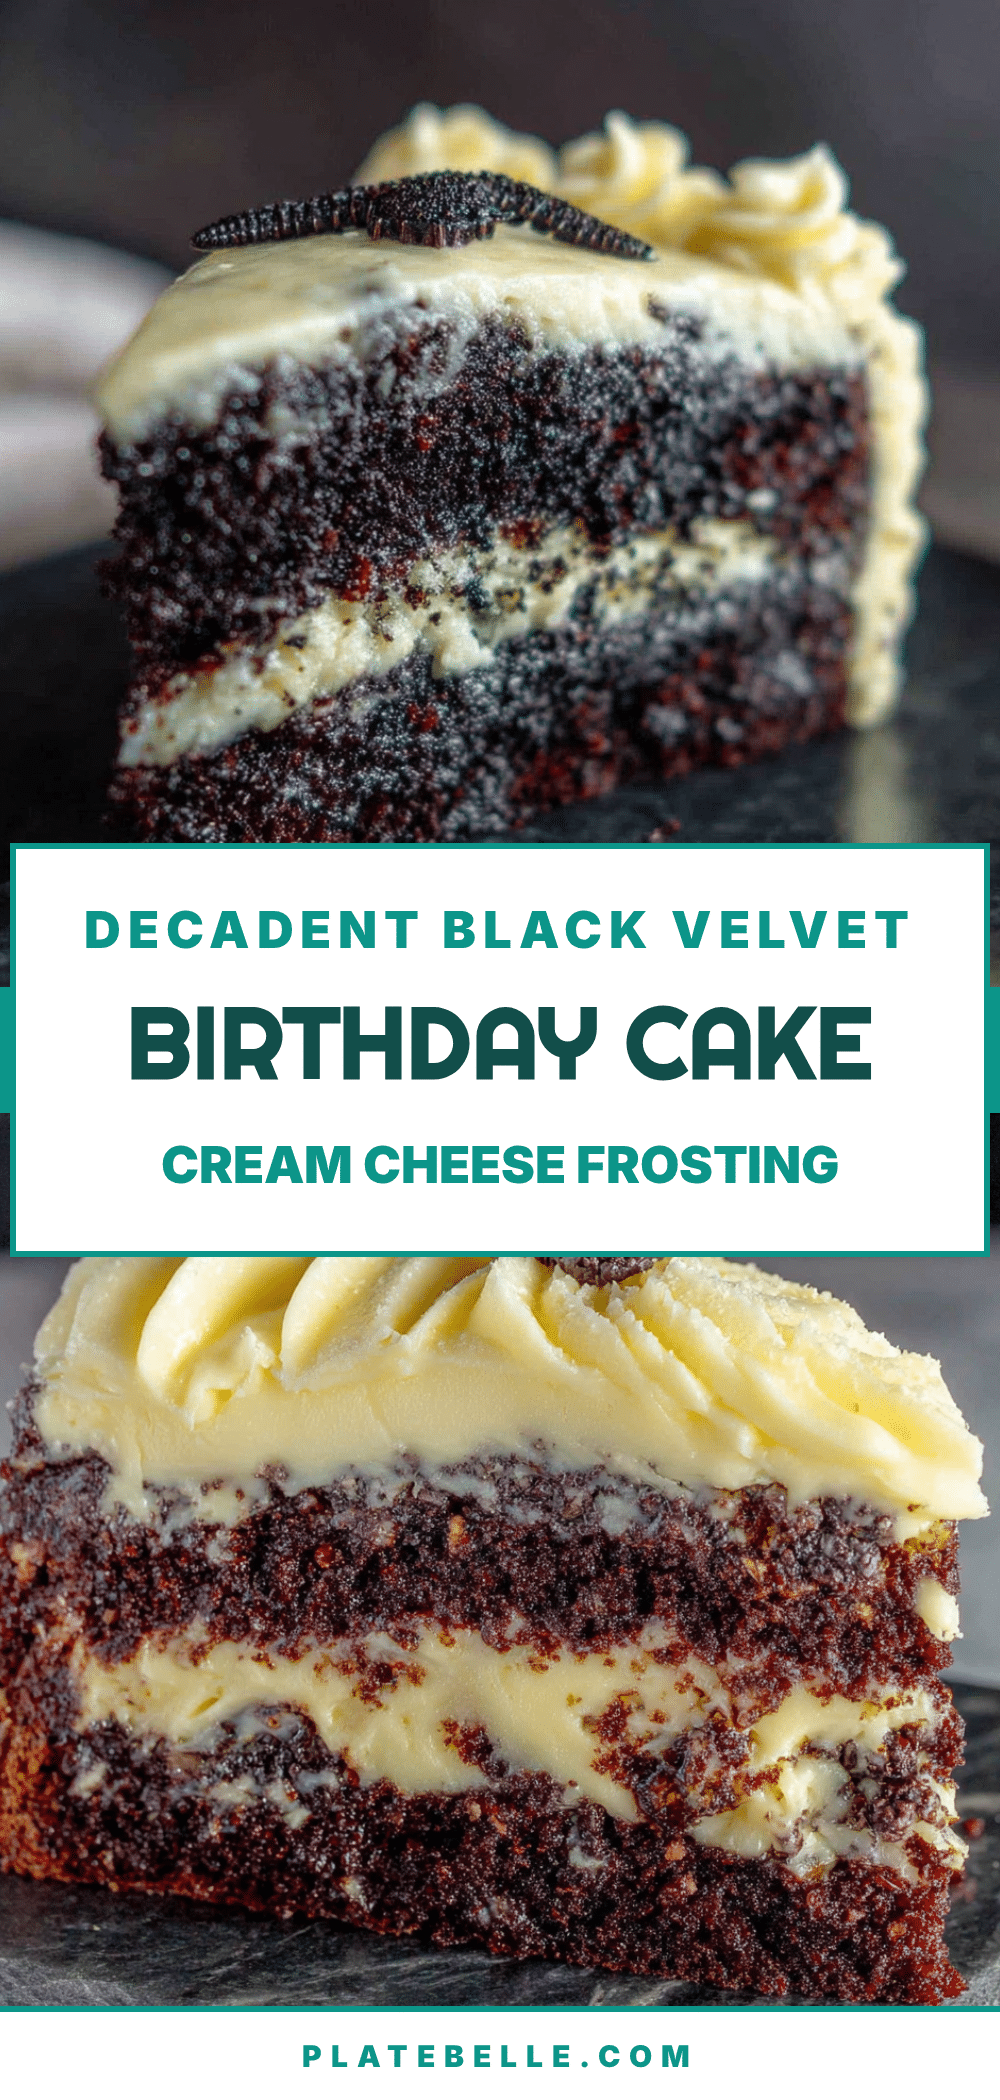
Decadent Black Velvet Birthday Cake with Cream Cheese Frosting
A dramatic black velvet cake with deep, rich chocolate flavor and tangy cream cheese frosting. Perfect for birthdays, goth weddings, or any celebration where you want to impress.
- Prep Time: 30 minutes
- Cook Time: 30 minutes
- Total Time: 2 hours 30 minutes (includes cooling)
- Yield: 12 servings 1x
- Category: Dessert
- Cuisine: American
Ingredients
- 2 cups all-purpose flour (spooned and leveled)
- 1 cup black cocoa powder
- 1 ½ cups granulated sugar
- 1 ½ teaspoons baking soda
- 1 teaspoon baking powder
- 1 teaspoon fine sea salt
- 2 large eggs, room temperature
- 1 cup buttermilk, room temperature
- ½ cup vegetable oil (canola or avocado)
- 1 cup hot strong brewed coffee
- 2 teaspoons pure vanilla extract
- 16 ounces cream cheese, softened (full-fat brick style)
- 1 cup unsalted butter, softened
- 4 cups powdered sugar, sifted
- 2 teaspoons vanilla extract
- Pinch of salt
- Fresh berries (optional, for decoration)
- Edible flowers (optional, for decoration)
- Gold sprinkles (optional, for decoration)
Instructions
- Preheat oven to 350°F (175°C). Grease two 9-inch round cake pans and line bottoms with parchment paper. Grease parchment as well.
- In a large bowl, whisk together flour, black cocoa powder, sugar, baking soda, baking powder, and salt for at least 30 seconds.
- In a separate bowl, whisk together eggs, buttermilk, oil, and vanilla until smooth.
- Pour wet ingredients into dry ingredients and mix on low speed until just combined. Batter will be very thick.
- Slowly pour in hot coffee while mixing on low speed until batter is smooth and consistency of thick milkshake. Scrape down bowl.
- Divide batter evenly between prepared pans (about 2 ½ cups each). Tap pans gently on counter to release air bubbles.
- Bake for 28-32 minutes, until a toothpick inserted in center comes out clean or with a few moist crumbs. Cool in pans on wire rack for 15 minutes.
- Run a knife around edges, invert cakes onto rack, peel off parchment, and cool completely (at least 2 hours).
- For frosting: Beat softened cream cheese and butter together until smooth and creamy, about 2 minutes. Add sifted powdered sugar one cup at a time, mixing on low. Add vanilla and salt, then beat on medium-high for 2-3 minutes until light and fluffy.
- Place one cake layer on serving plate. Spread about 1 cup frosting evenly on top. Place second layer on top. Apply thin crumb coat, refrigerate 20 minutes, then apply final layer of frosting. Decorate as desired.
Notes
Don’t skip the hot coffee—it deepens the chocolate flavor without making the cake taste like coffee. Room temperature ingredients are crucial for best texture. Weigh flour if possible (240g total for 2 cups). Cool cakes completely before frosting to prevent melting.
Nutrition
- Serving Size: 1 slice
- Calories: 500
- Sugar: 40
- Sodium: 380
- Fat: 28
- Saturated Fat: 14
- Carbohydrates: 58
- Fiber: 3
- Protein: 6
Keywords: black velvet cake, birthday cake, cream cheese frosting, black cocoa, chocolate cake, dramatic cake, goth cake


