The neighborhood cookie exchange was in four hours and I’d completely forgotten. Everyone else would be bringing those elaborate, multi-day preparations—you know the ones. Hand-rolled truffles, French macarons, those cookies that require a pastry bag and a prayer. I had three overripe bananas on my counter, a bag of chocolate chips I’d bought on a whim, and some walnuts that were probably older than I wanted to admit. Honestly, I almost just showed up with a store-bought pie. But something made me grab that mixing bowl instead. I mean, desperate times, right?
I threw together this banana bread—no mixer, no fuss, just a bowl and a spoon—and walked into that party feeling like I was bringing a consolation prize. You know that feeling when you’re the underdog at a potluck? Yeah, that was me. I set my loaf on the table next to a tower of glittering macarons and braced for polite nods. Instead, people started circling. Someone asked for the recipe before I’d even taken my coat off. By the end of the night, the macaron lady was asking me for baking tips. I’m not kidding.
That’s the thing about this easy banana bread with chocolate chips and walnuts. It doesn’t try to be fancy. It’s just honest, warm, and exactly what you want when you need something good, fast. Maybe you’ve been there—scrambling for a dish to bring, running late, feeling like you’ve already lost. This recipe is your win. It’s the one that makes people close their eyes after the first bite, the one they ask for again and again. And honestly? It’s the reason I never panic about a forgotten potluck anymore.
Why You’ll Love This Recipe
Let’s be real for a second. There are about a million banana bread recipes out there. Why should this one earn a spot in your kitchen? I’ve tested this particular version more times than I can count—through burnt edges, sunken middles, and one memorable incident with baking soda that I’d rather not discuss. This is the one that finally worked. Every. Single. Time.
- Quick & Easy: From start to finish, this comes together in about an hour. The active prep time is maybe 10 minutes. No stand mixer required. No sifting. No fuss.
- Simple Ingredients: You probably have everything in your kitchen right now. Bananas? Check. Flour, sugar, eggs? Double check. Chocolate chips and walnuts are optional but highly recommended—and I bet you’ve got those hiding in your pantry too.
- Perfect for Any Occasion: Breakfast, snack, dessert, potluck, last-minute hostess gift—this loaf does it all. It’s the Swiss Army knife of baked goods.
- Crowd-Pleaser: Kids love the chocolate chips. Adults appreciate the walnuts. Everyone agrees on the moist, tender crumb. I’ve yet to meet a person who didn’t go back for seconds.
- Unbelievably Delicious: The texture is what gets me every time. It’s not dry like some banana breads can be. It’s almost pudding-like in the center, with a slightly crisp top that gives way to softness. The chocolate melts into little pockets of richness, and the walnuts add that necessary crunch.
What makes this different from the rest? It’s the technique. Most recipes tell you to cream butter and sugar, which takes time and a mixer. I use melted butter instead—it’s faster, and it creates a denser, more tender crumb that stays moist for days. Plus, I’ve nailed the exact ratio of bananas to flour so you get maximum banana flavor without the bread turning into a soggy mess. This isn’t just another version. It’s the version you’ll come back to.
What Ingredients You Will Need
This recipe uses simple, wholesome ingredients to deliver bold flavor and satisfying texture without the fuss. Most of these are pantry staples, which makes this the perfect last-minute bake.
- Ripe Bananas: 3 medium to large bananas, well mashed (about 1 ½ cups). The riper, the better. Those spotty, almost-black bananas are perfect. They’re sweeter and easier to mash. If your bananas aren’t ripe enough, you can roast them in a 300°F oven for 15-20 minutes until soft.
- Unsalted Butter: ⅓ cup (75g), melted. I use unsalted so I can control the salt level. If you only have salted butter, just reduce the added salt to ¼ teaspoon.
- Granulated Sugar: ¾ cup (150g). Regular white sugar works perfectly. You can substitute coconut sugar for a deeper flavor, but the texture will be slightly denser.
- Large Egg: 1, at room temperature. A room-temperature egg blends more evenly into the batter. If you forgot to take it out, place it in a bowl of warm water for 5 minutes.
- Vanilla Extract: 1 teaspoon. Pure vanilla extract is best, but imitation works fine in a pinch. I personally prefer Nielsen-Massey for its rich flavor.
- All-Purpose Flour: 1 ½ cups (190g). Spoon and level your flour—don’t scoop directly from the bag. Scooping packs the flour and leads to dry bread.
- Baking Soda: 1 teaspoon. This is the leavening agent. Make sure it’s fresh—test it by dropping a little into vinegar; it should fizz immediately.
- Salt: ½ teaspoon. Fine sea salt or table salt. Salt balances the sweetness and enhances the banana flavor.
- Ground Cinnamon: 1 teaspoon (optional but recommended). Cinnamon and banana are a classic pairing. It adds warmth without overpowering.
- Semi-Sweet Chocolate Chips: ½ cup (90g). I prefer semi-sweet because it’s not too sweet, but dark or milk chocolate both work. Use a good brand like Ghirardelli or Guittard for the best melt.
- Chopped Walnuts: ½ cup (60g). Toast them lightly in a dry pan for 3-4 minutes for extra flavor. Pecans or almonds are great substitutes.
Substitution Guidance: For a gluten-free version, use a 1:1 gluten-free flour blend. For dairy-free, use coconut oil or vegan butter in place of the butter. You can swap the walnuts with pecans or omit them entirely if you prefer a nut-free version. The chocolate chips can be replaced with dried fruit like raisins or chopped dates.
Equipment Needed
You don’t need a fancy kitchen to make this. Honestly, I’ve made this in a tiny apartment with mismatched bowls and a fork for mashing. Here’s what you’ll need:
- 9×5-inch Loaf Pan: Standard size. If you use an 8×4-inch pan, you’ll need to increase the baking time by 5-10 minutes. Glass or metal both work, but metal gives a nicer crust.
- Mixing Bowls: One large bowl for the wet ingredients and one medium bowl for the dry. I prefer glass or stainless steel.
- Whisk or Fork: For mashing the bananas and mixing the batter. A fork works perfectly for mashing.
- Spatula or Wooden Spoon: For folding in the chocolate chips and walnuts. A rubber spatula is ideal for scraping every last bit of batter.
- Measuring Cups and Spoons: For accurate measurements. I can’t stress this enough—baking is a science.
- Parchment Paper: Not strictly necessary, but it makes cleanup a breeze. Cut a strip to fit the bottom and long sides of the pan, leaving overhang for easy lifting.
- Cooling Rack: For cooling the bread evenly. If you don’t have one, you can use the stovetop grates or a cutting board propped up on two cans.
Budget-Friendly Options: No loaf pan? Use a 9-inch round cake pan—just check for doneness earlier. No mixer? Good, you don’t need one. No parchment paper? Grease the pan well with butter or cooking spray and dust with flour.
Preparation Method
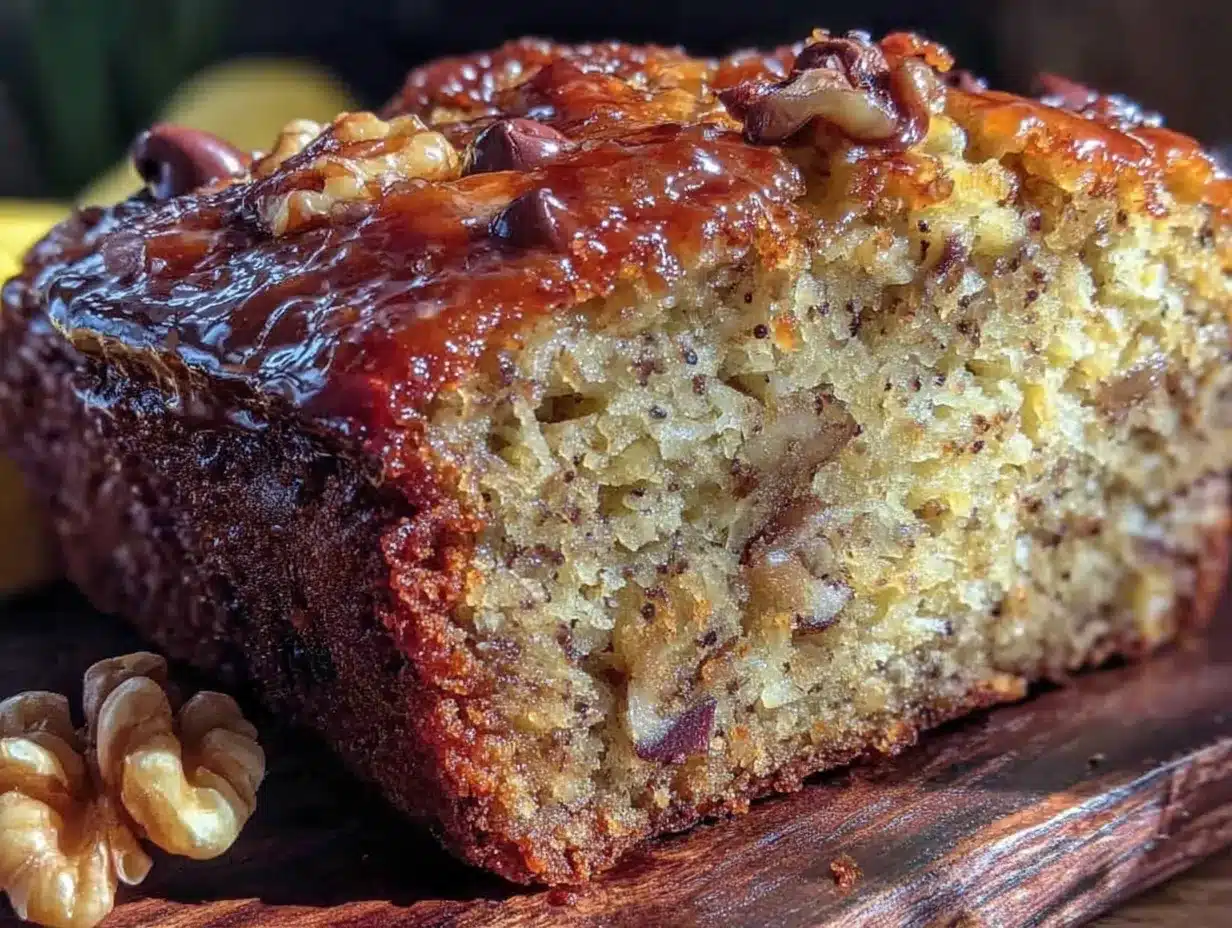
Let’s get baking. I’ll walk you through every step so you get perfect results even if it’s your first time.
- Preheat and Prep: Preheat your oven to 350°F (175°C). Grease your 9×5-inch loaf pan with butter or cooking spray, or line it with parchment paper. I prefer parchment because it makes lifting the bread out so much easier—no wrestling with a hot pan.
- Mash the Bananas: In a large bowl, mash your ripe bananas with a fork until they’re mostly smooth. A few small lumps are fine—they add texture. You should have about 1 ½ cups of mashed banana. If you have more, that’s okay, but the bread will be denser and might need extra baking time.
- Mix the Wet Ingredients: Add the melted butter, granulated sugar, egg, and vanilla extract to the mashed bananas. Stir with a whisk or fork until everything is well combined. The mixture will look a bit grainy from the sugar—that’s normal. Don’t overmix; just stir until you don’t see any streaks of egg.
- Combine the Dry Ingredients: In a separate medium bowl, whisk together the all-purpose flour, baking soda, salt, and ground cinnamon. Whisking aerates the flour and ensures the baking soda and salt are evenly distributed. If you skip this step, you might end up with a pocket of baking soda that tastes bitter.
- Fold Dry into Wet: Pour the dry ingredients into the wet mixture. Use a spatula to fold gently—fold, scrape, fold, scrape. Stop as soon as you no longer see dry flour. A few small streaks of flour are better than overmixing. Overmixing develops gluten and makes the bread tough. Trust me, I’ve made that mistake more than once.
- Add the Mix-Ins: Gently fold in the semi-sweet chocolate chips and chopped walnuts. Reserve about 2 tablespoons of chocolate chips to sprinkle on top—it makes the loaf look bakery-worthy. Fold just until the add-ins are evenly distributed. Don’t stir vigorously or the chocolate chips will melt into the batter.
- Transfer to Pan: Pour the batter into your prepared loaf pan. Use the spatula to spread it evenly. Sprinkle the reserved chocolate chips on top, pressing them gently into the batter so they stick. If you want, add a few extra walnut pieces on top for looks.
- Bake: Place the pan in the preheated oven and bake for 50-60 minutes. Start checking at 50 minutes. The bread is done when a toothpick inserted into the center comes out clean or with just a few moist crumbs. If the top is browning too quickly (after about 40 minutes), tent the pan loosely with aluminum foil.
- Cool: Let the bread cool in the pan on a wire rack for 10-15 minutes. Then, using the parchment paper overhang, lift the bread out and transfer it to the rack to cool completely. I know it’s tempting to slice into it warm, but it will be too fragile and might crumble. Wait at least 30 minutes.
Troubleshooting Tip: If your bread is browning too fast on top but still wet in the middle, your oven might run hot. Reduce the temperature to 325°F next time and bake longer. Every oven is different—get to know yours.
Cooking Tips & Techniques
After making this easy banana bread more times than I can count, I’ve picked up a few tricks that make a real difference. Here’s what I’ve learned the hard way so you don’t have to.
Don’t Overmix: This is the number one mistake I see. When you combine the wet and dry ingredients, mix only until the flour disappears. Overmixing develops gluten, which makes the bread tough and rubbery. You want a tender, soft crumb. A few lumps are your friend.
Use a Kitchen Scale: I know, I know—another gadget. But honestly, measuring flour by weight (190g) is so much more accurate than scooping. A cup of flour can vary by 20-30 grams depending on how you scoop it. That difference can make your bread dry or dense. If you don’t have a scale, spoon the flour into your measuring cup and level it off with a knife.
Banana Math: The size of your bananas matters. Three medium bananas usually yield about 1 ½ cups mashed. If your bananas are small, use four. If they’re huge, two might be enough. Too much banana makes the bread gummy; too little makes it dry. Measure after mashing to be safe.
Room Temperature Egg: A cold egg can seize the melted butter and create a lumpy batter. Take your egg out of the fridge 30 minutes before baking, or place it in a bowl of warm water for 5 minutes. It’s a small step that makes a big difference.
Check for Doneness Properly: Insert your toothpick into the center of the bread—not the edge. If it comes out clean, it’s done. But here’s the thing: if you’ve added chocolate chips, you might hit a melted pocket of chocolate. That’s not a sign of underbaking. Test in a few spots to be sure.
Let It Cool: I know the smell is intoxicating. I’ve definitely cut into a warm loaf and watched it fall apart in my hands. The bread needs time to set. Let it cool completely for the cleanest slices. If you can’t wait, at least give it 30 minutes.
Variations & Adaptations
This recipe is incredibly forgiving and adaptable. Here are some of my favorite variations—some I’ve tried, some I’ve heard about from readers.
Gluten-Free Version: Substitute the all-purpose flour with a 1:1 gluten-free baking blend that contains xanthan gum. I’ve had great results with Bob’s Red Mill 1:1. The texture is slightly more delicate, so let it cool completely before slicing. Add an extra tablespoon of milk or yogurt if the batter seems too thick.
Vegan Version: Replace the egg with a flax egg (1 tablespoon ground flaxseed mixed with 3 tablespoons water, let sit for 5 minutes). Use coconut oil or vegan butter instead of butter. Most semi-sweet chocolate chips are accidentally vegan, but check the label. The bread will be a bit denser but still delicious.
Lower Sugar Option: Reduce the sugar to ½ cup (100g). The bananas provide plenty of natural sweetness. You can also use a sugar substitute like monk fruit sweetener, but the texture might be slightly different. I’ve tried this with ½ cup coconut sugar and it worked beautifully—just a bit darker in color.
Seasonal Twists: In the fall, add ½ teaspoon of pumpkin pie spice and swap the chocolate chips for dried cranberries. In the summer, fold in ½ cup of fresh blueberries (toss them in a little flour first so they don’t sink). In winter, add a teaspoon of orange zest and use dark chocolate chips for a festive touch.
Nut-Free Option: Simply omit the walnuts or replace them with an equal amount of sunflower seeds or pumpkin seeds. For a crunchier texture, try adding ½ cup of rolled oats instead. Toasting the oats first adds a lovely nutty flavor.
Serving & Storage Suggestions
This banana bread is wonderful served warm or at room temperature. For the ultimate experience, toast a slice lightly and spread it with salted butter. The contrast of warm, melty chocolate and cold butter is honestly life-changing.
Serving Ideas:
- For breakfast: Serve with a dollop of Greek yogurt and a drizzle of honey.
- For dessert: Top with a scoop of vanilla ice cream and a drizzle of caramel sauce.
- For a snack: Pair with a cup of coffee or a cold glass of milk.
- For brunch: Cut into cubes and serve alongside fresh fruit and whipped cream.
Storage Instructions: Store the banana bread in an airtight container at room temperature for up to 4 days. The moisture from the bananas actually keeps it soft longer than most baked goods. If you live in a humid climate, you can store it in the refrigerator, but it will dry out slightly faster.
Freezing: This bread freezes beautifully. Wrap it tightly in plastic wrap, then in aluminum foil, and freeze for up to 3 months. To thaw, leave it on the counter overnight or microwave individual slices for 20-30 seconds. I like to freeze individual slices so I can grab one whenever the craving hits.
Reheating: For that fresh-from-the-oven taste, reheat slices in a toaster or toaster oven for 3-4 minutes. You can also microwave for 15-20 seconds, but the texture won’t be as nice. If reheating the whole loaf, wrap it in foil and warm in a 300°F oven for 10-15 minutes.
Flavor Development: Here’s a secret—this banana bread actually tastes better on day two. The flavors have time to meld, and the texture becomes even more moist. So if you can wait, make it a day ahead. I’ve been known to hide a slice just to enjoy it the next morning.
Nutritional Information & Benefits
While this is definitely a treat, it does have some redeeming qualities. Here’s the estimated nutritional breakdown for one slice (based on 10 slices):
| Nutrient | Amount Per Slice |
|---|---|
| Calories | 290 |
| Total Fat | 14g |
| Saturated Fat | 6g |
| Cholesterol | 35mg |
| Sodium | 200mg |
| Total Carbohydrates | 40g |
| Dietary Fiber | 3g |
| Sugars | 22g |
| Protein | 4g |
Health Benefits: Bananas are packed with potassium, which supports heart health and muscle function. They also contain vitamin B6 and vitamin C. Walnuts are an excellent source of omega-3 fatty acids, which are great for brain health. Dark chocolate (if you use 70% or higher) contains antioxidants that can help reduce inflammation. So while this isn’t health food, it’s certainly not junk food either.
Dietary Considerations: This recipe can be made gluten-free, dairy-free, and vegan with the substitutions mentioned above. It contains nuts (if using walnuts) and gluten (if using all-purpose flour). It’s not suitable for low-carb or keto diets due to the bananas and sugar.
Conclusion
This easy banana bread with chocolate chips and walnuts is more than just a recipe—it’s a solution. It’s what you make when you need something good, fast, and reliable. It’s what you bring to potlucks when you’ve forgotten until the last minute. It’s what you bake on a Sunday afternoon just because the bananas on your counter are begging to be used.
I love this recipe because it never lets me down. It’s forgiving enough for beginners, satisfying enough for experienced bakers, and delicious enough to win over anyone. The combination of sweet banana, rich chocolate, and crunchy walnuts is timeless. And the fact that it comes together in one bowl with no mixer? That’s just the cherry on top.
I’d love to hear how yours turns out. Did you try a variation? Add something unexpected? Leave a comment below and let me know. And if you share a photo on social media, tag me—I want to see your beautiful loaf. Happy baking, friend. You’ve got this.
Frequently Asked Questions
Can I use frozen bananas for this recipe?
Absolutely! Frozen bananas actually work wonderfully. Thaw them completely, then drain off any excess liquid before mashing. The freezing process breaks down the cell walls, making them even sweeter and easier to mash. Just don’t skip the draining step—too much liquid can make the bread gummy.
Why did my banana bread sink in the middle?
This usually happens for one of three reasons: the bread was underbaked, the oven temperature was too low, or too much banana was used. Make sure your oven is properly preheated and that you bake until a toothpick comes out clean. Also, measure your mashed banana—1 ½ cups is the sweet spot. If your bread sinks, it’s still edible—just call it “rustic.”
Can I make this into muffins instead?
Yes! This batter works beautifully for muffins. Grease a 12-cup muffin tin and divide the batter evenly. Bake at 350°F for 18-22 minutes, or until a toothpick comes out clean. You’ll get about 12 muffins. Reduce the baking time by about 5 minutes if you’re making mini muffins. This is my go-to for school bake sales.
How do I know when my bananas are ripe enough?
Look for bananas that are heavily spotted with brown or even mostly black. They should be soft to the touch and smell sweet. If you press gently, your finger should leave an indent. Green or yellow bananas without spots won’t have enough sugar or moisture—your bread will be dry and not very flavorful. If you’re in a rush, you can speed-ripen bananas in a 300°F oven for 15-20 minutes.
Can I add other mix-ins besides chocolate chips and walnuts?
Of course! This recipe is a blank canvas. Try white chocolate chips and macadamia nuts, dried cherries and pecans, or butterscotch chips and shredded coconut. You can even swirl in a few tablespoons of peanut butter or Nutella before baking. Just keep the total amount of mix-ins to about 1 cup so the batter structure stays intact. I’ve made a version with chopped dark chocolate and toasted almonds that was absolutely divine.
Pin This Recipe!
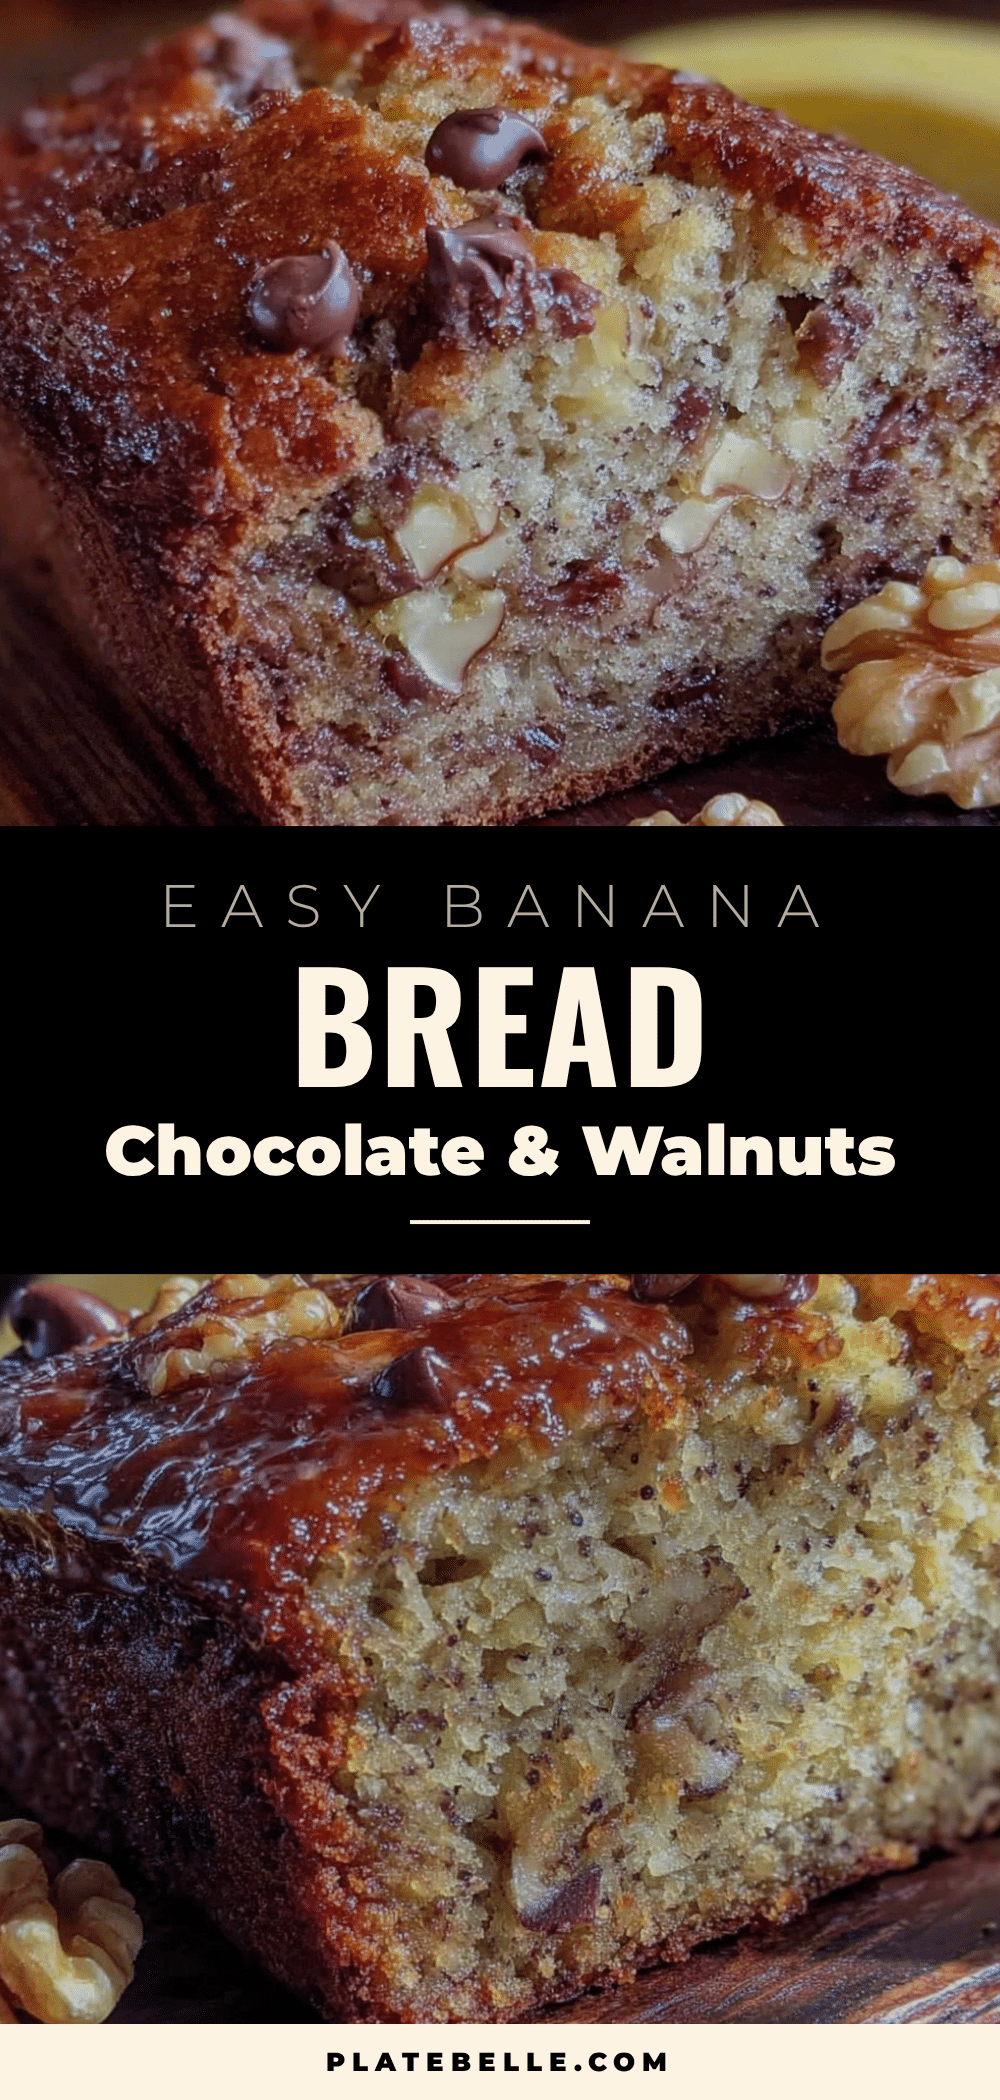
Easy Banana Bread with Chocolate Chips & Walnuts
This easy banana bread with chocolate chips and walnuts is a quick, one-bowl recipe that delivers a moist, tender crumb with pockets of melted chocolate and crunchy walnuts. Perfect for last-minute potlucks, breakfast, or a comforting snack.
- Prep Time: 10 minutes
- Cook Time: 55 minutes
- Total Time: 1 hour 5 minutes
- Yield: 10 servings 1x
- Category: Dessert
- Cuisine: American
Ingredients
- 3 medium to large ripe bananas (about 1 ½ cups mashed)
- ⅓ cup (75g) unsalted butter, melted
- ¾ cup (150g) granulated sugar
- 1 large egg, at room temperature
- 1 teaspoon vanilla extract
- 1 ½ cups (190g) all-purpose flour
- 1 teaspoon baking soda
- ½ teaspoon salt
- 1 teaspoon ground cinnamon (optional)
- ½ cup (90g) semi-sweet chocolate chips
- ½ cup (60g) chopped walnuts
Instructions
- Preheat your oven to 350°F (175°C). Grease a 9×5-inch loaf pan with butter or cooking spray, or line it with parchment paper.
- In a large bowl, mash the ripe bananas with a fork until mostly smooth (about 1 ½ cups).
- Add the melted butter, granulated sugar, egg, and vanilla extract to the mashed bananas. Stir with a whisk or fork until well combined.
- In a separate medium bowl, whisk together the all-purpose flour, baking soda, salt, and ground cinnamon.
- Pour the dry ingredients into the wet mixture. Use a spatula to fold gently until just combined—do not overmix.
- Gently fold in the semi-sweet chocolate chips and chopped walnuts. Reserve about 2 tablespoons of chocolate chips to sprinkle on top.
- Pour the batter into the prepared loaf pan and spread evenly. Sprinkle the reserved chocolate chips on top, pressing them gently into the batter.
- Bake for 50-60 minutes, or until a toothpick inserted into the center comes out clean or with a few moist crumbs. If the top browns too quickly, tent loosely with foil after 40 minutes.
- Let the bread cool in the pan on a wire rack for 10-15 minutes, then lift it out using the parchment paper overhang and transfer to the rack to cool completely before slicing.
Notes
For best results, use very ripe (spotty) bananas. Do not overmix the batter to avoid tough bread. Let the bread cool completely before slicing for clean cuts. This bread tastes even better on day two.
Nutrition
- Serving Size: 1 slice
- Calories: 290
- Sugar: 22
- Sodium: 200
- Fat: 14
- Saturated Fat: 6
- Carbohydrates: 40
- Fiber: 3
- Protein: 4
Keywords: banana bread, chocolate chips, walnuts, easy banana bread, quick bread, potluck dessert, one bowl banana bread


