It was 10:47 PM on a random Wednesday in October, and I had an overwhelming urge to make something cute. Not practical, not for a blog post, not even for the kids who were already asleep. Just… cute. I’d been scrolling past those elaborate ghost cupcakes on Pinterest all week—the ones with the fondant draping and the perfectly piped ectoplasm—and honestly, they looked exhausting. I didn’t have the energy for a project that required a steady hand and three hours of free time. But I had a box of cake flour, a stick of butter sitting on the counter, and this ridiculous idea that kept poking at my brain: what if I just made the faces? No fancy sculpting, no specialty tools. Just buttercream and a piping tip and a whole lot of imperfect charm.
So there I was, pulling out my mixer at nearly 11 PM, telling myself this was “meal prep for Halloween week” when really, it was just that late-night creative itch that needs scratching. I mixed up a batch of vanilla cupcakes—light ones, because I’d been testing a healthier version for weeks and this felt like the perfect excuse—and then I got to the fun part. I sat there at my kitchen counter, piping little ghost faces onto each cupcake, and something clicked. They weren’t perfect. One ghost had a lopsided smile. Another looked vaguely concerned. But they were mine, you know? They had personality. And by midnight, I had a dozen little friends staring back at me from the cooling rack, each one funnier than the last.
That’s how these Light Ghost Vanilla Cupcakes with Buttercream Faces were born—not from a grand plan, but from a late-night whim and a refusal to take things too seriously. And honestly? That’s exactly the energy you want for Halloween baking. Maybe you’ve been there, staring at a complicated recipe and thinking, “I just want it to be fun.” Well, these are for you.
Why You’ll Love This Recipe
Let me tell you why these little ghosts have become my most-requested Halloween treat. First off, they’re genuinely light—not in a sad, diet-food way, but in that “I can eat two without feeling like I need a nap” kind of way. I tested this vanilla cupcake recipe about seven times before I got it right, swapping out some of the butter for Greek yogurt and playing with the flour ratio until the texture was impossibly soft but still sturdy enough to hold a generous swirl of buttercream. My neighbor Sarah, who usually picks the frosting off her cupcakes and leaves the rest, actually ate one whole. She called it “dangerously edible.” I took that as a win.
Here’s what makes these stand out from every other Halloween cupcake recipe:
- Quick & Easy: From start to finish, you’re looking at about 45 minutes. The cupcakes bake in 18 minutes flat, and the buttercream comes together in one bowl. No chilling, no resting, no complicated steps.
- Simple Ingredients: You probably have everything in your pantry right now. Flour, sugar, eggs, butter, vanilla, yogurt. The ghost faces use the same buttercream—just pipe it on and add chocolate chip eyes.
- Perfect for Halloween Parties: These are the treat that gets the “wait, you made these?” reaction. But they’re so simple, kids can help pipe the faces. It’s a whole activity.
- Crowd-Pleaser: I’ve brought these to school parties, office potlucks, and neighborhood gatherings. Adults love them because they’re not overly sweet. Kids love them because, well, they’re ghosts with faces.
- Unbelievably Delicious: The texture is what gets everyone. The crumb is tender and moist, almost like a cloud, but the cupcakes hold their shape perfectly. And the buttercream? Silky, not greasy, with just the right amount of vanilla.
What makes this recipe different from all the other ghost cupcakes out there is the approach. Most recipes rely on heavy butter or oil to get that moist texture, but I’ve found that a combination of Greek yogurt and a touch of buttermilk gives you the same richness with a fraction of the fat. And the ghost faces? They’re intentionally imperfect. I want you to feel free to make them goofy, cute, spooky, or whatever mood strikes. There’s no wrong way to pipe a ghost face, and that’s the whole point.
This recipe isn’t just good—it’s the kind that makes you close your eyes after the first bite. It’s Halloween comfort food reimagined: lighter, faster, but with the same soul-soothing satisfaction you want from a seasonal treat. Perfect for impressing guests without stress, or turning a simple Tuesday night into something memorable.
What Ingredients You Will Need
This recipe uses simple, wholesome ingredients to deliver that light, fluffy texture and rich vanilla flavor without the heaviness of traditional butter-based cupcakes. Most of these are pantry staples, which makes these ghosts perfect for spontaneous baking sessions.
For the Light Vanilla Cupcakes
- 1 ½ cups all-purpose flour (spooned and leveled—don’t scoop directly from the bag or you’ll pack it down)
- 1 teaspoon baking powder (make sure it’s fresh, or your ghosts won’t rise properly)
- ½ teaspoon baking soda
- ¼ teaspoon salt (I use fine sea salt; it dissolves more evenly)
- ½ cup granulated sugar
- ¼ cup unsalted butter, softened (I prefer Kerrygold for its richness, but any good-quality butter works)
- 1 large egg, room temperature (cold eggs don’t emulsify as well with the butter)
- 1 teaspoon vanilla extract (use real vanilla, not imitation—it makes a difference in the flavor depth)
- ½ cup Greek yogurt, plain (full-fat or 2% works best; avoid nonfat or the cupcakes can turn out dry)
- ¼ cup buttermilk, room temperature (or make your own by adding 1 teaspoon lemon juice to ¼ cup milk and letting it sit for 5 minutes)
For the Vanilla Buttercream
- ½ cup unsalted butter, softened (let it sit out for at least 30 minutes—microwaved butter won’t whip up as fluffy)
- 2 cups powdered sugar, sifted (sifting prevents lumps; I know it’s annoying, but trust me)
- 2 tablespoons heavy cream or milk (heavy cream gives a silkier texture)
- 1 teaspoon vanilla extract
- Pinch of salt (to balance the sweetness)
For the Ghost Faces
- Mini chocolate chips (for the eyes and mouth—I use Enjoy Life brand for allergen-friendly options)
- Optional: Black decorating gel (for drawing mouths if you prefer a smoother look)
- Optional: White sanding sugar or edible glitter (for a sparkly ghost effect—my kids love this)
Ingredient selection tip: For the fluffiest cupcakes, make sure your butter is truly softened—you should be able to press your finger into it and leave an indent without it feeling greasy. And if you’re dairy-free, you can substitute the Greek yogurt with a plain dairy-free yogurt and the buttermilk with almond milk mixed with a splash of apple cider vinegar. The texture will be slightly different, but still delicious.
Equipment Needed
You don’t need a professional bakery setup for these ghosts, but a few key tools make the process smoother. Here’s what I use:
- Standard 12-cup muffin tin (non-stick or light-colored metal works best; dark pans can over-brown the bottoms)
- Paper liners (white or black look great for Halloween; I like the greaseproof ones so the cupcakes don’t stick)
- Electric hand mixer or stand mixer (you can do this by hand, but your arm will get a workout—I’ve been there)
- Mixing bowls (one large, one medium)
- Whisk and rubber spatula
- Piping bag or zip-top bag (for the buttercream; a zip-top bag with the corner snipped off works perfectly in a pinch)
- Round piping tip (Wilton 1A or similar) (for the ghost bodies—creates that nice domed swirl)
- Cooling rack (essential for even cooling; stacking hot cupcakes traps steam and makes them soggy)
- Small offset spatula (for smoothing buttercream if needed)
If you don’t have a piping tip, don’t stress. I’ve made these with just a zip-top bag and they looked charmingly rustic. The ghosts don’t need to be perfect—in fact, the imperfect ones have more personality. And if you’re making these with kids, skip the piping bag altogether and let them spread the buttercream with a knife. It’s more fun that way.
Preparation Method
Alright, let’s make some ghosts. I’ve broken this down into clear steps with all the little tips I’ve learned from making these about twenty times now. Read through once before you start—it’ll save you from any mid-recipe surprises.
Step 1: Preheat and Prep
Preheat your oven to 350°F (175°C). Line your muffin tin with 12 paper liners. This is a good time to take your butter out if you haven’t softened it yet—cut it into small cubes so it warms up faster.
Step 2: Mix the Dry Ingredients
In a medium bowl, whisk together the flour, baking powder, baking soda, and salt. Set this aside. I like to give it a good whisk—about 10-15 seconds—to aerate the flour and make sure the leavening agents are evenly distributed. Nobody wants a ghost that’s flat on one side.
Step 3: Cream the Butter and Sugar
In a large bowl, beat the softened butter and granulated sugar together until light and fluffy, about 3-4 minutes with an electric mixer on medium speed. You’ll know it’s ready when the mixture looks pale and almost doubled in volume. Scrape down the sides of the bowl halfway through. This step is crucial for that light texture—don’t rush it.
Step 4: Add the Egg and Vanilla
Add the egg and vanilla extract to the butter-sugar mixture. Beat on medium speed until fully incorporated, about 1 minute. The mixture might look slightly curdled at this point—that’s okay if your ingredients are room temperature. If it looks separated, your butter might have been too cold. Just keep beating and it’ll come together.
Step 5: Combine Wet and Dry
Add the Greek yogurt and buttermilk to the bowl and mix on low until just combined. Then, gradually add the dry ingredients, mixing on low speed until just incorporated. Here’s the important part: stop mixing as soon as you don’t see any more flour streaks. Overmixing develops gluten, which makes cupcakes tough and dense. I usually finish with a few gentle folds of the rubber spatula to make sure everything’s combined.
Step 6: Fill the Liners
Divide the batter evenly among the 12 liners, filling each about ⅔ full. I use a cookie scoop for this—it’s cleaner and ensures even sizes. The batter will be thick and fluffy, almost like a mousse. That’s a good sign.
Step 7: Bake the Cupcakes
Bake for 16-18 minutes, or until a toothpick inserted into the center comes out clean or with a few moist crumbs. The tops should be lightly golden and spring back when touched gently. Rotate the pan halfway through if your oven has hot spots (mine does, and I always forget). Let the cupcakes cool in the pan for 5 minutes, then transfer them to a wire rack to cool completely. Don’t skip this—if you try to frost them while they’re warm, the buttercream will melt into a sad ghost puddle.
Step 8: Make the Buttercream
While the cupcakes cool, make the buttercream. In a large bowl, beat the softened butter on medium speed until smooth and creamy, about 2 minutes. Gradually add the sifted powdered sugar, about ½ cup at a time, beating on low speed to prevent a sugar cloud. Add the heavy cream, vanilla extract, and salt. Increase speed to medium-high and beat for 3-4 minutes until the buttercream is light, fluffy, and spreadable. If it’s too thick, add another tablespoon of cream. Too thin? Add a little more powdered sugar.
Step 9: Pipe the Ghosts
Fit your piping bag with the round tip and fill it with buttercream. Starting at the edge of each cooled cupcake, pipe a continuous spiral inward, then pull up slightly to create a little peak on top—like a ghost tail. Don’t worry if it’s not perfect; the imperfections add character. If you don’t have a piping bag, just spread the buttercream into a dome shape with a spatula.
Step 10: Add the Faces
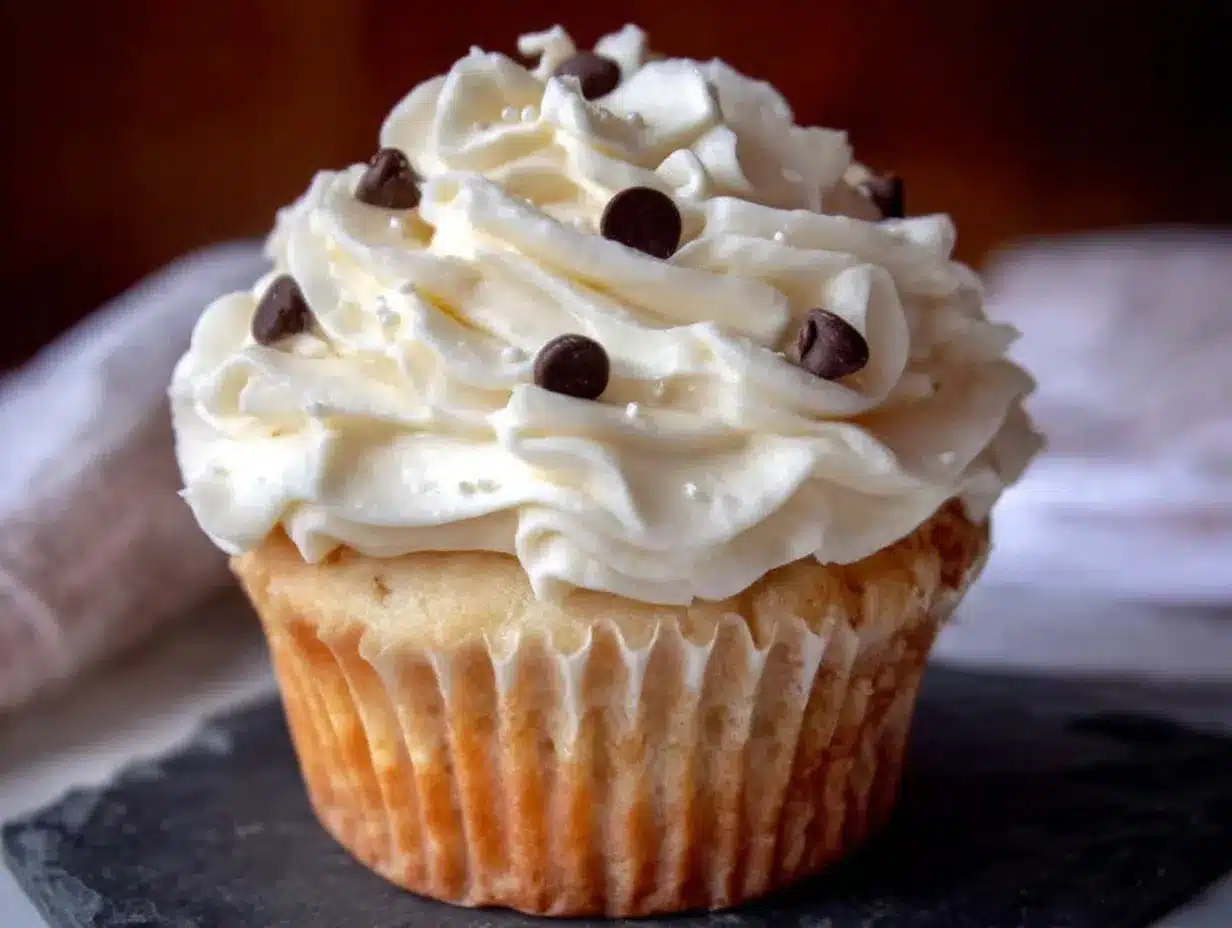
This is the best part. Press two mini chocolate chips into the buttercream for eyes, and one or two for the mouth. You can make them smile, frown, look surprised, or give them a little “o” shape like they’re saying “boo!” I’ve made ghosts that look scared, ghosts that look mischievous, and one that looked genuinely confused. They all got eaten. If you’re using black decorating gel, you can draw more detailed expressions.
Let the buttercream set for about 10 minutes at room temperature before serving, or refrigerate for 30 minutes if you want a firmer texture. That’s it—you’ve just made the cutest ghosts in town.
Cooking Tips & Techniques
I’ve made my share of mistakes with these cupcakes, and I’m sharing them so you don’t have to. Here’s what I’ve learned the hard way:
Don’t overmix the batter. I cannot stress this enough. The first time I tested this recipe, I was multitasking and let the mixer run a little too long. The cupcakes came out dense and almost rubbery—not the light, ghostly texture we’re going for. Mix until the flour disappears, then stop. Your spatula is your best friend here.
Room temperature ingredients matter. Cold eggs and cold buttermilk will seize the butter in your batter, leaving you with a lumpy, uneven mixture. Take everything out of the fridge 30 minutes before you start. If you forget (I do, constantly), place the eggs in a bowl of warm water for 5 minutes and microwave the buttermilk for 10 seconds.
Bake one pan at a time. If you double the recipe and try to bake two pans at once, the heat distribution gets uneven. The ghosts on the bottom rack will be pale, and the ones on top will over-brown. Bake in batches if needed—your patience will be rewarded.
For the fluffiest buttercream, beat it longer than you think. I usually go for a full 5 minutes on medium-high speed. The buttercream should look almost white and feel light as air when you taste it. If it tastes greasy, you haven’t beaten it enough.
Pipe the ghosts right before serving. The chocolate chip eyes can bleed color into the buttercream if they sit for too long, especially in warm environments. I’ve learned to pipe and decorate within an hour of serving for the best visual effect. If you need to prep ahead, bake the cupcakes and make the buttercream separately, then assemble the ghosts just before your party.
Variations & Adaptations
One of the best things about these ghosts is how adaptable they are. Here are a few variations I’ve tried and loved:
Gluten-Free Ghosts
Substitute the all-purpose flour with a 1:1 gluten-free baking flour blend (I like Bob’s Red Mill). Add ¼ teaspoon xanthan gum if your blend doesn’t already include it. The texture will be slightly more tender, but the ghosts will still hold their shape beautifully.
Vegan Buttercream Ghosts
Use vegan butter sticks (not margarine, which has too much water) and substitute the heavy cream with full-fat coconut cream. The buttercream will be a bit softer, so I recommend refrigerating the decorated ghosts for 15 minutes before serving. For the cupcakes, use a flax egg (1 tablespoon ground flaxseed + 3 tablespoons water) and a dairy-free yogurt.
Chocolate Ghosts
Swap ¼ cup of the flour with cocoa powder for chocolate ghost bodies. The dark color makes the buttercream ghosts pop even more. You can also add a drop of black food coloring to the buttercream for a spooky gray ghost effect—just don’t overdo it or your guests will have gray teeth.
Pumpkin Spice Ghosts
For a fall twist, add 1 teaspoon pumpkin pie spice to the dry ingredients and substitute the buttermilk with ¼ cup pumpkin puree. The orange undertones make the white buttercream ghosts look even more striking. I made these for a Halloween brunch and they disappeared in minutes.
Mini Ghost Bites
Use a mini muffin tin and bake for 10-12 minutes. You’ll get about 24 mini ghosts, perfect for parties where people want to try multiple treats. The mini ghosts are also great for kids’ lunchboxes—if they can resist eating them on the way to school.
Serving & Storage Suggestions
These ghosts are best served at room temperature, which brings out the soft texture of the cupcakes and the creamy buttercream. I usually take them out of the fridge about 20 minutes before serving if I’ve stored them chilled.
For presentation, arrange the ghosts on a white platter or a black cake stand for maximum contrast. I like to scatter a few candy pumpkins or candy corn around the base for a festive touch. If you’re serving these at a party, consider putting them on a tiered stand—the ghosts look adorable peeking out from different levels.
Storage-wise, these cupcakes keep well in an airtight container in the refrigerator for up to 4 days. The buttercream will firm up, but it softens again at room temperature. For longer storage, you can freeze the undecorated cupcakes (without buttercream) for up to 3 months. Wrap each one tightly in plastic wrap, then place them in a freezer bag. When you’re ready to serve, thaw them at room temperature, make a fresh batch of buttercream, and pipe the ghosts. The texture is almost as good as fresh.
If you’re making these for a party the next day, I recommend baking the cupcakes and making the buttercream the night before, then decorating the morning of. The chocolate chip eyes stay brighter this way, and the ghosts look their absolute best.
Nutritional Information & Benefits
Here’s the breakdown for one ghost cupcake (based on my recipe testing):
| Nutrient | Amount per Cupcake |
|---|---|
| Calories | 245 |
| Total Fat | 12g |
| Saturated Fat | 7g |
| Cholesterol | 45mg |
| Sodium | 180mg |
| Total Carbohydrates | 32g |
| Dietary Fiber | 0.5g |
| Sugars | 22g |
| Protein | 3g |
These cupcakes are lighter than traditional versions thanks to the Greek yogurt, which adds protein and calcium while reducing the amount of butter needed. The yogurt also provides probiotics, which is a nice bonus—though let’s be honest, we’re eating these for the joy, not the health benefits. If you’re watching your sugar intake, you can reduce the sugar in the cupcake batter to ⅓ cup without affecting the texture too much. The buttercream is harder to reduce, but you can use a lighter dusting of powdered sugar and skip the heavy cream for a less sweet version.
For dietary considerations: these contain dairy, eggs, and gluten. For a dairy-free version, use the substitutions mentioned in the variations section. For a nut-free version, all ingredients are naturally nut-free—just double-check your chocolate chips for cross-contamination warnings.
Conclusion
These Light Ghost Vanilla Cupcakes with Buttercream Faces have become my go-to Halloween treat for one simple reason: they’re fun. Not the kind of fun that requires a dozen specialty tools and a pastry degree, but the real, messy, laughing-in-your-kitchen kind of fun. I love that every batch turns out differently—some ghosts look friendly, some look mischievous, and some look like they’ve seen things they can’t unsee. And that’s exactly how it should be.
I hope you’ll give these a try, whether you’re making them for a Halloween party, a classroom celebration, or just a random Wednesday night when the craving for something cute strikes. Don’t stress about making them perfect. Let your ghosts have personality. Let them be lopsided and goofy and full of character. That’s what makes them special.
If you make these, I’d love to hear about it. Drop a comment below and tell me what expressions your ghosts ended up with—I swear, the grumpy ones are always the first to disappear. And if you have your own twist on the recipe, share that too. Happy Halloween, and happy ghost-making!
Frequently Asked Questions
Can I make these cupcakes ahead of time?
Absolutely. Bake the cupcakes up to 2 days in advance and store them in an airtight container at room temperature. Make the buttercream up to 3 days ahead and keep it refrigerated. When you’re ready to serve, bring the buttercream to room temperature, re-whip it for a minute to restore its fluffiness, and pipe the ghosts. I don’t recommend decorating more than a few hours ahead, as the chocolate chip eyes can start to soften the buttercream.
Why did my cupcakes turn out dense?
The most common culprit is overmixing the batter. Once you add the dry ingredients to the wet, mix only until the flour disappears. Overmixing develops gluten, which makes the cupcakes tough. Other possible causes: expired baking powder, cold ingredients that didn’t emulsify properly, or overfilling the liners (which prevents even rising). Check your baking powder by dropping a teaspoon into hot water—if it fizzes, it’s still active.
Can I use a different frosting for the ghosts?
You can, but the texture and taste will change. Cream cheese frosting is delicious but softer, so the ghosts won’t hold their shape as well. A whipped ganache would work beautifully for a richer flavor, but it sets harder than buttercream. For the best ghost shapes, stick with a classic American buttercream or a Swiss meringue buttercream if you’re feeling ambitious. Just make sure your frosting is thick enough to hold the chocolate chips upright.
How do I get the buttercream to be perfectly white?
For bright white ghosts, use clear vanilla extract (not the dark brown kind) and beat the buttercream for the full 5 minutes—the longer you beat it, the more air incorporates, which lightens the color. You can also add a tiny drop of purple food coloring to counteract any yellow tones in the butter. I mean tiny—like a toothpick dip. Too much will turn your ghosts lavender, which is a look, but not the one we’re going for here.
Can I freeze the decorated cupcakes?
I don’t recommend freezing them once they’re decorated. The chocolate chips can develop condensation when thawing, which makes the buttercream look spotted. If you need to freeze, do it before decorating. Freeze the plain cupcakes on a baking sheet until solid, then wrap each one individually in plastic wrap and store in a freezer bag. They’ll keep for up to 3 months. Thaw at room temperature, make fresh buttercream, and decorate the day you plan to serve them.
Pin This Recipe!
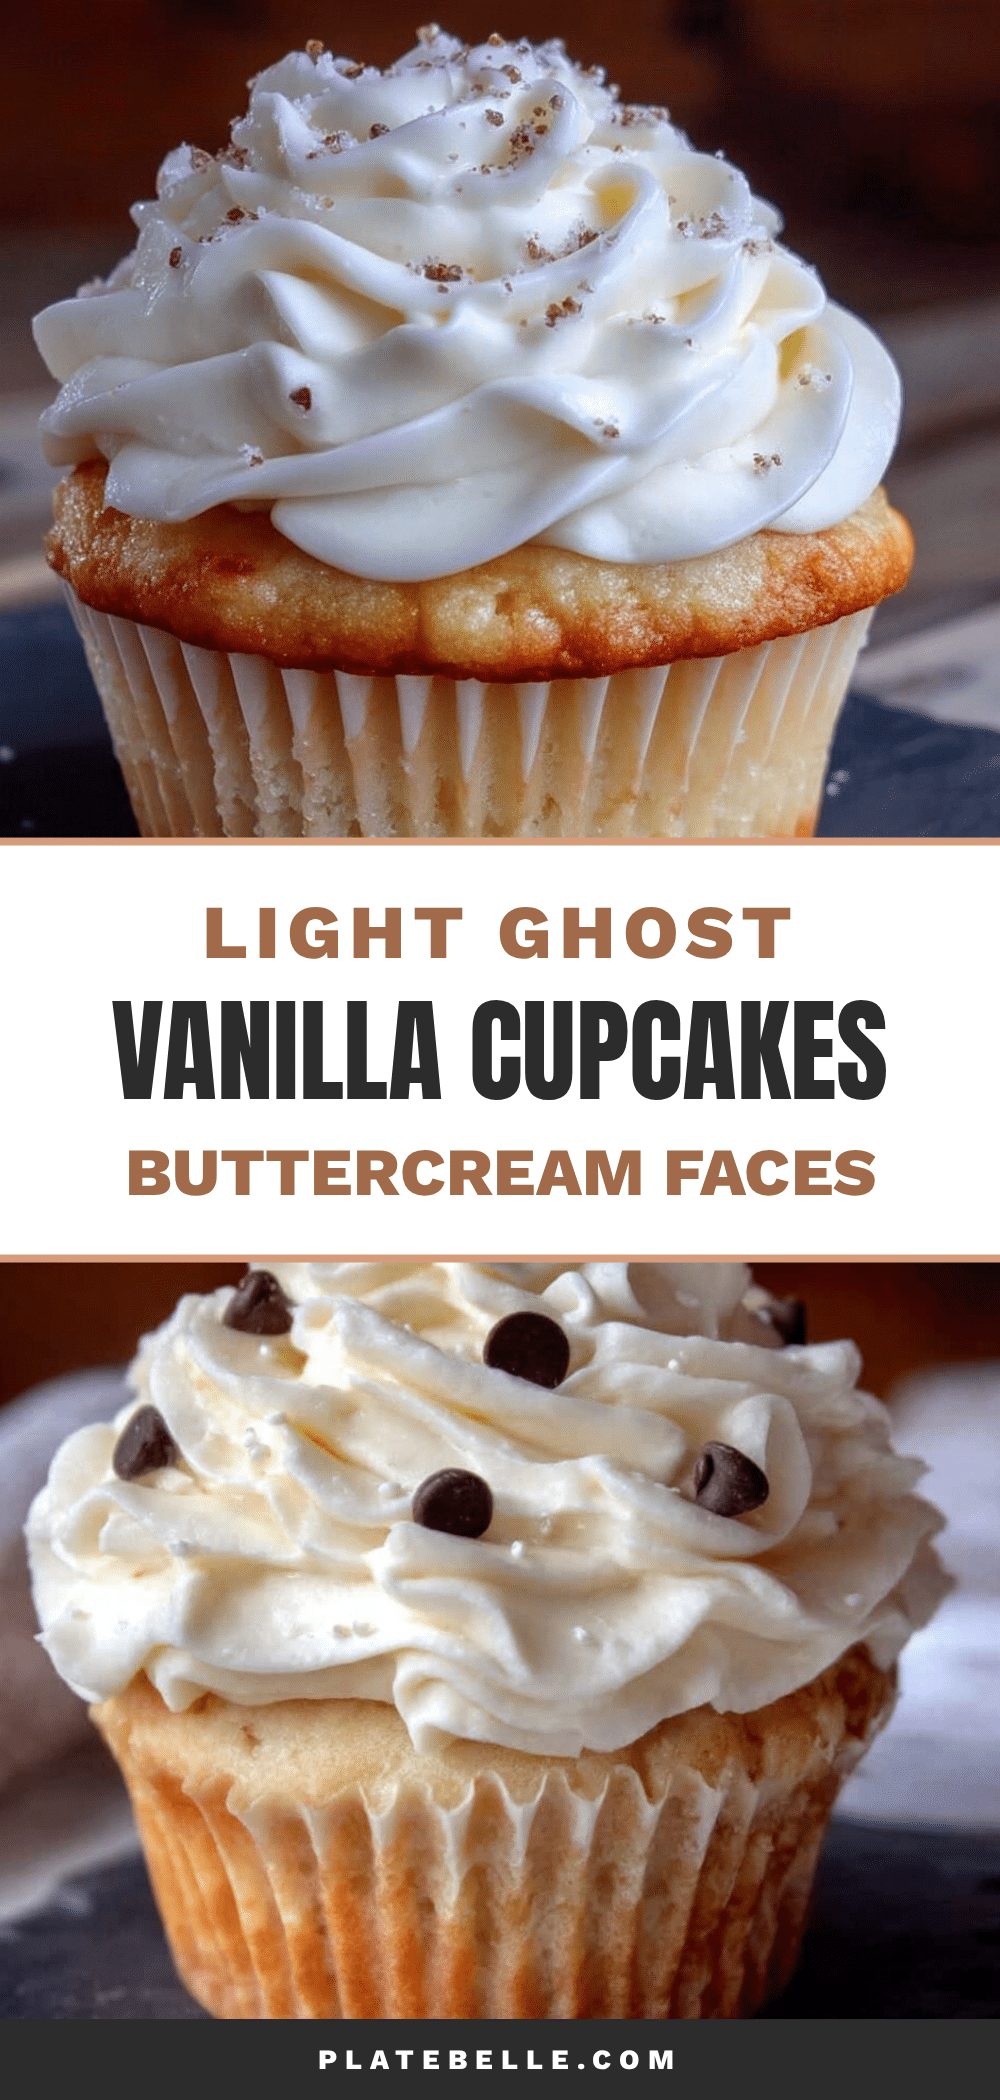
Light Ghost Vanilla Cupcakes: Easy, Fun Buttercream Faces
These light and fluffy vanilla cupcakes are topped with a silky buttercream and decorated with adorable ghost faces. Perfect for Halloween parties, they come together in about 45 minutes and are sure to be a crowd-pleaser.
- Prep Time: 20 minutes
- Cook Time: 18 minutes
- Total Time: 45 minutes
- Yield: 12 cupcakes 1x
- Category: Dessert
- Cuisine: American
Ingredients
- 1 ½ cups all-purpose flour (spooned and leveled)
- 1 teaspoon baking powder
- ½ teaspoon baking soda
- ¼ teaspoon fine sea salt
- ½ cup granulated sugar
- ¼ cup unsalted butter, softened
- 1 large egg, room temperature
- 1 teaspoon vanilla extract
- ½ cup plain Greek yogurt (full-fat or 2%)
- ¼ cup buttermilk, room temperature
- ½ cup unsalted butter, softened (for buttercream)
- 2 cups powdered sugar, sifted
- 2 tablespoons heavy cream or milk
- 1 teaspoon vanilla extract (for buttercream)
- Pinch of salt (for buttercream)
- Mini chocolate chips (for ghost faces)
- Optional: Black decorating gel
- Optional: White sanding sugar or edible glitter
Instructions
- Preheat oven to 350°F (175°C). Line a 12-cup muffin tin with paper liners.
- In a medium bowl, whisk together flour, baking powder, baking soda, and salt. Set aside.
- In a large bowl, beat softened butter and granulated sugar with an electric mixer on medium speed until light and fluffy, about 3-4 minutes. Scrape down sides halfway through.
- Add egg and vanilla extract; beat on medium speed until fully incorporated, about 1 minute.
- Add Greek yogurt and buttermilk; mix on low until just combined. Gradually add dry ingredients, mixing on low until just incorporated. Do not overmix. Finish with a few gentle folds of a rubber spatula.
- Divide batter evenly among liners, filling each about ⅔ full.
- Bake for 16-18 minutes, or until a toothpick inserted into the center comes out clean or with a few moist crumbs. Cool in pan for 5 minutes, then transfer to a wire rack to cool completely.
- For buttercream: In a large bowl, beat softened butter on medium speed until smooth and creamy, about 2 minutes. Gradually add sifted powdered sugar, beating on low. Add heavy cream, vanilla extract, and salt. Increase speed to medium-high and beat for 3-4 minutes until light and fluffy.
- Fit a piping bag with a round tip (Wilton 1A or similar) and fill with buttercream. Pipe a continuous spiral on each cooled cupcake, starting at the edge and pulling up to create a peak.
- Press mini chocolate chips into buttercream for eyes and mouth to create ghost faces. Let buttercream set for about 10 minutes at room temperature before serving.
Notes
Don’t overmix the batter to avoid dense cupcakes. Use room temperature ingredients for best results. Pipe ghosts right before serving to prevent chocolate chip eyes from bleeding color. For dairy-free, use dairy-free yogurt and almond milk with apple cider vinegar. For gluten-free, use a 1:1 gluten-free flour blend with xanthan gum.
Nutrition
- Serving Size: 1 cupcake
- Calories: 245
- Sugar: 22
- Sodium: 180
- Fat: 12
- Saturated Fat: 7
- Carbohydrates: 32
- Fiber: 0.5
- Protein: 3
Keywords: ghost cupcakes, Halloween cupcakes, vanilla cupcakes, buttercream ghosts, easy Halloween dessert, light cupcakes


