August was ending, and the school supply lists were already taped to the fridge. I was standing in the kitchen at 10 PM, surrounded by bottles of elderberry syrup, a new silicone mold I’d ordered on a whim, and the quiet hum of the refrigerator. The only thing I wanted was a way to make immunity support feel less like a chore and more like a treat for my kids. I had tried the syrups, the powders, the gummies from the store that cost a small fortune and tasted vaguely like cough medicine. I needed something better. Something they would actually ask for.
So I started experimenting. I wanted a gummy that was firm enough to hold its shape, sweet enough to feel like candy, and packed with enough elderberry to actually do its job. The first batch was a disaster—too sticky, too tart, and the kids looked at me like I’d lost my mind. But I tweaked it. I added a little honey, a splash of lemon, and found the right balance of gelatin. And when I finally pulled that perfect batch of healthy elderberry immunity gummies for back-to-school out of the fridge, I knew I had something special. My son ate three before I could even put them in a jar.
This recipe isn’t just about fighting off the classroom bugs. It’s about giving yourself some peace of mind during the chaos of the school year. It’s about making something with your own hands that feels good and tastes even better. Trust me, once you make these, you won’t go back to the store-bought stuff.
Why You’ll Love This Recipe
I have tested this recipe more times than I care to count, and I can honestly say this version is the one that finally stuck. It’s the result of trial, error, and a few sticky kitchen countertops. Here is why I think you will love it as much as my family does:
- Quick & Easy: These gummies come together in under 20 minutes of active time. The hardest part is waiting for them to set in the fridge. Perfect for a Sunday evening prep before the school week starts.
- Simple Ingredients: You do not need to hunt down obscure health food store items. Everything is straightforward and pantry-friendly. No weird additives or preservatives.
- Perfect for Back-to-School Season: Whether you are packing lunchboxes, setting out an after-school snack, or just trying to keep everyone healthy during the first few weeks of school, these gummies fit right in. They pair beautifully with a quick high-protein after-school snack plate for a balanced boost.
- Crowd-Pleaser: My kids are picky, and they love these. Their friends love them too. It is rare to find a healthy snack that actually gets requested by name.
- Unbelievably Delicious: The flavor is bright and fruity, not medicinal. The honey balances the tartness of the elderberry perfectly. You will find yourself sneaking a few, and that is totally okay.
What makes this recipe different from all the others I tried? It is the texture. I spent a long time getting the gelatin ratio just right so the gummies are firm but not rubbery, and they hold up well even if they sit in a lunchbox for a few hours. They do not melt into a sticky mess. They stay perfectly chewy. Honestly, it is the kind of recipe that makes you feel like a superhero parent without actually having to try that hard.
What Ingredients You Will Need
This recipe uses a short list of wholesome ingredients that work together to create a gummy that is both effective and delicious. You probably already have most of these in your kitchen. Here is what you need and why each one matters.
- 1 cup (240 ml) organic elderberry syrup: This is the star of the show. I recommend using a high-quality, organic elderberry syrup that is not loaded with added sugars. Look for one that lists elderberries as the first ingredient. You can also make your own if you are ambitious, but store-bought works great and saves time. The syrup provides the deep, fruity base and all the immune-supporting goodness.
- 1/4 cup (60 ml) cold water: This is used to bloom the gelatin. It is important to use cold water here, not warm or hot. Cold water helps the gelatin hydrate evenly without clumping, which gives you a smooth, lump-free gummy.
- 1/4 cup (60 ml) honey or maple syrup: A little sweetness goes a long way. Honey adds a floral note that pairs beautifully with the elderberry. If you are vegan, use maple syrup instead. The sweetness balances the tartness of the elderberry and makes these gummies taste like a treat, not a supplement. I have used both, and both work perfectly.
- 3 tablespoons (about 21 grams) grass-fed gelatin powder: This is what gives the gummies their structure. Not all gelatin is created equal. I personally prefer the brand Vital Proteins or Great Lakes for their clean taste and reliable setting power. Make sure you are using gelatin powder, not collagen peptides—collagen will not set the same way and will leave you with a liquid mess. Gelatin is the key to that perfect chewy texture.
- 1 tablespoon (15 ml) fresh lemon juice: A splash of lemon brightens up the flavor and adds a little vitamin C. Fresh is best here, but bottled lemon juice will work in a pinch. The acidity also helps balance the sweetness and gives the gummies a more complex flavor profile.
- Optional: 1/2 teaspoon vitamin C powder (ascorbic acid): If you want to boost the immune benefits even further, add a little vitamin C powder. It adds a slight tang, which I actually love. You can find this at most health food stores or online. It is completely optional but a nice addition during cold and flu season.
That is it. Six ingredients, and you are on your way to a batch of homemade gummies that will make you wonder why you ever bought the store-bought ones. The simplicity is part of the magic. No complicated steps, no hard-to-find items—just real food doing what real food does best.
Equipment Needed
You do not need a lot of fancy equipment to make these gummies, which is one of the reasons I love this recipe. Here is what you will need:
- Silicone gummy bear mold or any small silicone mold: I use a bear-shaped mold because my kids think it is fun, but you can use any small silicone mold you like. Stars, hearts, or even simple squares work great. Silicone is non-stick, so the gummies pop out easily. If you do not have a mold, you can pour the mixture into a small glass dish and cut it into squares once set.
- Small saucepan: For gently heating the elderberry syrup and honey. A small saucepan gives you better control over the temperature.
- Small bowl: For blooming the gelatin in cold water. Any small bowl will do.
- Whisk: A small whisk helps you combine the gelatin mixture smoothly. A fork will also work in a pinch.
- Dropper or small measuring cup with a spout: This makes filling the silicone molds much easier and less messy. I use a glass dropper I bought online, but a small measuring cup with a pour spout works just as well.
- Refrigerator: The gummies need at least 2-3 hours to set properly. Patience is key here.
If you are new to making gummies, do not stress about having the perfect mold. I started with a random silicone ice cube tray from the dollar store, and it worked fine. The most important thing is that the mold is flexible so you can pop the gummies out easily. Trust me, you do not want to be wrestling with a rigid mold and a batch of perfectly good gummies.
Preparation Method
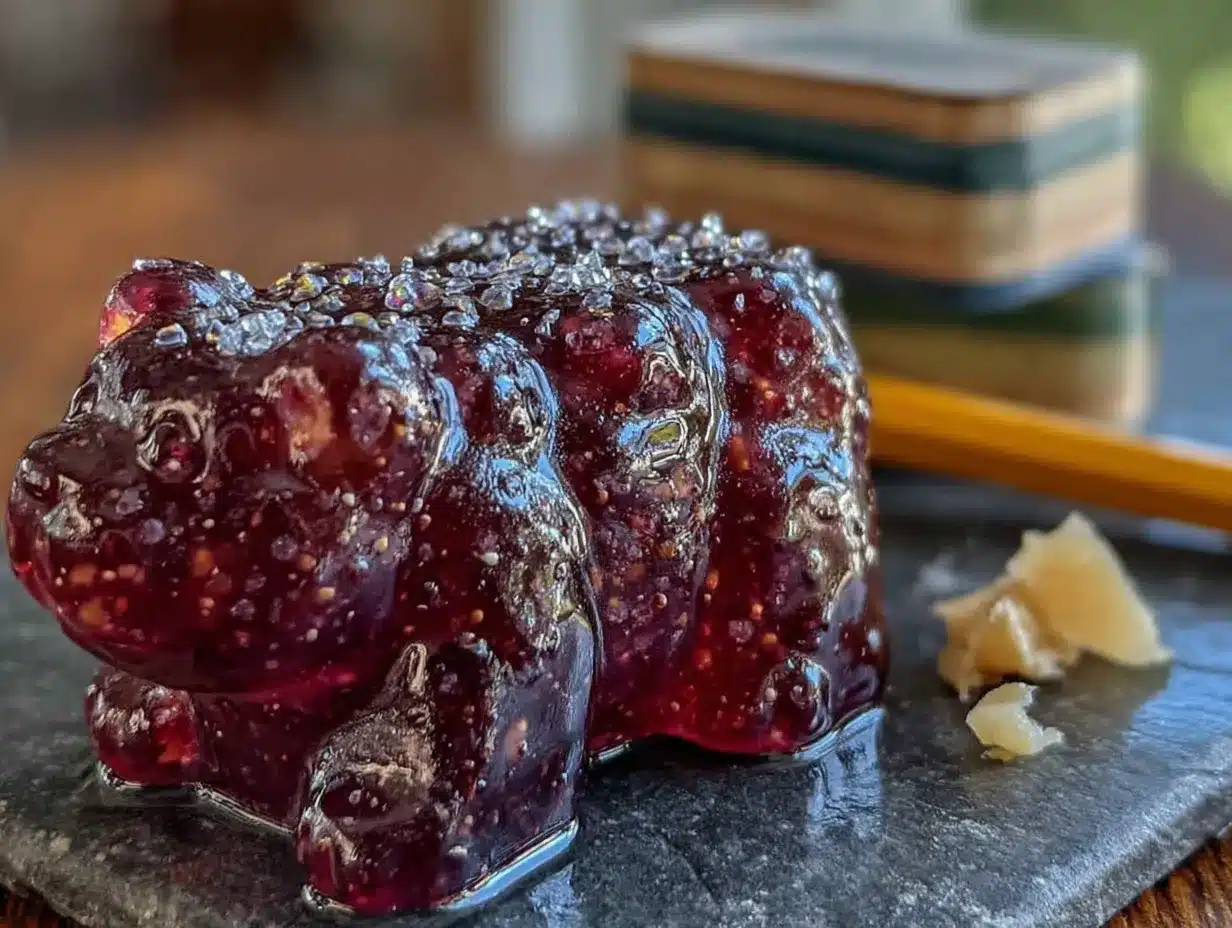
Making these gummies is straightforward, but there are a few key steps that make the difference between a perfect batch and a sticky disaster. Follow these steps closely, and you will be rewarded with beautiful, chewy gummies every time.
- Bloom the gelatin: Pour the 1/4 cup of cold water into a small bowl. Sprinkle the 3 tablespoons of gelatin powder evenly over the surface of the water. Do not stir. Let it sit for 5-10 minutes until the gelatin absorbs the water and becomes a thick, spongy mass. This is called blooming, and it is essential for smooth, lump-free gummies. If you skip this step or rush it, you will end up with clumps.
- Warm the elderberry syrup: While the gelatin is blooming, pour the 1 cup of elderberry syrup and the 1/4 cup of honey into a small saucepan. Warm it over low heat, stirring occasionally. You want it to be warm, not hot. If it gets too hot, it can damage the immune-boosting properties of the elderberry. Aim for a temperature that is warm to the touch but not steaming. This usually takes about 2-3 minutes.
- Combine the mixtures: Once the elderberry mixture is warm, remove it from the heat. Add the bloomed gelatin to the saucepan. Whisk gently but thoroughly until the gelatin is completely dissolved and the mixture is smooth. This may take a minute or two. Do not rush this step. If you see any lumps, keep whisking. The mixture should look like a slightly thick, dark purple liquid.
- Add the lemon juice: Stir in the 1 tablespoon of fresh lemon juice and the optional vitamin C powder if you are using it. Whisk until everything is well combined. The lemon juice brightens the flavor and helps balance the sweetness.
- Fill the molds: Place your silicone molds on a flat, stable surface like a baking sheet. This makes it easier to move them to the fridge without spilling. Use a dropper or a small measuring cup with a spout to carefully fill each cavity. Do not overfill—leave a tiny bit of space at the top so the gummies have a clean edge. If you get any spills, just wipe them up before the mixture sets.
- Set in the fridge: Carefully transfer the baking sheet with the filled molds to the refrigerator. Let them set for at least 2-3 hours, or until they are firm to the touch. I usually leave them overnight for the best results. The longer they set, the firmer and more stable they become.
- Pop them out: Once the gummies are fully set, gently press on the back of the silicone mold to release them. They should pop out easily. If they stick, place the mold in the freezer for 5 minutes, and they will release without any trouble.
- Store properly: Transfer the gummies to an airtight container. Store them in the refrigerator for up to 2 weeks. They will stay fresh and chewy. I like to keep a small jar in the fridge and another in the freezer for longer storage.
A quick note: The mixture will start to thicken as it cools, so work relatively quickly when filling the molds. If it becomes too thick to pour easily, gently reheat it on the stove over low heat for a few seconds. Just do not let it boil.
Cooking Tips & Techniques
I have made a lot of batches of these gummies, and I have learned a few things the hard way. Here are my best tips to help you avoid my mistakes and get perfect results every time.
- Do not overheat the elderberry syrup. High heat can destroy the beneficial compounds in the elderberries. Keep the heat low and only warm the syrup until it is just warm to the touch. Think of it like warming honey—gentle and slow is the way to go.
- Use a kitchen scale if you have one. Gelatin can be finicky, and measuring by weight is more accurate than by volume. If your gummies are too soft, you may need a little more gelatin. If they are too hard, a little less. A scale takes the guesswork out of it.
- Let the gelatin bloom fully. I know it is tempting to skip the waiting time, but do not. The gelatin needs those 5-10 minutes to hydrate properly. If you rush it, you will end up with grainy gummies that do not set well. I learned this the hard way when I was in a hurry one evening.
- Work in a warm kitchen. If your kitchen is cold, the mixture will thicken faster, making it harder to fill the molds. I like to keep the saucepan on the stove (off the heat) while I fill the molds so the residual warmth keeps the mixture fluid.
- Grease the molds lightly if needed. Silicone molds are usually non-stick, but if you have trouble releasing the gummies, you can lightly spray the molds with a neutral oil like coconut or avocado oil before filling. Just use a very light hand so the oil does not affect the texture.
One of my biggest failures? I once used collagen peptides instead of gelatin. The mixture never set. It stayed a runny, syrupy mess. I learned that day that collagen and gelatin are not interchangeable in recipes like this. Stick with gelatin powder, and you will be fine.
Variations & Adaptations
This recipe is wonderfully flexible. I have tried several variations, and they all turned out delicious. Here are some ideas to make it your own.
- Vegan version: Replace the gelatin with agar agar powder, a plant-based alternative. Use 2 tablespoons of agar agar powder and follow the package instructions for blooming and setting. Note that agar agar sets much firmer and at room temperature, so the texture will be different—more like a firm jelly than a chewy gummy. I have made this version, and it is great for those who avoid animal products.
- Extra immune boost: Add 1/2 teaspoon of ginger powder or a pinch of cayenne pepper along with the vitamin C powder. Ginger adds a gentle warmth, and cayenne gives a subtle kick that some people love. My husband prefers this version, especially during the winter months.
- Different fruit flavors: You can replace half of the elderberry syrup with another fruit juice like pomegranate, cherry, or blueberry. This changes the flavor profile and adds different antioxidants. I have made a cherry-elderberry blend that was absolutely divine. Just make sure the total liquid remains 1 cup.
- Low-sugar option: Use a sugar-free elderberry syrup and replace the honey with a monk fruit sweetener or stevia. The texture may be slightly different, but the gummies will still set. I have tested this with a monk fruit syrup, and it worked well, though the sweetness was a bit milder.
- Herbal infusion: Steep a chamomile tea bag or a slice of fresh ginger in the warm elderberry syrup for 5 minutes before adding the gelatin. Strain it out before proceeding. This adds a subtle herbal note that is especially soothing for bedtime. I love this version for evenings when the kids are feeling a little under the weather.
Do not be afraid to experiment. The basic formula of gelatin, liquid, and sweetener is very forgiving. As long as you keep the ratios roughly the same, you can play with flavors to your heart’s content.
Serving & Storage Suggestions
These gummies are versatile and easy to incorporate into your daily routine. Here is how I like to serve and store them.
Serving: I serve these gummies straight from the fridge. They are best enjoyed cold because the texture is firmer and more satisfying. For a lunchbox, I pack them in a small container with an ice pack to keep them cool. They hold up well for a few hours at room temperature, but they do get softer. If you are serving them at a party or gathering, arrange them on a platter with fresh berries for a beautiful, healthy snack display.
Pairing suggestions: These gummies pair wonderfully with a easy no-bake peanut butter chocolate chip energy bites for a balanced snack that combines protein and immune support. They also go well with a fresh no-cook high-protein cucumber salad for a light lunch. For a cozy afternoon treat, serve them alongside a warm cup of herbal tea.
Storage: Store the gummies in an airtight container in the refrigerator. They will stay fresh for up to 2 weeks. I use a glass jar with a tight-fitting lid, which keeps them from drying out. If you want to keep them longer, you can freeze them for up to 3 months. To freeze, place the gummies in a single layer on a baking sheet lined with parchment paper and freeze for 1 hour. Then transfer them to a freezer-safe bag or container. They thaw quickly at room temperature, so you can grab a few straight from the freezer and they will be ready to eat in about 10 minutes.
Flavor development: Interestingly, the flavor of these gummies mellows and deepens after a day or two in the fridge. The honey and elderberry flavors blend together more harmoniously. So do not worry if they taste a little strong on day one—they will be perfect by day two. I actually prefer them after they have had a chance to rest.
Nutritional Information & Benefits
These gummies are not just tasty—they are packed with nutrients that support your family’s health during the school year. Here is a breakdown of what you are getting in each serving.
Estimated nutritional values per serving (about 6-8 gummies):
- Calories: 45-55
- Carbohydrates: 10-12g
- Sugars: 8-10g (from honey and elderberry syrup)
- Protein: 4-5g (from gelatin)
- Vitamin C: 10-20% of the daily value (depending on your syrup and added powder)
Health benefits of key ingredients:
- Elderberries: Rich in antioxidants and vitamins A and C, elderberries are known for their immune-supporting properties. They may help reduce the duration and severity of colds and flu.
- Gelatin: A great source of protein and collagen, gelatin supports joint health, skin elasticity, and gut health. It also helps the gummies set into that perfect chewy texture.
- Honey: A natural sweetener with antibacterial and anti-inflammatory properties. Local honey may also help with seasonal allergies.
- Lemon juice: Adds a boost of vitamin C and aids in iron absorption.
Dietary considerations: This recipe is naturally gluten-free, dairy-free, and nut-free. It can be made vegan with agar agar. The only potential allergen is gelatin, which is derived from animal sources. If you have a sensitivity, the agar agar version is a great alternative.
I love knowing that I am giving my kids something that tastes like candy but is actually good for them. It takes the stress out of the back-to-school season and puts a little bit of control back in my hands.
Conclusion
These healthy elderberry immunity gummies have become a staple in our home, especially during the back-to-school season. They are simple to make, use ingredients you can feel good about, and most importantly, my kids actually look forward to taking them. That is a win in my book.
I encourage you to make a batch this weekend and see how they fit into your routine. Customize them with your favorite flavors, adjust the sweetness to your liking, and do not be afraid to experiment. The beauty of homemade is that you are in control. You can make them exactly the way your family loves them.
If you give this recipe a try, I would love to hear how it goes. Leave a comment below and let me know what variations you tried or how your kids reacted. Share a photo of your gummies on Pinterest and tag me—I love seeing your creations. Remember, a little bit of effort in the kitchen goes a long way in keeping your family healthy and happy all school year long. Happy cooking, and here is to a healthy, joyful school year ahead.
Frequently Asked Questions
Can I use store-bought elderberry syrup for this recipe?
Absolutely. Store-bought organic elderberry syrup works perfectly. Just make sure it is not too thick or overly sweetened, as that can affect the texture. I have used several brands, and they all worked well.
How long do these gummies last?
Stored in an airtight container in the refrigerator, they stay fresh for up to 2 weeks. You can also freeze them for up to 3 months. They thaw quickly at room temperature.
Can I make these gummies without a silicone mold?
Yes. If you do not have a mold, pour the mixture into a small glass dish lined with parchment paper. Let it set in the fridge, then cut it into small squares with a sharp knife. The texture will be slightly different, but they taste just as good.
Why did my gummies turn out too soft or too hard?
If your gummies are too soft, you may need a little more gelatin. If they are too hard, use a little less. The humidity in your kitchen and the exact brand of gelatin can affect the final texture. Adjust the gelatin by 1/2 tablespoon next time until you get the perfect consistency.
Can I give these gummies to toddlers?
Yes, but with caution. The gummies are chewy and can be a choking hazard for very young children. I recommend cutting them into smaller pieces for toddlers and always supervising them while eating. For older kids and adults, they are perfectly safe and delicious.
Pin This Recipe!
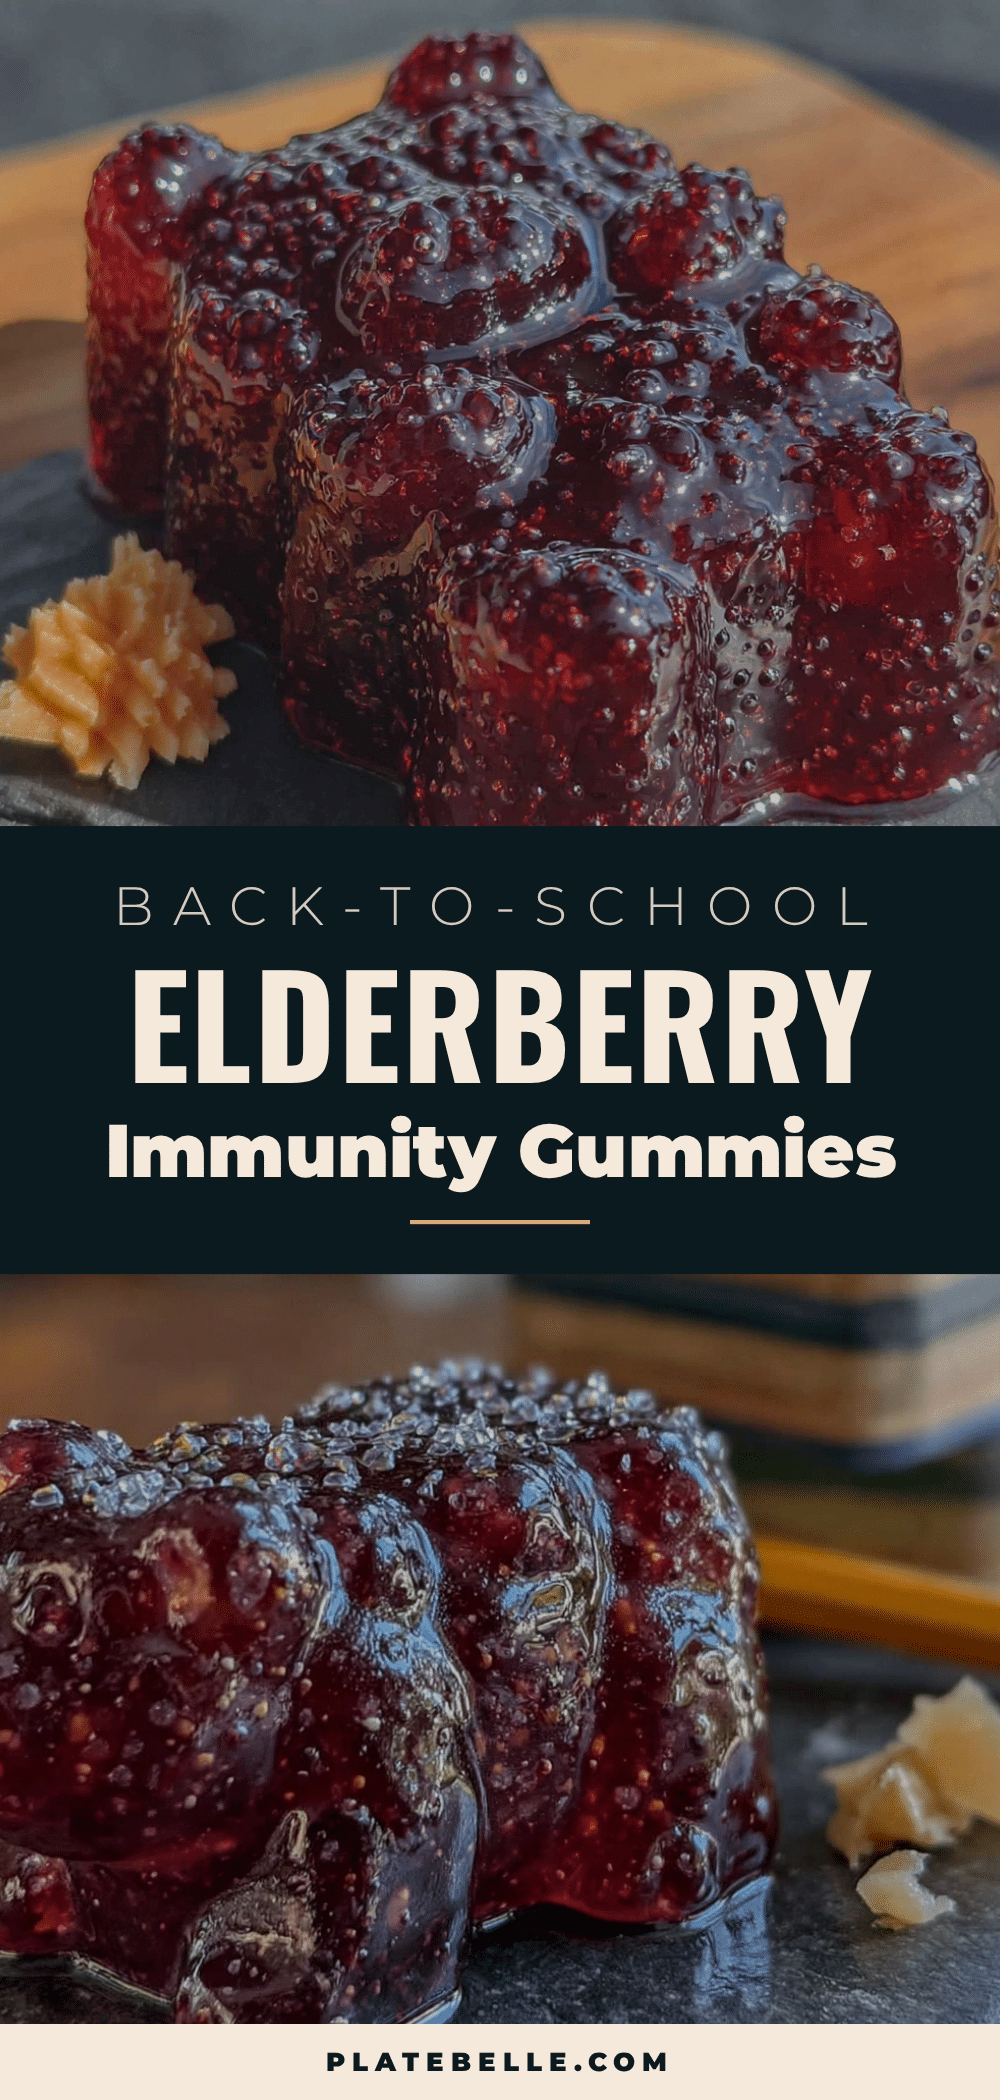
Healthy Elderberry Immunity Gummies: Best Back-to-School Recipe
These homemade elderberry gummies are a delicious and healthy way to support your family’s immune system during the school year. Made with simple ingredients, they are a treat your kids will actually ask for.
- Prep Time: 15 minutes
- Cook Time: 5 minutes
- Total Time: 2 hours 20 minutes (including setting time)
- Yield: 4 servings 1x
- Category: Snack
- Cuisine: American
Ingredients
- 1 cup (240 ml) organic elderberry syrup
- 1/4 cup (60 ml) cold water
- 1/4 cup (60 ml) honey or maple syrup
- 3 tablespoons (about 21 grams) grass-fed gelatin powder
- 1 tablespoon (15 ml) fresh lemon juice
- Optional: 1/2 teaspoon vitamin C powder (ascorbic acid)
Instructions
- Bloom the gelatin: Pour the 1/4 cup of cold water into a small bowl. Sprinkle the 3 tablespoons of gelatin powder evenly over the surface of the water. Do not stir. Let it sit for 5-10 minutes until the gelatin absorbs the water and becomes a thick, spongy mass.
- Warm the elderberry syrup: While the gelatin is blooming, pour the 1 cup of elderberry syrup and the 1/4 cup of honey into a small saucepan. Warm it over low heat, stirring occasionally, until it is warm to the touch but not steaming (about 2-3 minutes).
- Combine the mixtures: Once the elderberry mixture is warm, remove it from the heat. Add the bloomed gelatin to the saucepan. Whisk gently but thoroughly until the gelatin is completely dissolved and the mixture is smooth.
- Add the lemon juice: Stir in the 1 tablespoon of fresh lemon juice and the optional vitamin C powder if using. Whisk until everything is well combined.
- Fill the molds: Place your silicone molds on a flat, stable surface like a baking sheet. Use a dropper or a small measuring cup with a spout to carefully fill each cavity, leaving a tiny bit of space at the top.
- Set in the fridge: Carefully transfer the baking sheet with the filled molds to the refrigerator. Let them set for at least 2-3 hours, or until firm to the touch. Overnight is best.
- Pop them out: Once the gummies are fully set, gently press on the back of the silicone mold to release them. If they stick, place the mold in the freezer for 5 minutes.
- Store properly: Transfer the gummies to an airtight container. Store them in the refrigerator for up to 2 weeks.
Notes
Do not overheat the elderberry syrup to preserve its immune-boosting properties. Use a kitchen scale for accurate gelatin measurement. Let the gelatin bloom fully for best texture. Work in a warm kitchen to prevent the mixture from thickening too quickly. If using agar agar for a vegan version, use 2 tablespoons and follow package instructions.
Nutrition
- Serving Size: 6-8 gummies
- Calories: 4555
- Sugar: 810
- Sodium: 5
- Carbohydrates: 1012
- Protein: 45
Keywords: elderberry gummies, immunity gummies, back-to-school recipe, healthy gummies, homemade gummies, elderberry recipe, immune support


