My neighbor, an avid gardener named Clara, asked me last October why I couldn’t just skip the pie crust entirely and bake the pumpkin filling directly in a pan. I started to explain why that wouldn’t work—the structure, the texture, the whole point of a pie. Then I stopped. Honestly, I had no good reason. I was just repeating what I’d always been told.
So I tried it. I mixed up my usual pumpkin pie filling, poured it into a lined baking dish, and crossed my fingers. The result was a complete surprise—creamy, spiced pumpkin filling with a slightly firmer, more sliceable texture than any pie I’d ever made. No soggy bottom. No crimping drama. Just pure, unadulterated pumpkin goodness. I felt a little sheepish, standing there with a spatula in hand, realizing that a beginner’s instinct had outsmarted years of baking habits.
These gluten-free pumpkin pie bars have become my fall baking secret weapon. They capture everything I love about pumpkin pie—the velvety custard, the warm spice blend, that unmistakable autumn feeling—but without the fuss of rolling dough or worrying about gluten. The first time I made them, I actually dropped the pan on the way to the table (thankfully, it landed right-side up), and we ate slightly squished bars that tasted absolutely perfect. Maybe you’ve been there, overcomplicating a recipe that was simpler than you thought. These bars are proof that sometimes the easiest path is the best one.
Why You’ll Love This Recipe
Let me tell you why these pumpkin pie bars have earned a permanent spot in my fall baking rotation. I’ve tested this recipe at least six times, tweaking the spice blend and baking time until it was just right, and here’s what makes it stand out.
- Gluten-Free Without Sacrifice : The almond flour crust is buttery, tender, and holds together beautifully—no one will guess it’s gluten-free.
- No Rolling Pin Required : You press the crust into the pan with your hands. That’s it. No chilling, no rolling, no stress.
- Perfect for Fall Gatherings : These bars travel well, slice cleanly, and feed a crowd without the drama of a whole pie.
- Simple Pantry Ingredients : You probably have almost everything already—canned pumpkin, eggs, sugar, and warm spices.
- Unbelievably Creamy Texture : The filling sets up silky and smooth, with that classic pumpkin pie flavor that makes you close your eyes after the first bite.
What makes this recipe different from every other pumpkin dessert out there? It’s the crust-to-filling ratio. With a traditional pie, you get one bite of crust per slice. With these bars, every single piece has a perfect layer of buttery, nutty crust underneath. It’s comfort food reimagined—easier, gluten-free, but with the same soul-soothing satisfaction. Perfect for impressing guests without the stress, or turning a simple Tuesday night into something memorable.
What Ingredients You Will Need
This recipe uses simple, wholesome ingredients to deliver bold fall flavor and a satisfying texture without any fuss. Most of these are pantry staples, especially if you bake during the autumn months.
For the Crust
- 1 ½ cups (150g) almond flour (I recommend Bob’s Red Mill for consistent texture)
- ¼ cup (30g) tapioca flour (adds structure and a slight chew)
- ¼ cup (50g) packed light brown sugar
- ½ teaspoon ground cinnamon
- ¼ teaspoon salt
- 5 tablespoons (70g) unsalted butter, melted (use dairy-free butter if needed)
- 1 teaspoon vanilla extract
For the Pumpkin Filling
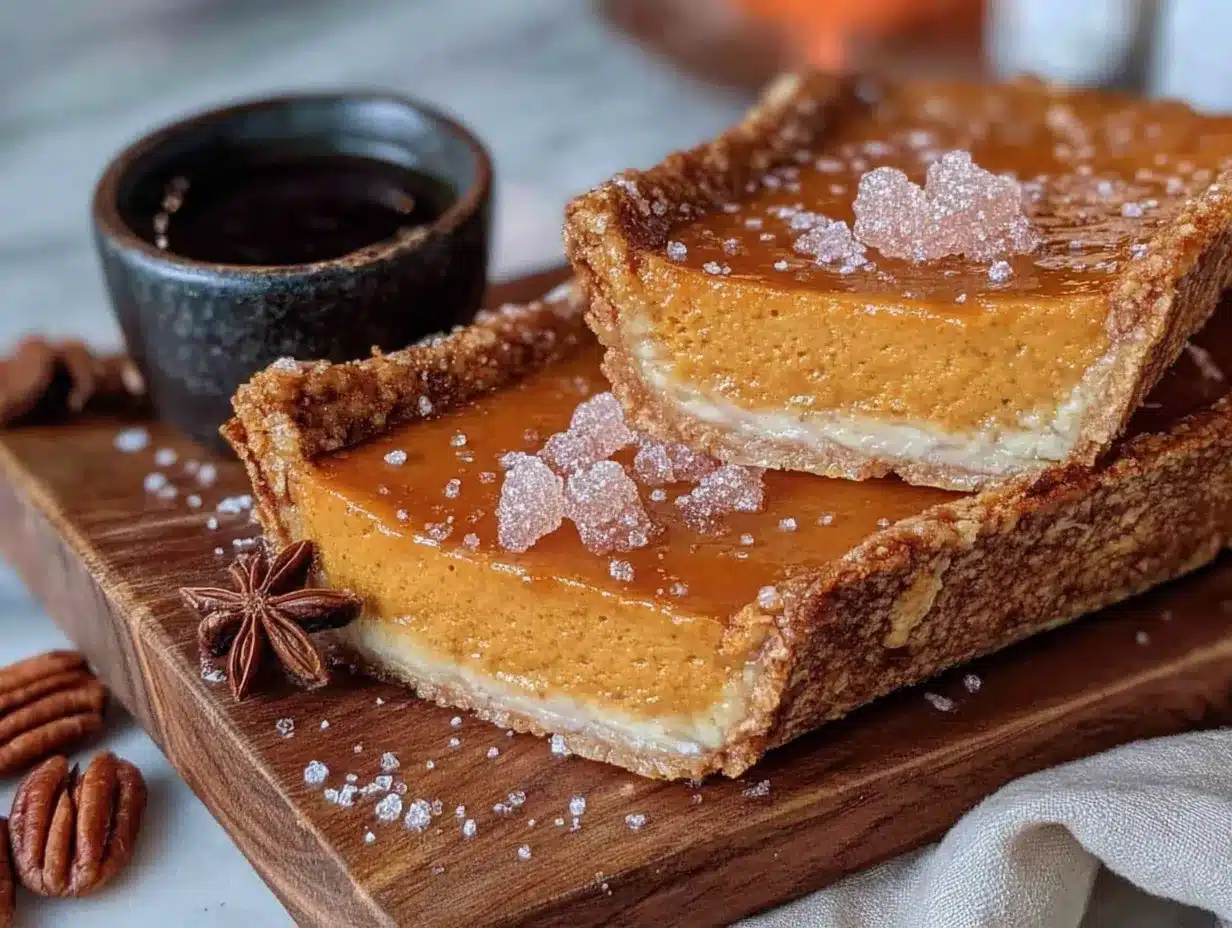
- 1 can (15 oz or 425g) pure pumpkin puree (not pumpkin pie filling—look for 100% pumpkin)
- ¾ cup (150g) granulated sugar
- ¼ cup (60ml) pure maple syrup (adds depth and moisture)
- 3 large eggs, room temperature
- 1 cup (240ml) heavy cream (or full-fat coconut milk for dairy-free)
- 2 teaspoons pumpkin pie spice
- 1 teaspoon ground cinnamon
- ½ teaspoon ground ginger
- ¼ teaspoon ground nutmeg
- ¼ teaspoon salt
- 1 teaspoon vanilla extract
For the best texture, I recommend using a good-quality pumpkin puree—I’ve had great results with Libby’s. The maple syrup is optional but highly recommended; it adds a subtle richness that granulated sugar alone can’t match. If you’re out of pumpkin pie spice, you can mix your own: combine 1 teaspoon cinnamon, ½ teaspoon ginger, ¼ teaspoon nutmeg, ¼ teaspoon allspice, and a pinch of cloves. For a dairy-free version, swap the heavy cream with full-fat coconut cream (just scoop the solid part from a chilled can).
Equipment Needed
- 9×9-inch square baking pan (an 8×8 works too, but bars will be slightly thicker)
- Parchment paper (for easy lifting and cleanup)
- Large mixing bowl
- Medium mixing bowl
- Whisk
- Rubber spatula
- Measuring cups and spoons
- Kitchen scale (optional but helpful for almond flour)
- Cooling rack
If you don’t have a 9×9 pan, you can use a 9-inch pie dish—just note the baking time may vary slightly. I’ve made these bars in a glass baking dish and a metal one, and both worked fine. The parchment paper is non-negotiable, though. Trust me on this. I once skipped it and spent twenty minutes chipping crust out of the corners. Not my finest moment.
Preparation Method
- Preheat and Prep : Preheat your oven to 350°F (175°C). Line your 9×9-inch baking pan with parchment paper, leaving an overhang on two opposite sides. This creates handles for lifting the bars out later.
- Make the Crust : In a medium bowl, whisk together the almond flour, tapioca flour, brown sugar, cinnamon, and salt. Pour in the melted butter and vanilla extract. Stir with a fork until the mixture looks like wet sand and holds together when pressed between your fingers. Don’t overmix—you just want everything evenly moistened.
- Press the Crust : Transfer the crust mixture to your prepared pan. Press it down firmly and evenly using your fingers or the bottom of a flat measuring cup. I like to use a glass with a flat bottom—it makes the crust perfectly level. Make sure to press it into the corners and slightly up the sides (about ¼ inch up) to create a little edge that holds the filling.
- Par-Bake the Crust : Bake the crust for 10 minutes. It should look just set and lightly golden around the edges. Remove from the oven and let it cool for 5 minutes while you prepare the filling. This step is crucial—it prevents the crust from getting soggy.
- Make the Filling : In a large bowl, whisk together the pumpkin puree, granulated sugar, and maple syrup until smooth. Add the eggs one at a time, whisking well after each. The mixture should look glossy and uniform. Pour in the heavy cream and vanilla, then add the pumpkin pie spice, cinnamon, ginger, nutmeg, and salt. Whisk until everything is fully combined. Don’t worry if you see a few tiny bubbles on the surface—that’s normal.
- Pour and Bake : Pour the filling over the warm crust. Gently tilt the pan to spread it evenly. Bake for 35 to 40 minutes, or until the edges are set and the center jiggles just slightly when you gently shake the pan. It will continue to set as it cools. If the center looks overly wobbly, give it 5 more minutes.
- Cool Completely : Place the pan on a cooling rack and let it cool to room temperature, about 1 hour. Then transfer to the refrigerator and chill for at least 3 hours, or overnight. This is the hardest part—I know you want to dig in—but the bars need this time to set properly. Chilling also makes them much easier to slice cleanly.
- Slice and Serve : Once fully chilled, lift the bars out using the parchment paper overhang. Place on a cutting board and slice into 9 or 16 squares (I prefer 16 for smaller servings). Use a sharp knife and wipe it clean between cuts for the neatest edges.
Cooking Tips & Techniques
I’ve made this recipe more times than I can count, and I’ve learned a few things the hard way. Here are my best tips for perfect pumpkin pie bars every time.
Don’t skip the par-bake. I once got distracted and poured the filling directly onto an unbaked crust. The bottom turned out gummy and sad. That extra 10 minutes in the oven makes all the difference between a crisp crust and a soggy one.
Use room temperature eggs. Cold eggs can seize up the filling and create a lumpy texture. Just leave them on the counter for 20 minutes before you start, or place them in a bowl of warm water for 5 minutes.
Watch for the jiggle. Overbaking is the most common mistake with pumpkin desserts. The center should still have a gentle wobble when you take it out of the oven. If you bake until it’s completely firm, you’ll end up with a dry, cracked top. I learned this after ruining a batch for a Friendsgiving dinner—we ate it anyway, but it wasn’t my best work.
Chill overnight if you can. The flavor actually improves after 24 hours in the fridge. The spices meld together, and the texture becomes incredibly smooth. I’ve tested this side by side, and the overnight batch always wins.
Use a water bath for extra insurance. If you’re worried about cracks, place your baking pan inside a larger roasting pan and pour hot water halfway up the sides. This gentle, even heat prevents the edges from setting too quickly. I don’t always do this, but it’s a great trick for beginners.
Variations & Adaptations
One of the best things about this recipe is how easy it is to customize. Here are some variations I’ve tried and loved.
Dairy-Free Version : Swap the butter in the crust with coconut oil or a plant-based butter stick. Use full-fat coconut cream instead of heavy cream in the filling. The texture will be slightly less rich but still delicious. I made this version for a friend with a dairy allergy, and she asked for the recipe twice.
Paleo-Friendly Option : Replace the brown sugar in the crust with coconut sugar, and use maple syrup or honey instead of granulated sugar in the filling. The crust will be a bit more crumbly, so press it firmly. I’ve made this for a paleo potluck, and it held up beautifully.
Spice It Up : Add a pinch of cayenne pepper or black pepper to the filling for a subtle warmth that pairs beautifully with the pumpkin. I tried this on a whim after reading about traditional pumpkin pie in colonial America, and it was surprisingly good.
Nut-Free Crust : Replace the almond flour with an equal amount of gluten-free oat flour or sunflower seed flour. Note that sunflower seed flour can turn green when baked (it’s a natural reaction, totally safe), so oat flour is my preference for appearance.
Extra Crunchy Topping : Before baking, sprinkle the top with a mixture of ¼ cup chopped pecans, 2 tablespoons brown sugar, and 1 tablespoon melted butter. It adds a lovely crunch that contrasts with the creamy filling. This is my go-to for holiday entertaining.
Serving & Storage Suggestions
These bars are best served chilled or at room temperature. I actually prefer them straight from the fridge—the filling firms up perfectly, and the flavor is more pronounced. For a special touch, top each bar with a dollop of freshly whipped cream and a light dusting of cinnamon. A drizzle of caramel sauce is also incredible if you’re feeling indulgent.
They pair beautifully with a hot cup of coffee, chai tea, or a glass of cold milk. For a full fall dessert spread, serve them alongside my apple crisp or pumpkin cheesecake for a stunning autumn dessert table.
Storage : Place leftover bars in an airtight container in the refrigerator for up to 5 days. The texture actually holds up remarkably well—better than traditional pumpkin pie, in my experience.
Freezing : These bars freeze beautifully. Wrap individual slices tightly in plastic wrap, then place them in a freezer-safe bag. They’ll keep for up to 3 months. To thaw, just transfer to the refrigerator overnight or leave at room temperature for about 30 minutes.
Reheating : I don’t recommend reheating these bars—they’re meant to be served cold or at room temperature. But if you really want a warm dessert, microwave a single slice for 10 to 15 seconds. It won’t be as pretty, but it will be cozy.
Nutritional Information & Benefits
Here’s the approximate nutritional breakdown for one bar (based on 16 servings):
| Nutrient | Amount per Bar |
|---|---|
| Calories | 195 |
| Total Fat | 12g |
| Saturated Fat | 5g |
| Cholesterol | 55mg |
| Sodium | 115mg |
| Total Carbohydrates | 20g |
| Dietary Fiber | 3g |
| Sugars | 14g |
| Protein | 5g |
These bars offer some surprising nutritional benefits. Pumpkin is packed with vitamin A (over 200% of your daily needs per serving), which supports eye health and immune function. The almond flour crust adds healthy fats, vitamin E, and magnesium. Plus, the fiber content helps keep you full and satisfied—a nice bonus for a dessert.
This recipe is naturally gluten-free, and with the substitutions mentioned above, it can easily be made dairy-free, paleo-friendly, or nut-free. Just note that all substitutions will affect the final nutritional values.
Conclusion
These gluten-free pumpkin pie bars have become my most-requested fall dessert, and I think they’ll become yours too. They capture everything I love about autumn baking—the warm spices, the creamy texture, the way the kitchen smells like cinnamon and nutmeg—without any of the stress. No rolling pins, no pie weights, no worrying about a soggy crust.
What I love most about this recipe is how forgiving it is. You can make it ahead, freeze it, customize it to your dietary needs, and it still turns out perfect every time. It’s the kind of dessert that makes you look like a hero with minimal effort. I’ve brought these bars to potlucks, Thanksgiving dinners, and casual weeknight gatherings, and they’ve never let me down.
I’d love to hear how yours turn out! Leave a comment below and let me know if you tried any variations—I’m always looking for new ideas. And if you share a photo on Pinterest, tag me so I can see your beautiful creations. Happy fall baking, friends!
Frequently Asked Questions
Can I use a gluten-free flour blend instead of almond flour for the crust?
Yes, you can substitute a 1:1 gluten-free all-purpose flour blend for the almond flour. The texture will be slightly different—more like a traditional shortbread crust—but it works well. You may need to add an extra tablespoon of butter since almond flour has more natural fat.
How do I know when the bars are done baking?
The edges should be set and slightly puffed, while the center should still jiggle gently when you shake the pan. A toothpick inserted near the center should come out mostly clean with just a few moist crumbs. If the toothpick comes out wet with liquid filling, bake for 5 more minutes.
Can I make these bars ahead of time for a party?
Absolutely. These bars are actually better when made a day ahead. Prepare them completely, chill overnight, and slice just before serving. They’ll hold up beautifully in the refrigerator for up to 5 days.
Why did my crust turn out crumbly?
This usually happens if the crust wasn’t pressed firmly enough into the pan, or if the almond flour was too coarse. Make sure you press it down with a flat-bottomed glass or measuring cup. If your almond flour is very coarse, try pulsing it in a food processor for a few seconds before mixing.
Can I use fresh pumpkin instead of canned?
Yes, but you’ll need to roast and puree the pumpkin first, then drain off any excess liquid. Fresh pumpkin puree tends to be more watery than canned, so spread the puree on a paper towel-lined plate for 10 minutes to absorb extra moisture before using. Canned pumpkin is actually more consistent for baking, but fresh works in a pinch.
Pin This Recipe!
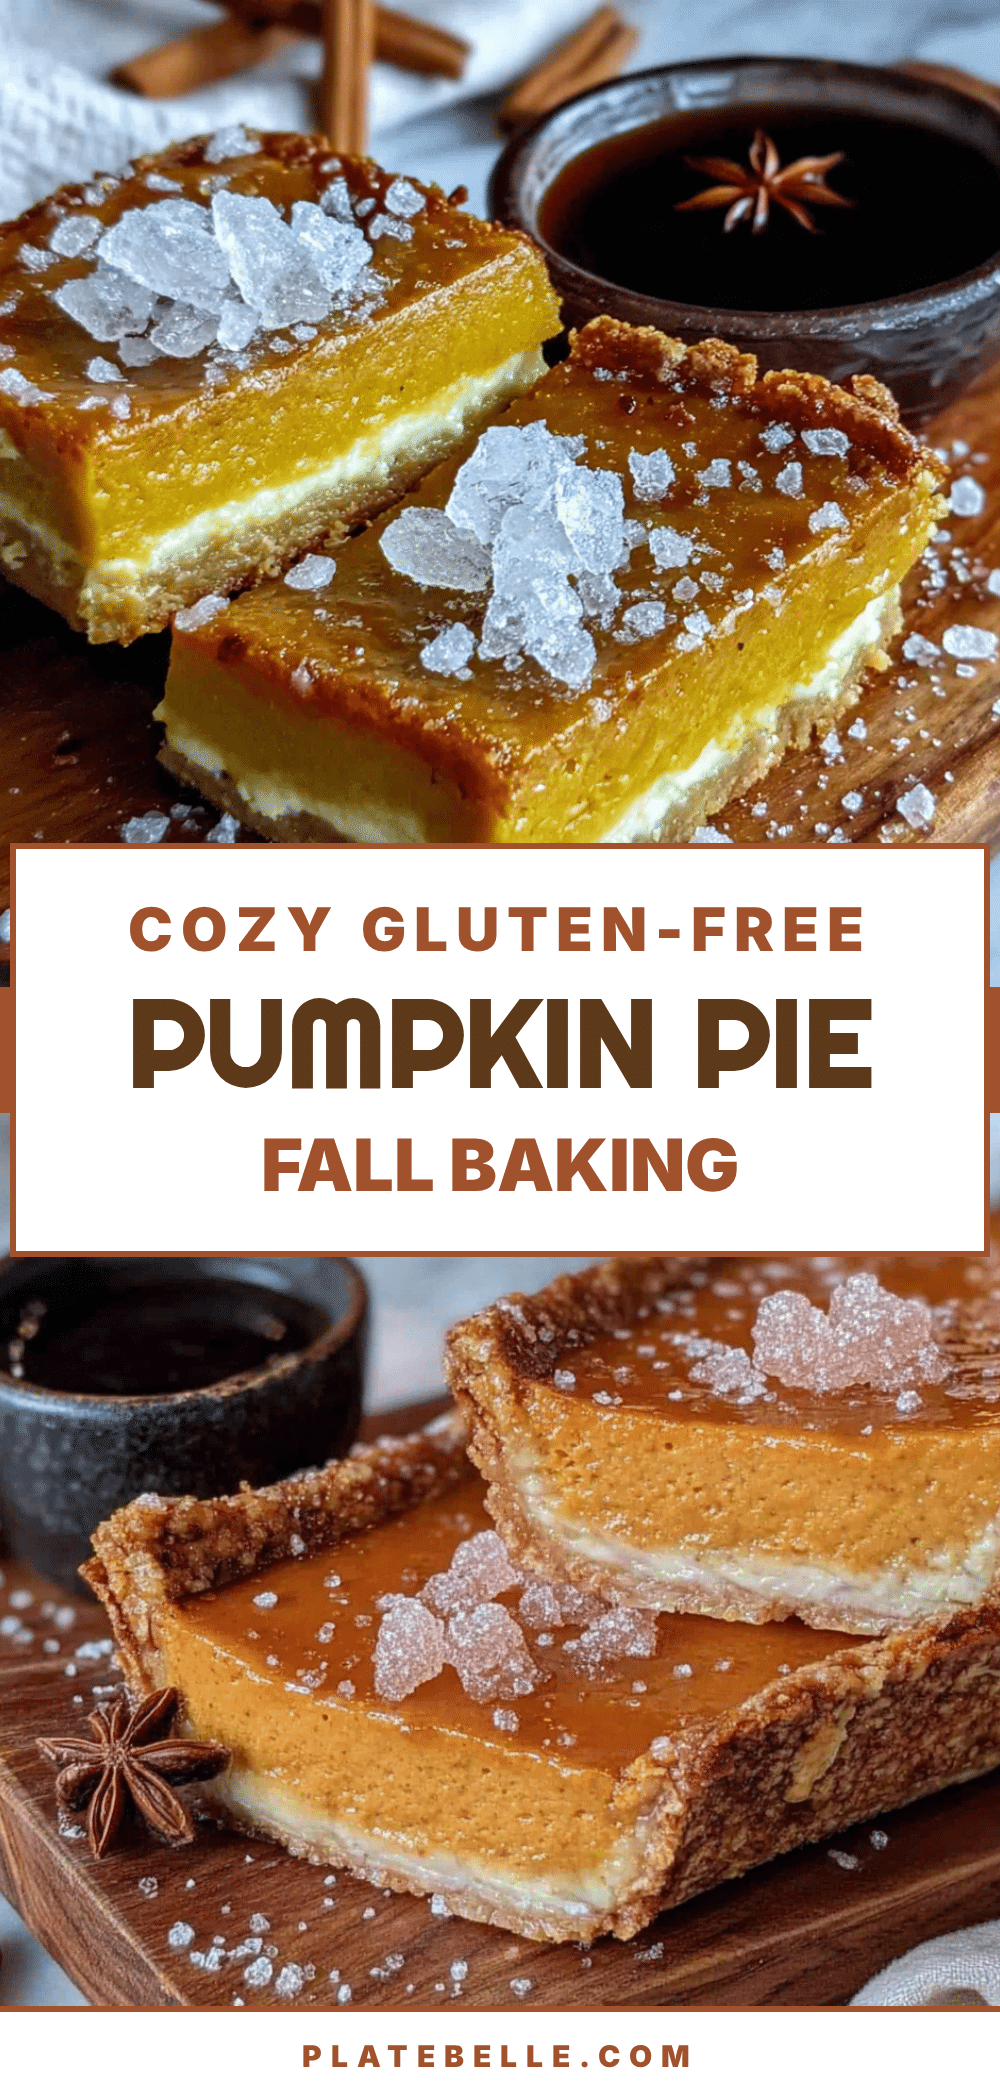
Best Gluten-Free Pumpkin Pie Bars Easy Fall Dessert
These gluten-free pumpkin pie bars capture everything you love about pumpkin pie—creamy, spiced filling with a buttery almond flour crust—without the fuss of rolling dough. Perfect for fall gatherings, they slice cleanly, travel well, and are naturally gluten-free.
- Prep Time: 20 minutes
- Cook Time: 40 minutes
- Total Time: 4 hours 20 minutes (includes chilling)
- Yield: 16 servings 1x
- Category: Dessert
- Cuisine: American
Ingredients
- 1 ½ cups (150g) almond flour
- ¼ cup (30g) tapioca flour
- ¼ cup (50g) packed light brown sugar
- ½ teaspoon ground cinnamon
- ¼ teaspoon salt
- 5 tablespoons (70g) unsalted butter, melted
- 1 teaspoon vanilla extract
- 1 can (15 oz or 425g) pure pumpkin puree
- ¾ cup (150g) granulated sugar
- ¼ cup (60ml) pure maple syrup
- 3 large eggs, room temperature
- 1 cup (240ml) heavy cream
- 2 teaspoons pumpkin pie spice
- 1 teaspoon ground cinnamon
- ½ teaspoon ground ginger
- ¼ teaspoon ground nutmeg
- ¼ teaspoon salt
- 1 teaspoon vanilla extract
Instructions
- Preheat your oven to 350°F (175°C). Line your 9×9-inch baking pan with parchment paper, leaving an overhang on two opposite sides.
- In a medium bowl, whisk together the almond flour, tapioca flour, brown sugar, cinnamon, and salt. Pour in the melted butter and vanilla extract. Stir with a fork until the mixture looks like wet sand and holds together when pressed.
- Transfer the crust mixture to your prepared pan. Press it down firmly and evenly using your fingers or the bottom of a flat measuring cup. Press it into the corners and slightly up the sides (about ¼ inch up).
- Bake the crust for 10 minutes. It should look just set and lightly golden around the edges. Remove from the oven and let it cool for 5 minutes.
- In a large bowl, whisk together the pumpkin puree, granulated sugar, and maple syrup until smooth. Add the eggs one at a time, whisking well after each. Pour in the heavy cream and vanilla, then add the pumpkin pie spice, cinnamon, ginger, nutmeg, and salt. Whisk until fully combined.
- Pour the filling over the warm crust. Gently tilt the pan to spread it evenly. Bake for 35 to 40 minutes, or until the edges are set and the center jiggles just slightly when you gently shake the pan.
- Place the pan on a cooling rack and let it cool to room temperature, about 1 hour. Then transfer to the refrigerator and chill for at least 3 hours, or overnight.
- Once fully chilled, lift the bars out using the parchment paper overhang. Place on a cutting board and slice into 9 or 16 squares. Use a sharp knife and wipe it clean between cuts for the neatest edges.
Notes
Don’t skip the par-bake—it prevents a soggy crust. Use room temperature eggs for a smooth filling. The center should still jiggle when you remove it from the oven; overbaking leads to a dry, cracked top. Chilling overnight improves flavor and texture. For a dairy-free version, use coconut oil or plant-based butter in the crust and full-fat coconut cream instead of heavy cream.
Nutrition
- Serving Size: 1 bar (based on 16 s
- Calories: 195
- Sugar: 14
- Sodium: 115
- Fat: 12
- Saturated Fat: 5
- Carbohydrates: 20
- Fiber: 3
- Protein: 5
Keywords: gluten-free pumpkin pie bars, pumpkin bars, gluten-free dessert, fall dessert, pumpkin pie bars, easy pumpkin dessert


