The spoon slides through without resistance. That’s the first thing you notice—the way the oats have surrendered completely to the milk and banana, turning into something between a pudding and a porridge, but creamier than either has any right to be. No chew, no graininess, just a smooth, velvety texture that feels almost decadent for something you threw together in five minutes the night before. That texture is the whole reason I keep coming back to these creamy overnight peanut butter banana oats.
I wasn’t always an overnight oats person, honestly. The first few times I tried them, I ended up with a bowl of sad, slimy mush that tasted more like wet cardboard than breakfast. I figured I just wasn’t an overnight oats person. But then I had a version at a tiny café near my old apartment—topped with a swirl of peanut butter and thin banana slices—and something clicked. It wasn’t mushy. It was intentional. So I went home and started messing around with ratios, trying to crack the code. Turns out, the secret is in how you treat the banana.
This recipe became my morning anchor during a chaotic year. The kind of breakfast that doesn’t ask anything of you—just open the fridge, grab a jar, and eat. No blender to clean, no pan to scrub, no decisions to make before coffee. And somehow, that little act of prep the night before feels like a gift to my future self. I’m not a morning person, but I’m a person who deserves a good breakfast. These oats make sure I get one.
Why You’ll Love This Recipe
Let me tell you why this particular version of creamy overnight peanut butter banana oats has earned a permanent spot in my weekly rotation. It’s not just about convenience—though that’s a big part of it. It’s about the fact that it actually tastes like something you’d order at a brunch spot, not a sad desk breakfast you tolerate.
- 5-Minute Prep: No cooking, no chopping, no fuss. You can literally make this in the time it takes to brew your coffee. I’ve timed myself.
- Pantry-Friendly Ingredients: You probably have everything already. Oats, milk, peanut butter, banana, a touch of sweetener. No specialty stores required.
- Perfect for Busy Mornings: Grab-and-go breakfast that actually keeps you full until lunch. No mid-morning hangriness.
- Crowd-Pleaser: My picky-eating nephew devoured this. So did my dad, who claims he doesn’t like “health food.”
- Naturally Sweet & Creamy: The banana does the heavy lifting here—it breaks down overnight and creates that luscious texture without added sugar or cream.
What makes this recipe different from the dozens of overnight oats recipes out there? It’s the technique of mashing half the banana into the oat mixture before chilling. Most recipes just slice banana on top, but mashing it in transforms the texture completely. The banana melts into the oats, thickening the liquid and adding natural sweetness throughout every single bite. It’s not just banana-flavored oats—it’s oats that have become creamy because of the banana.
This is the kind of breakfast that makes you feel like you’ve got your life together, even on days when you definitely don’t. It’s comfort in a jar, made ahead, waiting for you.
What Ingredients You Will Need
Every ingredient in this recipe plays a specific role in creating that dreamy, creamy texture and rich peanut butter-banana flavor. Nothing is wasted, and nothing is complicated. Here’s what you’ll need:
- Old-Fashioned Rolled Oats – 1/2 cup (50g). These are non-negotiable for the right texture. Quick oats turn to mush, and steel-cut oats stay too chewy. Rolled oats strike the perfect balance—they soften overnight but keep a little integrity. I prefer Bob’s Red Mill or Quaker Old-Fashioned.
- Milk of Choice – 1/2 cup (120ml). Whole milk makes it richest, but oat milk or unsweetened almond milk work beautifully too. I’ve used all three and honestly, oat milk gives the creamiest non-dairy result. Avoid skim milk—it makes the oats watery.
- Plain Greek Yogurt – 1/4 cup (60g). This adds protein and tang, plus it helps thicken the oats. Use full-fat for extra creaminess, or 2% if you’re watching calories. Dairy-free yogurt works, just make sure it’s thick (not the drinkable kind).
- Ripe Banana – 1 medium, very ripe with brown spots. This is the star. A ripe banana is sweeter and mashes more easily, which is crucial for that creamy texture. A green banana won’t break down properly—trust me, I learned the hard way.
- Creamy Peanut Butter – 2 tablespoons (32g). Use natural peanut butter with just peanuts and salt for the best flavor. The oil separation is normal—just stir it well before measuring. Skippy or Jif work too, but they’re sweeter, so you might want to reduce the maple syrup.
- Maple Syrup or Honey – 1 tablespoon (15ml). Just a little to round out the sweetness. If your banana is super ripe and your peanut butter is sweetened, you can skip this entirely.
- Chia Seeds – 1 tablespoon (12g). Optional but highly recommended. They absorb liquid and create a pudding-like texture, plus they add fiber and omega-3s. I add them every time.
- Pinch of Salt – Flaky sea salt or kosher. It sounds weird, but salt makes the peanut butter and banana flavors pop. Don’t skip it.
- Optional Toppings: Extra banana slices, a drizzle of peanut butter, a sprinkle of cinnamon, some chopped peanuts, or a few dark chocolate chips. I’m a big fan of the chocolate chips.
That’s it. Seven core ingredients, most of which are probably in your kitchen right now. The beauty of this recipe is its simplicity—there’s nowhere to hide, so each ingredient has to earn its place.
Equipment Needed
You don’t need a fancy kitchen setup for this. In fact, the simpler the better. Here’s what I use:
- Mason Jar or Airtight Container – A 16-ounce (pint-sized) jar is perfect. I use wide-mouth Ball jars because they’re easy to eat from and clean. Any container with a tight-fitting lid works—just make sure it holds at least 1.5 cups.
- Small Bowl – For mashing the banana. You can do it right in the jar if you’re brave, but I find it easier to mash in a bowl and then transfer. Less mess.
- Fork or Potato Masher – A fork works fine, but a small potato masher makes quick work of a ripe banana. I’ve used the back of a spoon in a pinch—it works, just takes a little more elbow grease.
- Measuring Cups and Spoons – Standard set. I’m not a stickler for precision with overnight oats, but the chia seeds and peanut butter benefit from accurate measuring.
- Spoon or Small Whisk – For stirring everything together. A whisk helps break up any peanut butter clumps, but a spoon does the job.
Budget-friendly tip: You don’t need to buy special overnight oats jars. Repurpose a clean pasta sauce jar or a glass yogurt container. I’ve used both, and they work perfectly. Just make sure the lid seals tightly.
Preparation Method
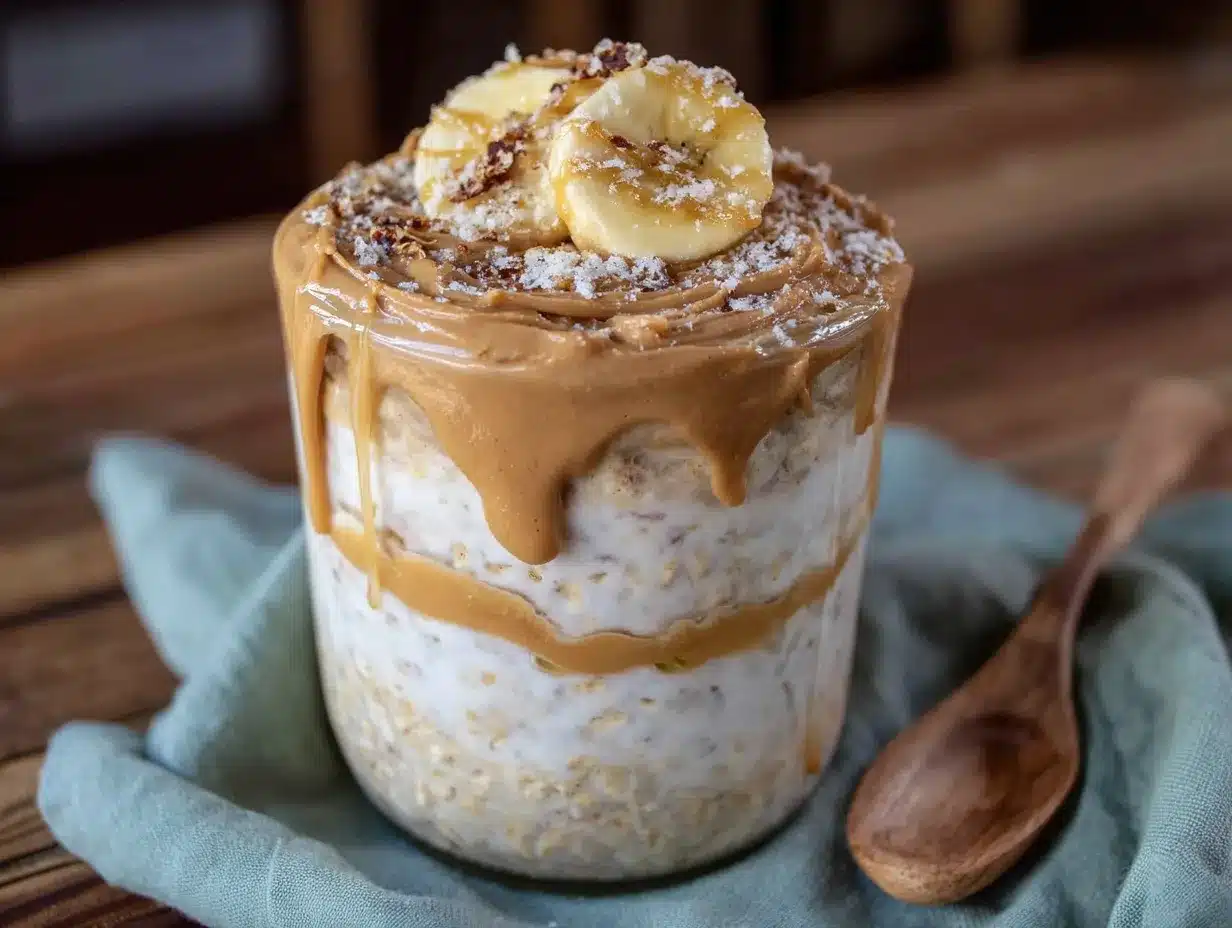
This is the easy part. Seriously, if you can stir things together, you can make these creamy overnight peanut butter banana oats. Here’s the step-by-step:
- Mash the banana. In a small bowl, mash half of the ripe banana with a fork until it’s a smooth, almost liquid paste. No big chunks—you want it to melt into the oats. Slice the remaining half for topping later.
- Combine the liquid ingredients. In your jar or container, whisk together the milk, Greek yogurt, peanut butter, and maple syrup. Whisk until the peanut butter is fully incorporated—no streaks. This takes about 30 seconds of focused stirring.
- Add the mashed banana and oats. Stir in the mashed banana, rolled oats, chia seeds (if using), and a pinch of salt. Mix until everything is evenly distributed. The mixture will look thin—that’s normal. The oats and chia will absorb the liquid overnight.
- Top with banana slices. Arrange the reserved banana slices on top. Press them gently into the oat mixture so they’re partially submerged. This keeps them from browning too much and lets their flavor infuse downward.
- Seal and refrigerate. Put the lid on tightly and refrigerate for at least 6 hours, but overnight is best (8-12 hours). The longer it sits, the creamier it gets. I’ve gone up to 48 hours with no issues—just add a splash of milk before eating if it thickens too much.
- Serve cold or warm. In the morning, give it a good stir. If it’s too thick for your liking, stir in a tablespoon or two of milk. Top with a drizzle of peanut butter, a sprinkle of cinnamon, and maybe some chopped peanuts. You can eat it cold straight from the jar, or microwave it for 30-45 seconds if you prefer warm oats. I switch between both depending on my mood.
Pro tip: If you’re meal-prepping for the week, make 4-5 jars at once. They stay good in the fridge for up to 5 days. Just leave the toppings off until you’re ready to eat—banana slices get sad after a day or two.
Cooking Tips & Techniques
After making these oats more times than I can count (and messing up plenty along the way), here’s what I’ve learned:
Don’t skip the salt. I know it sounds weird in sweet breakfast oats, but a tiny pinch of salt makes the peanut butter and banana taste exponentially more like themselves. It’s the difference between “good” and “I can’t stop eating this.”
Mash, don’t just slice. This is the biggest mistake people make. Slicing banana on top looks pretty, but it doesn’t transform the texture. Mashing half into the base is what creates that creamy, pudding-like consistency. The slices on top are just for decoration and little bursts of fresh banana flavor.
Watch your liquid ratio. If you add too much milk, you’ll end up with soup. Too little, and it’s a dense brick. The 1:1 ratio of oats to liquid (including the yogurt and mashed banana) is my sweet spot. If you’re adding chia seeds, increase the milk by 1-2 tablespoons since chia absorbs a lot of liquid.
Temperature matters. Cold oats straight from the fridge are thicker and more pudding-like. Warm oats are softer and more porridge-like. Both are delicious, but they’re different experiences. If you’re warming them up, do it in 15-second bursts and stir between each—chia seeds can get gummy if overheated.
My biggest failure: I once used quick oats because I was out of rolled oats. It was a disaster. The texture was baby food—no structure, no bite, just a sad paste. Don’t do it. Rolled oats or bust.
If you’re looking for another easy make-ahead breakfast, you’ll love these creamy high-protein peanut butter banana overnight oats—they’re basically this recipe’s gym-going cousin.
Variations & Adaptations
One of the best things about this recipe is how endlessly adaptable it is. Here are some of my favorite variations:
- Chocolate Peanut Butter Banana: Stir in 1 tablespoon of cocoa powder with the dry ingredients. Top with dark chocolate chips. It tastes like a healthier version of a Reese’s cup for breakfast.
- Vegan Version: Use plant-based milk (oat milk is creamiest), dairy-free yogurt (coconut or soy-based), and maple syrup instead of honey. Everything else is already vegan-friendly.
- Extra Protein: Add a scoop of vanilla or chocolate protein powder. Increase the milk by 2-3 tablespoons to compensate for the extra dry ingredients. I’ve used both whey and plant-based protein—both work, but plant-based can make the texture slightly grittier.
- Low-Sugar Option: Skip the maple syrup entirely and use an extra-ripe banana. The natural sweetness is usually enough. If you need more sweetness, add a few drops of stevia or monk fruit sweetener.
- Nut-Free Version: Swap peanut butter for sunflower seed butter or tahini. The flavor changes, obviously, but it’s still delicious. Sunflower butter can turn greenish when combined with baking soda (which isn’t in this recipe, so you’re safe), but it’s fine here.
- Warm Spiced Version: Add 1/4 teaspoon of cinnamon and a pinch of nutmeg to the oat mixture. Top with a drizzle of honey and some toasted pecans. Perfect for fall mornings.
I’ve personally made the chocolate version more times than I can count. It’s my go-to when I want dessert for breakfast without the guilt. For another sweet-but-healthy treat, check out this creamy no-churn mango protein ice cream—it’s just as easy and satisfies that sweet tooth.
Serving & Storage Suggestions
These creamy overnight peanut butter banana oats are best served cold, straight from the fridge, in my opinion. But I know plenty of people who prefer them warm, and that’s valid too. Here’s how I handle both:
Serving: Give the oats a good stir before eating. If they’re too thick, add a splash of milk (any kind) and stir until it reaches your desired consistency. Top with fresh banana slices, a drizzle of warm peanut butter (microwave it for 10 seconds), a sprinkle of cinnamon, and maybe some chopped peanuts for crunch. I also love adding a few dark chocolate chips—they stay firm against the cold oats and create little pockets of richness.
Storage: Keep the jar sealed in the refrigerator for up to 5 days. The texture changes slightly after day 3—the oats get softer and the banana flavor intensifies—but it’s still delicious. Do not freeze these oats. The texture becomes watery and grainy upon thawing. I’ve tried it. It’s not good.
Reheating: If you want warm oats, microwave in 30-second intervals, stirring between each, until heated through. Add a splash of milk before microwaving to loosen the texture. Alternatively, transfer to a small saucepan and warm over medium-low heat, stirring frequently, for about 2-3 minutes.
Flavor development: These oats actually taste better on day 2 than day 1. The flavors meld together, the banana fully integrates, and the texture reaches peak creaminess. If you can wait, make them two days ahead.
Nutritional Information & Benefits
Here’s the approximate nutritional breakdown for one serving (without toppings):
- Calories: ~420
- Protein: 18g
- Carbohydrates: 52g
- Fiber: 9g
- Fat: 18g
- Sugar: 20g (natural from banana and a touch of maple syrup)
These numbers make this a well-balanced breakfast that actually keeps you full. The combination of complex carbs from oats, protein from Greek yogurt and peanut butter, and healthy fats from peanut butter and chia seeds creates sustained energy without the blood sugar crash. The banana provides potassium and natural sweetness, while chia seeds add omega-3 fatty acids and extra fiber.
Dietary considerations: This recipe is naturally vegetarian and can be made vegan, gluten-free (use certified gluten-free oats), and nut-free (with seed butter). It contains dairy and peanuts in its standard form.
I love knowing that I’m starting my day with something that genuinely nourishes me, not just fills me up. It’s a small win that sets the tone for better choices throughout the day.
Conclusion
These creamy overnight peanut butter banana oats have become my breakfast safety net—the one thing I can always count on to be good, fast, and satisfying. No matter how chaotic life gets, knowing there’s a jar of this waiting in the fridge makes mornings feel manageable. It’s a small act of kindness to my future self, and honestly, that feels pretty good.
I hope you give this recipe a try and make it your own. Add your favorite toppings, adjust the sweetness, play with the spices. That’s the beauty of a simple recipe—it’s a starting point, not a rulebook. If you come up with a variation you love, I’d genuinely love to hear about it. Drop a comment below or tag me in your photos. Nothing makes me happier than seeing someone else fall in love with a recipe that’s brought me so much joy.
Here’s to good breakfasts and even better mornings. You’ve got this.
Frequently Asked Questions
Can I use quick oats instead of rolled oats?
I don’t recommend it. Quick oats absorb liquid too fast and turn mushy. Rolled oats give you that perfect creamy-but-not-soggy texture. Steel-cut oats won’t soften enough in the fridge, so stick with rolled.
How long do these overnight oats last in the fridge?
Up to 5 days in an airtight container. The texture is best on days 2-3. After that, the oats get very soft, but they’re still safe to eat. Just give them a good stir and add a splash of milk if needed.
Can I make these without yogurt?
Yes! Replace the yogurt with an equal amount of milk or a dairy-free alternative. The oats won’t be as thick or tangy, but they’ll still be creamy. You can also use a tablespoon of chia seeds to help thicken the mixture instead.
Why did my oats turn out watery?
You probably used too much liquid or not enough chia seeds. Stick to the 1:1 ratio of oats to liquid (including yogurt and mashed banana). If you’re adding extra mix-ins like fruit or protein powder, reduce the milk slightly to compensate.
Can I eat these oats warm?
Absolutely. Microwave in 30-second bursts, stirring between each, until heated through. Add a splash of milk before microwaving to loosen the texture. Or transfer to a saucepan and warm over medium-low heat for 2-3 minutes.
Pin This Recipe!
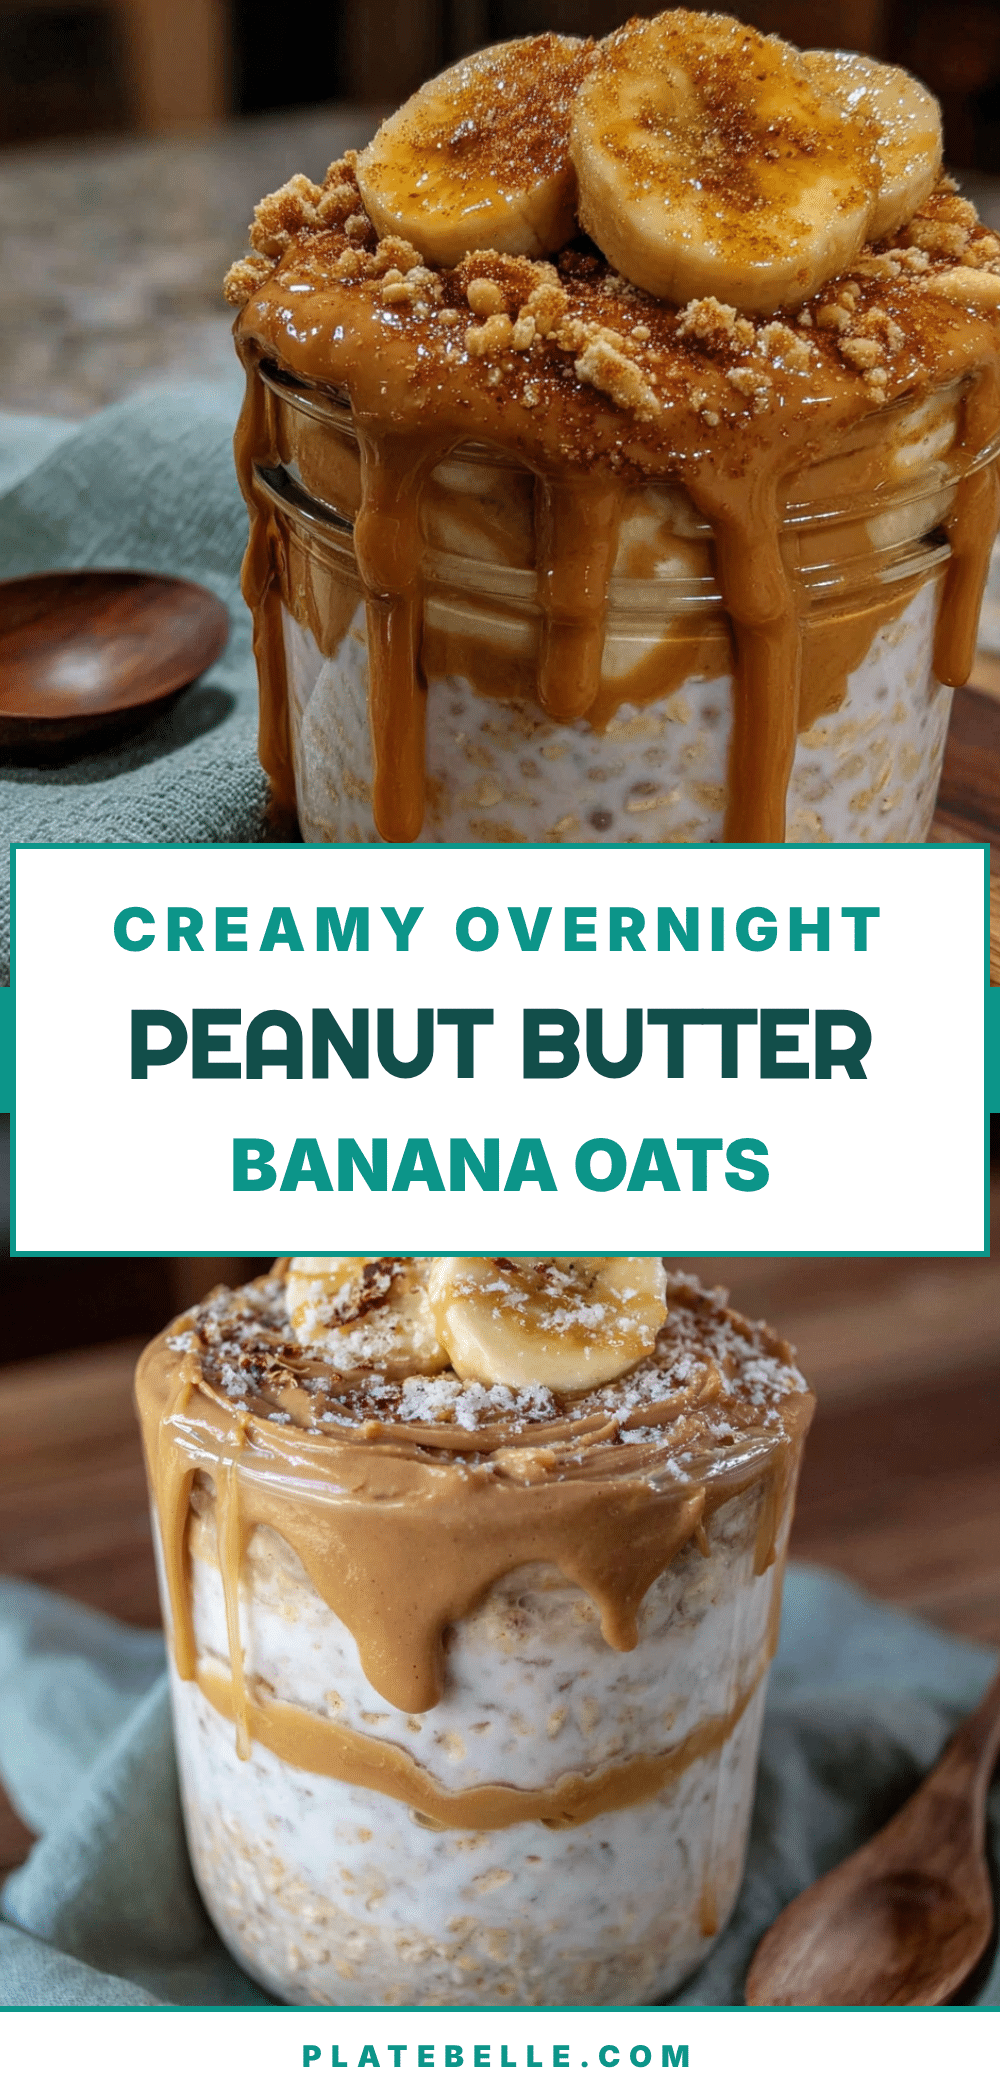
Creamy Overnight Peanut Butter Banana Oats (Easy 5-Minute Recipe)
These creamy overnight peanut butter banana oats are a 5-minute prep breakfast that transforms into a velvety, pudding-like texture overnight. Made with simple pantry ingredients, this make-ahead meal is perfect for busy mornings and keeps you full until lunch.
- Prep Time: 5 minutes
- Cook Time: 0 minutes
- Total Time: 5 minutes (plus 6-12 hours refrigeration)
- Yield: 1 serving 1x
- Category: Breakfast
- Cuisine: American
Ingredients
- 1/2 cup (50g) old-fashioned rolled oats
- 1/2 cup (120ml) milk of choice (whole milk, oat milk, or unsweetened almond milk)
- 1/4 cup (60g) plain Greek yogurt (full-fat or 2%)
- 1 medium ripe banana (with brown spots), half mashed, half sliced
- 2 tablespoons (32g) creamy peanut butter (natural preferred)
- 1 tablespoon (15ml) maple syrup or honey (optional, adjust to taste)
- 1 tablespoon (12g) chia seeds (optional but recommended)
- 1 pinch of salt (flaky sea salt or kosher)
- Optional toppings: extra banana slices, drizzle of peanut butter, sprinkle of cinnamon, chopped peanuts, dark chocolate chips
Instructions
- Mash half of the ripe banana in a small bowl with a fork until smooth and paste-like. Slice the remaining half for topping.
- In a mason jar or airtight container, whisk together the milk, Greek yogurt, peanut butter, and maple syrup until fully combined and no streaks remain.
- Stir in the mashed banana, rolled oats, chia seeds (if using), and a pinch of salt. Mix until evenly distributed. The mixture will look thin.
- Arrange the reserved banana slices on top, pressing them gently into the oat mixture so they are partially submerged.
- Seal the container tightly and refrigerate for at least 6 hours, preferably overnight (8-12 hours). For best creaminess, let it sit up to 48 hours.
- In the morning, stir the oats well. If too thick, add a splash of milk. Serve cold or microwave for 30-45 seconds for warm oats. Top with desired toppings.
Notes
Mashing half the banana into the oat mixture is the key to achieving a creamy, pudding-like texture. Do not use quick oats or steel-cut oats—rolled oats are essential. For meal prep, make 4-5 jars at once and store in the fridge for up to 5 days. Add toppings just before serving to keep banana slices fresh. If reheating, microwave in 30-second bursts with a splash of milk to loosen texture.
Nutrition
- Serving Size: 1 jar (about 1.5 cup
- Calories: 420
- Sugar: 20
- Sodium: 200
- Fat: 18
- Saturated Fat: 3
- Carbohydrates: 52
- Fiber: 9
- Protein: 18
Keywords: overnight oats, peanut butter banana oats, creamy overnight oats, easy breakfast, make-ahead breakfast, healthy breakfast, 5-minute recipe, no-cook breakfast


