My sister swore she didn’t like pumpkin desserts. For years. I mean, she’d make a face at my pumpkin bread, pass on the pumpkin pie at Thanksgiving, and claim that pumpkin spice lattes were “a marketing conspiracy.” Then last October, I was testing these cake pops on a rainy Tuesday afternoon—just for myself, honestly, because I had leftover pumpkin puree and a stubborn need to prove a point. I caught her sneaking one off the cooling rack when she thought I wasn’t looking. Then another. By the time I walked into the kitchen, she was standing there with crumbs on her shirt, trying to look casual. “Okay,” she said, reaching for a third. “These are different.”
That’s the thing about these little guys. They don’t scream pumpkin the way a slice of pie does. They whisper it—warm and cozy, wrapped up in that buttery cinnamon sugar coating that makes you forget you’re eating something that technically counts as a vegetable. I’d been playing around with cake pop recipes for months, trying to get the texture right, and this version was the one that finally clicked. It wasn’t too dense or too cakey, and the cinnamon sugar crust gave it this little crunch that made people reach for “just one more.”
Maybe you’ve been there—not a pumpkin person, or married to one, or just tired of the same old fall desserts that show up at every gathering. These cake pops are for you. They’re the kind of treat that changes minds without even trying, the one that disappears from the plate before you’ve had a chance to arrange them nicely. And honestly? That’s my favorite kind of recipe.
Why You’ll Love This Recipe
Let me tell you why these cake pops have earned a permanent spot in my fall baking rotation. I’ve tested this recipe about seven times (my neighbors were very happy about that), and it’s been approved by everyone from my picky six-year-old nephew to my dad who “doesn’t eat dessert.” Here’s what makes them special:
- Quick & Easy: These come together in about 45 minutes, including chilling time. No complicated techniques or fancy equipment required—just a mixing bowl, a baking sheet, and some lollipop sticks if you want to get fancy.
- Simple Ingredients: You probably have most of these in your pantry right now. Canned pumpkin, basic baking staples, and cinnamon sugar. No weird ingredients you’ll never use again.
- Perfect for Fall Gatherings: These are the star of any Halloween party, Thanksgiving dessert table, or cozy night in. They’re portable, easy to serve, and somehow always the first thing to disappear.
- Crowd-Pleaser: I’ve watched self-proclaimed pumpkin haters eat four of these in one sitting. The cinnamon sugar coating is the secret weapon—it’s familiar and comforting, even for people who think they don’t like pumpkin.
- Unbelievably Delicious: The texture is what gets people. Soft and tender on the inside, with that slightly crunchy cinnamon sugar shell. And the pumpkin flavor is there, but it’s subtle—more like a warm hug than a bold statement.
What makes this recipe different from all the other cake pop recipes out there? It’s the method. Instead of crumbling baked cake and mixing it with frosting (which can get gummy), I use a simple cake batter that bakes up perfectly moist without being heavy. And the cinnamon sugar coating? That’s applied while the butter coating is still warm, so it sticks beautifully and creates that irresistible crust. I’ve tried it every other way, and trust me—this is the one.
This isn’t just another fall dessert. It’s the kind of recipe that makes you close your eyes after the first bite. It’s comfort food in its purest form—sweet, spiced, and just a little bit nostalgic. And it’s simple enough that you can whip up a batch on a random Tuesday night, just because you need something cozy.
What Ingredients You Will Need
This recipe uses simple, wholesome ingredients to deliver that cozy fall flavor without any fuss. Most of these are pantry staples, so you might already have everything you need. Let’s walk through what each ingredient does and why I chose it.
For the Cake Pops
- All-purpose flour, 1 ½ cups (190g) – This gives the cake pops structure without making them dense. Spoon and level your flour for best results—don’t scoop straight from the bag.
- Granulated sugar, ½ cup (100g) – Just enough sweetness to balance the pumpkin and spices. I’ve tried reducing this, and the pops lose that tender texture.
- Brown sugar, ¼ cup (50g), packed – This adds moisture and a subtle molasses flavor that plays beautifully with the pumpkin. I recommend light brown sugar here.
- Baking powder, 1 teaspoon – Helps the pops rise just enough to be light and tender.
- Baking soda, ½ teaspoon – Works with the acidity in the pumpkin to create a soft crumb.
- Pumpkin pie spice, 1 ½ teaspoons – You can use store-bought or make your own blend. I prefer homemade pumpkin pie spice because I can adjust the cinnamon-to-ginger ratio to my liking.
- Cinnamon, ½ teaspoon – Because you can never have too much cinnamon in a fall recipe.
- Salt, ¼ teaspoon – Balances the sweetness and enhances the spices.
- Pumpkin puree, ¾ cup (170g) – Make sure you’re using 100% pumpkin puree, not pumpkin pie filling. I like Libby’s for consistent results. If you have leftover puree, it freezes beautifully for later.
- Vegetable oil, ⅓ cup (80ml) – Keeps the cake pops moist. You can substitute melted coconut oil if you prefer.
- Egg, 1 large, room temperature – Binds everything together. Let it sit out for 15 minutes if you forgot to take it out ahead of time.
- Vanilla extract, 1 teaspoon – Adds warmth and depth to the flavor.
For the Coating
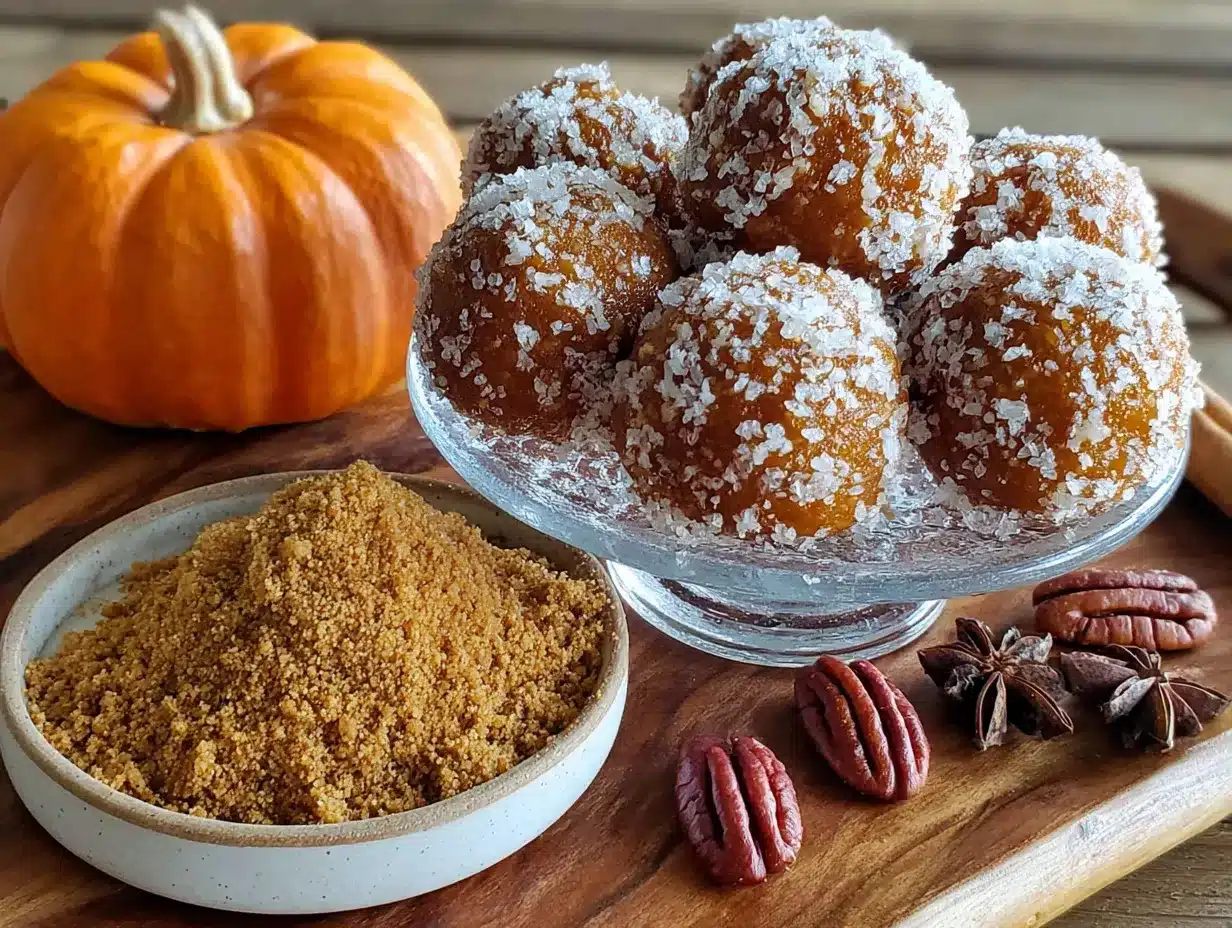
- Unsalted butter, ¼ cup (60g), melted – This is what helps the cinnamon sugar stick. Use real butter here—margarine doesn’t give the same flavor or texture.
- Granulated sugar, ½ cup (100g) – For that sweet, crunchy coating.
- Cinnamon, 1 ½ teaspoons – The star of the show. Fresh cinnamon makes a noticeable difference—I recommend replacing yours every six months.
That’s it. Seven ingredients for the cake pops, three for the coating. No cream cheese, no frosting, no complicated ganache. Just simple, honest ingredients that come together to make something special.
Equipment Needed
You don’t need much for this recipe, which is one of the reasons I love it. Here’s what you’ll need:
- Mixing bowls – One large, one medium. I use glass bowls because they’re easy to clean and don’t hold onto odors.
- Whisk and spatula – A whisk for the dry ingredients and a rubber spatula for folding everything together.
- Baking sheet – A standard half-sheet pan works perfectly. Line it with parchment paper for easy cleanup.
- Small cookie scoop or melon baller – This makes portioning the dough a breeze. If you don’t have one, use a tablespoon measure—just level it off.
- Lollipop sticks (optional) – If you want the classic cake pop look. I got a pack of 50 on Amazon for about six dollars, and they last forever.
- Shallow bowl – For the melted butter and cinnamon sugar mixture.
- Cooling rack – Helps the cake pops cool evenly and keeps the coating from getting soggy on the bottom.
If you don’t have lollipop sticks, don’t worry. These work beautifully as little cake bites served on a plate with toothpicks. Actually, I prefer them that way sometimes—they’re easier to eat and you can fit more on a plate.
Preparation Method
Alright, let’s get to the fun part. Here’s how to make these little bites of fall heaven.
- Preheat your oven to 350°F (175°C). Line a baking sheet with parchment paper. While the oven heats up, take your egg out of the fridge so it comes to room temperature—this helps everything mix together smoothly.
- Whisk the dry ingredients together. In a large bowl, combine the flour, granulated sugar, brown sugar, baking powder, baking soda, pumpkin pie spice, cinnamon, and salt. Give them a good whisk until everything is evenly distributed. I like to use my fingers to break up any lumps in the brown sugar.
- Mix the wet ingredients. In a separate medium bowl, whisk together the pumpkin puree, vegetable oil, egg, and vanilla extract until smooth. It should look like a thick, glossy orange sauce.
- Combine wet and dry. Pour the wet ingredients into the dry ingredients and fold together with your rubber spatula. Don’t overmix—just stir until you don’t see any more dry flour. A few lumps are totally fine. The batter will be thick and slightly sticky.
- Scoop and shape. Using your cookie scoop or a tablespoon, portion out the batter and roll it into 1-inch balls. You should get about 20-24 cake pops. Place them on the prepared baking sheet, spacing them about 2 inches apart. If the dough feels too sticky to roll, wet your hands slightly with cold water.
- Bake. Pop the baking sheet into the oven and bake for 10-12 minutes. The cake pops should be set on the edges and just barely firm to the touch in the center. They won’t brown much on top, so don’t wait for that golden color. A toothpick inserted in the center should come out clean or with just a few moist crumbs.
- Cool completely. Let the cake pops cool on the baking sheet for 5 minutes, then transfer them to a cooling rack. This is important—if you try to coat them while they’re still warm, the butter will soak right in and you’ll lose that crunchy coating. Be patient. I usually make these in the afternoon and coat them after dinner.
- Melt the butter. Once the cake pops are completely cool, melt the ¼ cup of butter in a small bowl. You can do this in the microwave in 15-second bursts, stirring between each.
- Prepare the cinnamon sugar. In a shallow bowl, mix together the remaining ½ cup of granulated sugar and 1½ teaspoons of cinnamon. Give it a good stir so the cinnamon is evenly distributed.
- Coat the cake pops. Working one at a time, dip each cake pop into the melted butter, letting any excess drip off. Then roll it in the cinnamon sugar mixture until fully coated. Place it back on the cooling rack. Repeat with all the cake pops.
- Optional: Add sticks. If you’re using lollipop sticks, insert one into each cake pop before the butter coating sets. Dip the tip of the stick in a little melted butter first—it helps it slide in without cracking the cake pop.
- Let the coating set. Allow the cake pops to sit at room temperature for about 15 minutes so the coating firms up. Then they’re ready to serve.
A quick note: if you’re making these ahead of time (which I highly recommend), don’t coat them until just before serving. The cake pops themselves can be baked and stored in an airtight container for up to two days, then coated fresh. The coating is best within a few hours of being applied.
Cooking Tips & Techniques
I’ve made these cake pops more times than I care to count, and I’ve learned a few things along the way. Here are my best tips for success:
Don’t overbake. This is the number one mistake I see people make. Because these are small, they dry out fast. Pull them out when they’re just set—they’ll continue cooking from residual heat as they cool. Overbaked cake pops are crumbly and dry, and nobody wants that.
Use room temperature ingredients. I know, I know, it seems fussy. But cold egg and cold pumpkin puree can make your batter seize up, resulting in dense cake pops. Let everything sit out for 15-20 minutes before you start mixing. Your future self will thank you.
Wet hands are your friend. If the dough is sticking to your hands while rolling, just dampen them with a little cold water. It creates a thin barrier that prevents sticking without adding too much moisture to the dough.
Make uniform sizes. Use that cookie scoop or measure carefully. Cake pops that are different sizes will bake unevenly—some will be dry while others are underdone. I learned this the hard way when I made a batch for a party and half were perfect and half were sad little hockey pucks.
Double coat for extra crunch. If you’re a texture person like me, try this: after the first coating sets for about 5 minutes, dip the cake pop back in the butter and roll it in the cinnamon sugar again. It creates a thicker, crunchier shell that’s absolutely addictive.
Chill if needed. If your kitchen is warm and the butter coating isn’t setting, pop the cake pops in the refrigerator for 10 minutes. Just don’t leave them in there too long, or condensation can make the coating sticky.
Variations & Adaptations
One of the best things about this recipe is how flexible it is. Here are some ways to make it your own:
Dietary Variations
- Gluten-free: Swap the all-purpose flour for a 1:1 gluten-free baking flour blend. I’ve used Bob’s Red Mill with great results. Just don’t overmix the batter—gluten-free flours can get gummy if you work them too much.
- Dairy-free: Use melted coconut oil or a plant-based butter alternative in place of the butter for the coating. The flavor will be slightly different, but still delicious.
- Egg-free: Replace the egg with a flax egg (1 tablespoon ground flaxseed mixed with 3 tablespoons water, let sit for 5 minutes). The texture will be a bit denser, but still tender and tasty.
Flavor Twists
- Chocolate pumpkin: Add ¼ cup of mini chocolate chips to the batter before baking. The chocolate melts into little pockets of goodness that pair beautifully with the pumpkin spice.
- Maple pecan: Replace the vanilla extract with maple extract and add ¼ cup of finely chopped pecans to the batter. For the coating, mix a tablespoon of maple sugar into the cinnamon sugar.
- Chai spice: Add ½ teaspoon of ground cardamom and ¼ teaspoon of ground cloves to the spice blend. It gives the cake pops a chai tea-inspired flavor that’s perfect for cold winter nights.
Different Cooking Methods
- Air fryer: Cook the cake pops at 325°F (160°C) for 6-8 minutes. You might need to do them in batches depending on the size of your air fryer. Keep an eye on them—air fryers run hot and can brown these quickly.
- Mini muffin pan: If you don’t want to roll balls, press the batter into a greased mini muffin pan and bake for 8-10 minutes. They won’t be as cute, but they’ll taste just as good. Coat them the same way.
I tried the chai spice variation last Thanksgiving when I ran out of pumpkin pie spice, and honestly? It might be my new favorite. The cardamom adds this floral note that makes the cake pops feel a little fancy, even though they’re still just simple little bites.
Serving & Storage Suggestions
These cake pops are best served at room temperature, right after the coating has set. The contrast between the soft interior and the crunchy cinnamon sugar shell is at its peak within the first few hours. Arrange them on a pretty plate or stand, and watch them disappear.
For beverages, these pair beautifully with a hot cup of coffee, a chai latte, or a cold glass of milk. If you’re serving them at a fall gathering, set them out with mulled cider or hot chocolate for a cozy dessert spread. I once served them alongside a batch of classic apple cider, and it was the perfect fall pairing.
Storage: Store uncoated cake pops in an airtight container at room temperature for up to 2 days, or in the refrigerator for up to 5 days. Once coated, they’re best eaten within 24 hours—the coating can get soft and sticky if stored longer.
Freezing: You can freeze the uncoated cake pops for up to 3 months. Place them in a single layer on a baking sheet and freeze until solid, then transfer to a freezer-safe bag or container. When you’re ready to serve, thaw them at room temperature for about 30 minutes, then coat them fresh. The coating doesn’t freeze well, so always add it after thawing.
Reheating: These are meant to be eaten at room temperature, so no reheating needed. If you’ve stored them in the refrigerator, let them sit out for 15-20 minutes before serving. The texture is much better when they’re not cold.
One thing I’ve noticed: the flavors actually get better after a day in the fridge. The pumpkin and spices meld together, and the texture becomes even more tender. If you can resist eating them all on day one, you’re in for a treat on day two.
Nutritional Information & Benefits
Let’s be real—these are a treat, not a health food. But they do have some redeeming qualities. Here’s the estimated nutritional breakdown per cake pop (based on 24 pops):
| Nutrient | Amount |
|---|---|
| Calories | 115 |
| Total Fat | 5g |
| Saturated Fat | 2g |
| Carbohydrates | 17g |
| Sugar | 11g |
| Protein | 1.5g |
| Fiber | 1g |
| Vitamin A | 15% DV |
The pumpkin puree is the real hero here. It’s packed with vitamin A (great for eye health and immune function) and fiber, which helps keep you full. Cinnamon has anti-inflammatory properties and can help regulate blood sugar. So while these cake pops are definitely a dessert, they’re not completely empty calories.
Dietary considerations: This recipe is nut-free (if you don’t add the pecan variation) and can be made gluten-free, dairy-free, or egg-free with the substitutions listed above. It does contain wheat and dairy in its standard form.
My personal philosophy? Life is short. Eat the cake pop. But also, eat a vegetable at dinner so you feel good about it. Balance, you know?
Conclusion
These cinnamon sugar pumpkin cake pops are everything I want in a fall dessert—simple, cozy, and just a little bit magical. They’ve converted a pumpkin skeptic (my sister), delighted a houseful of Thanksgiving guests, and become my go-to recipe when I need something sweet that doesn’t require a lot of effort or fancy ingredients.
What I love most about this recipe is how adaptable it is. You can make them gluten-free, add chocolate chips, or switch up the spices to match your mood. They’re forgiving enough for beginners and satisfying enough for experienced bakers. And that cinnamon sugar coating? It’s the kind of thing that makes you close your eyes and go “mmmm” without even thinking about it.
I’d love to hear how these turn out for you. Did you try a variation? Did they convert someone in your life who “doesn’t like pumpkin”? Drop a comment below and let me know—I read every single one, and your stories make my day. And if you share a photo on Pinterest or Instagram, tag me so I can see your beautiful creations.
Now go make some cake pops. You deserve something cozy today.
Frequently Asked Questions
Can I use pumpkin pie filling instead of pumpkin puree?
No, I wouldn’t recommend it. Pumpkin pie filling is already sweetened and spiced, so it would throw off the balance of the recipe. Stick with 100% pumpkin puree for the best results.
Why did my cake pops turn out dry?
Most likely, they were overbaked. These little guys bake quickly, so keep a close eye on them. Pull them out when they’re just set in the center. Also, make sure you’re measuring your flour correctly—too much flour can dry them out.
Can I make these ahead of time for a party?
Absolutely! Bake the cake pops up to 2 days in advance and store them uncoated in an airtight container. Then coat them with the butter and cinnamon sugar a few hours before serving for the freshest crunch.
Do I have to use lollipop sticks?
Not at all. These work beautifully as cake bites served on a plate with toothpicks. In fact, I often prefer them that way—they’re easier to eat and you don’t have to worry about the sticks falling out.
Can I freeze these cake pops?
Yes, but only the uncoated ones. Freeze them in a single layer on a baking sheet, then transfer to a freezer bag. Thaw at room temperature and coat fresh when you’re ready to serve. The coating doesn’t freeze well.
Pin This Recipe!
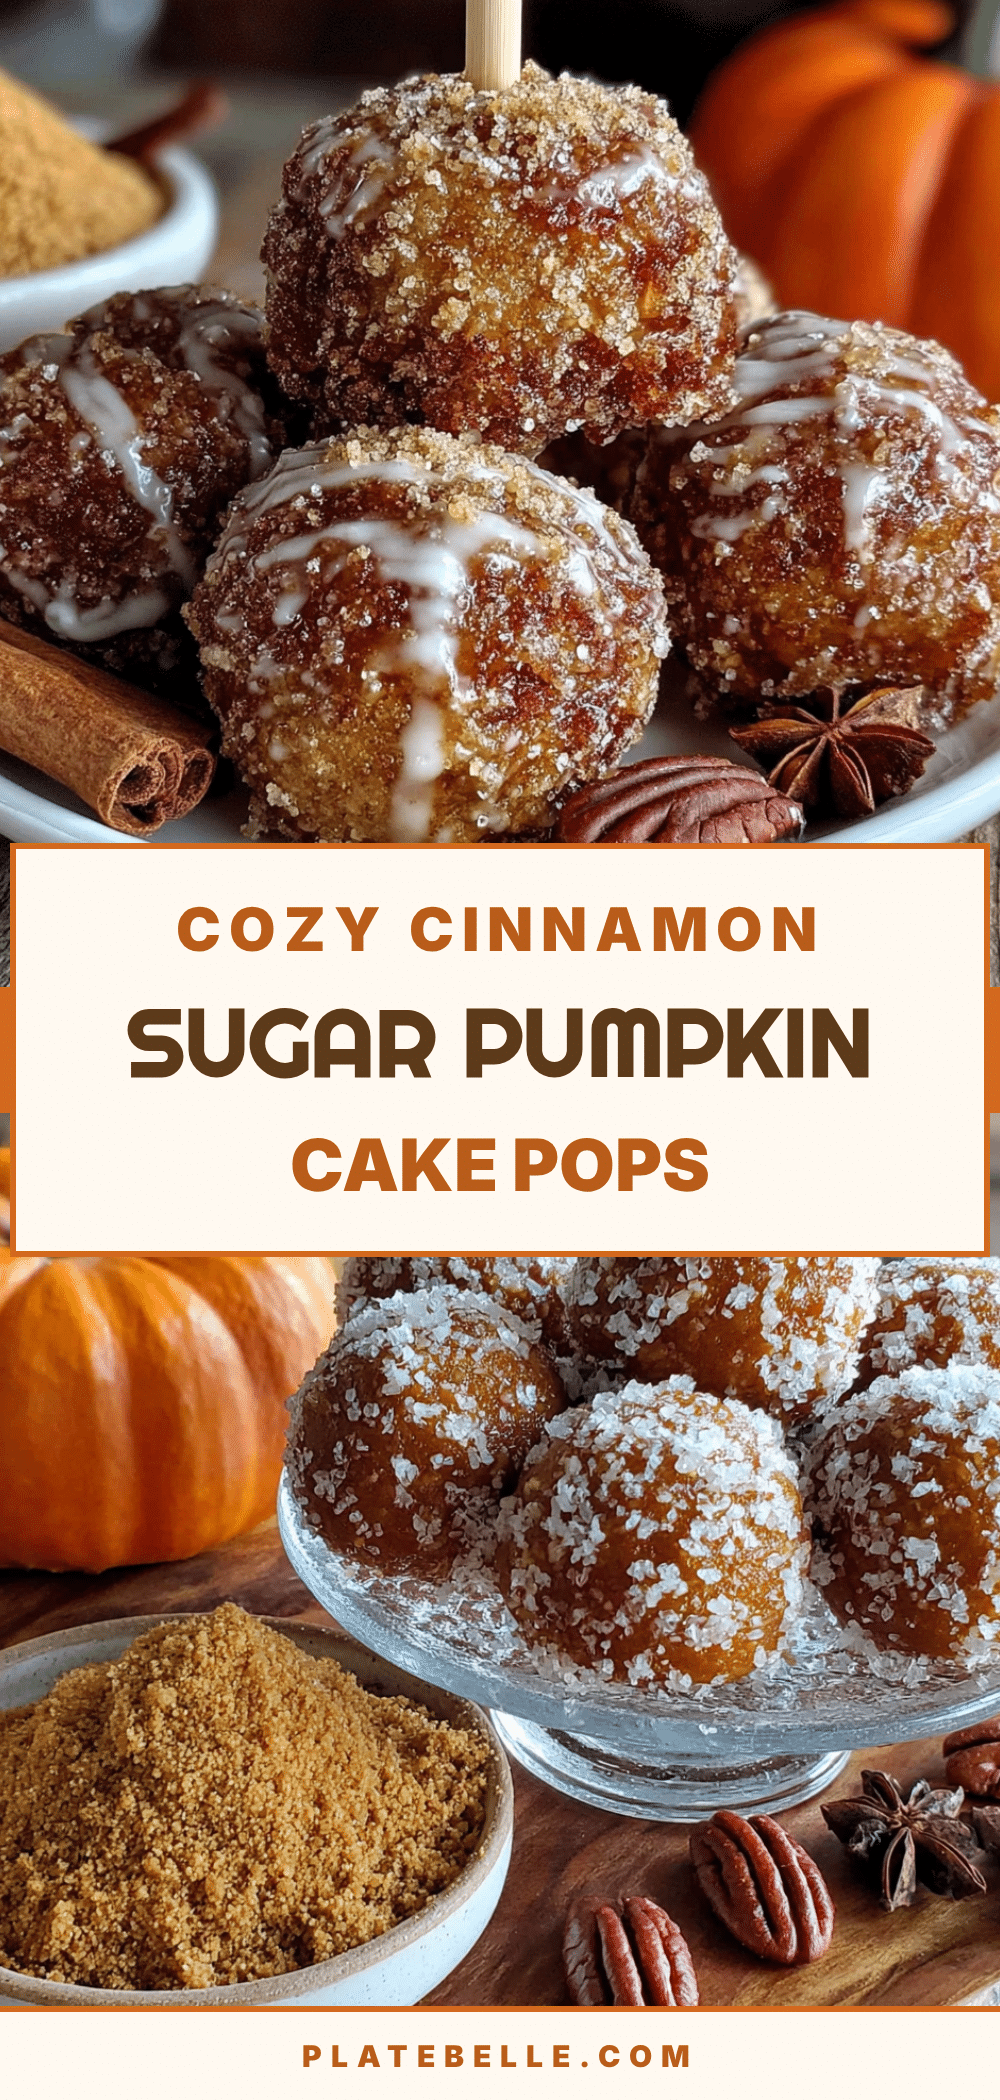
Easy Cinnamon Sugar Pumpkin Cake Pops – Best Fall Treat
These cinnamon sugar pumpkin cake pops are soft and tender on the inside with a crunchy cinnamon sugar shell. They’re the perfect fall treat that even pumpkin skeptics will love, made with simple pantry ingredients and ready in about 45 minutes.
- Prep Time: 15 minutes
- Cook Time: 12 minutes
- Total Time: 45 minutes
- Yield: 20-24 cake pops 1x
- Category: Dessert
- Cuisine: American
Ingredients
- 1 ½ cups (190g) all-purpose flour
- ½ cup (100g) granulated sugar
- ¼ cup (50g) packed light brown sugar
- 1 teaspoon baking powder
- ½ teaspoon baking soda
- 1 ½ teaspoons pumpkin pie spice
- ½ teaspoon ground cinnamon
- ¼ teaspoon salt
- ¾ cup (170g) pumpkin puree (100% pure, not pie filling)
- ⅓ cup (80ml) vegetable oil
- 1 large egg, room temperature
- 1 teaspoon vanilla extract
- ¼ cup (60g) unsalted butter, melted (for coating)
- ½ cup (100g) granulated sugar (for coating)
- 1 ½ teaspoons ground cinnamon (for coating)
Instructions
- Preheat oven to 350°F (175°C). Line a baking sheet with parchment paper. Let egg come to room temperature.
- In a large bowl, whisk together flour, ½ cup granulated sugar, brown sugar, baking powder, baking soda, pumpkin pie spice, ½ teaspoon cinnamon, and salt.
- In a separate medium bowl, whisk together pumpkin puree, vegetable oil, egg, and vanilla extract until smooth.
- Pour wet ingredients into dry ingredients and fold with a rubber spatula until just combined. Do not overmix; a few lumps are fine. Batter will be thick and slightly sticky.
- Using a small cookie scoop or tablespoon, portion batter and roll into 1-inch balls. You should get about 20-24 cake pops. Place on prepared baking sheet, spacing 2 inches apart. If dough is too sticky, wet hands slightly with cold water.
- Bake for 10-12 minutes, until edges are set and center is just firm to the touch. A toothpick inserted in center should come out clean or with a few moist crumbs. Do not overbake.
- Cool on baking sheet for 5 minutes, then transfer to a cooling rack and cool completely (about 30 minutes).
- Once completely cool, melt ¼ cup butter in a small bowl (microwave in 15-second bursts).
- In a shallow bowl, mix together ½ cup granulated sugar and 1½ teaspoons cinnamon.
- Working one at a time, dip each cake pop into melted butter, letting excess drip off. Roll in cinnamon sugar mixture until fully coated. Place back on cooling rack.
- Optional: If using lollipop sticks, insert one into each cake pop before butter coating sets. Dip stick tip in melted butter first to help it slide in without cracking.
- Let coating set at room temperature for about 15 minutes before serving.
Notes
Don’t overbake—cake pops dry out quickly. Use room temperature ingredients for best texture. If dough is sticky, wet hands with cold water when rolling. For extra crunch, double coat by dipping in butter and cinnamon sugar again after 5 minutes. Uncoated cake pops can be stored in an airtight container at room temperature for up to 2 days or refrigerated for up to 5 days. Freeze uncoated pops for up to 3 months; thaw and coat fresh before serving. Coated pops are best within 24 hours.
Nutrition
- Serving Size: 1 cake pop
- Calories: 115
- Sugar: 11
- Sodium: 95
- Fat: 5
- Saturated Fat: 2
- Carbohydrates: 17
- Fiber: 1
- Protein: 1.5
Keywords: pumpkin cake pops, cinnamon sugar cake pops, fall dessert, pumpkin dessert, easy cake pops, Thanksgiving dessert, Halloween treat


