My daughter asked why I couldn’t just dump everything in the crockpot and let it do the work. I started to explain why that wouldn’t work — then stopped. She was eight years old and had watched me fuss over a saucepan for twenty minutes, stirring cocoa powder into milk, watching the temperature like a hawk. I was trying to teach her how to make hot cocoa from scratch, the “right way,” and she was bored. Honestly, she was probably right to be bored.
I remember standing there with the whisk in my hand, the chocolate smeared across my favorite apron, and thinking about all the reasons this wouldn’t work. The milk would scorch. The chocolate would separate. The peppermint would get weird. I had a whole list of reasons ready to go. But something made me pause. Maybe it was the way she looked at me, so sure that her idea was brilliant. Maybe I was just tired of stirring. So I said, “Alright, let’s try it your way.”
We dumped everything into that crockpot — milk, cocoa, chocolate chips, a drop of peppermint extract — and walked away. An hour later, the whole house smelled like a candy cane had exploded in the best possible way. The cocoa was rich, creamy, and perfectly pepperminty. No scorching. No separation. Just the coziest drink I’d ever made, and I didn’t lift a finger. I mean, talk about humbling. That eight-year-old taught me something I should have figured out years ago: sometimes the simplest way really is the best way. You know that feeling when you realize you’ve been making things harder than they need to be? That was this moment for me.
This easy crockpot peppermint hot cocoa has become our winter tradition. We make it for snow days, movie nights, and honestly, just regular Tuesdays when we need a little extra warmth. It’s the kind of recipe that makes you wonder why you ever bothered with the stovetop method. And every time I pour myself a cup, I think about that Wednesday afternoon when my daughter proved me wrong. Best lesson I ever learned, honestly.
Why You’ll Love This Recipe
Let’s be real for a second. Weeknights are chaos. You’re tired, the kids are hungry, and you just want something warm and cozy without a bunch of work. This easy crockpot peppermint hot cocoa is exactly what you need. It practically makes itself, and that’s not an exaggeration.
- Set It and Forget It: No standing over a hot stove. No constant whisking. Just dump everything in the crockpot, turn it on, and go fold laundry or help with homework. It’s that simple.
- Simple Ingredients: You probably already have most of this stuff in your pantry. Milk, cocoa powder, sugar, chocolate chips, and peppermint extract. No fancy grocery trips required. I mean, you might need to grab some marshmallows, but that’s a given.
- Perfect for Busy Weeknights: This is the ultimate “I need something cozy but I have zero energy” drink. You can start it when you walk in the door, and by the time dinner’s done, it’s ready to go.
- Crowd-Pleaser: Kids love it. Adults love it. Even that one friend who says they don’t like peppermint will probably sneak a second cup. Trust me on this.
- Unbelievably Delicious: The slow simmering melds everything together in a way stovetop cocoa just can’t match. It gets this rich, velvety texture that feels like a hug in a mug.
What makes this recipe different from all the others? It’s the method, honestly. Most recipes have you babysitting the pot, but this one lets the crockpot do the heavy lifting. The low, slow heat keeps the chocolate from scorching and lets the peppermint flavor infuse gently. You get a perfectly balanced drink every single time, no skill required.
This isn’t just hot cocoa. It’s the kind of drink that makes you slow down and actually enjoy the moment. The kind that turns a regular Tuesday into something special. And when you’re busy and tired and just need a win, that matters.
What Ingredients You Will Need
This recipe uses simple, wholesome ingredients to create the most comforting winter drink. Most of these are pantry staples, so you’re probably already halfway there. Here’s what you’ll need and why each one matters.
For the Cocoa Base:
- 6 cups whole milk (or 2% if that’s what you have — whole milk gives the creamiest texture, but honestly, any milk works)
- 1 cup heavy cream (this is the secret to that luxuriously rich mouthfeel; you can skip it if you’re watching calories, but it really makes a difference)
- 1/2 cup granulated sugar (adjust to your sweetness preference; I’ve used 1/3 cup for a less sweet version and it was still delicious)
- 1/2 cup unsweetened cocoa powder (I prefer Ghirardelli for its deep chocolate flavor, but Hershey’s works great too; just make sure it’s unsweetened so you control the sugar)
- 1 cup semi-sweet chocolate chips (these melt into the cocoa and give it that extra richness; I’ve used dark chocolate chips for a more intense flavor and it was amazing)
- 1 teaspoon vanilla extract (pure vanilla extract is best, but imitation works in a pinch; it rounds out the chocolate flavor beautifully)
- 1/2 teaspoon peppermint extract (start with this amount and taste — peppermint extract is potent, and you can always add more; I use McCormick because it’s reliable)
- Pinch of salt (don’t skip this! It enhances the chocolate flavor and balances the sweetness; just a tiny pinch does the trick)
For Toppings (Optional but Highly Recommended):
- Mini marshmallows (the classic choice; they get slightly melty on top and it’s pure magic)
- Crushed candy canes (for that extra peppermint crunch and festive look; I crush mine in a zip-top bag with a rolling pin)
- Whipped cream (homemade is amazing, but store-bought works in a pinch; it adds a lovely lightness)
- Chocolate shavings (for when you want to get fancy; I use a vegetable peeler on a chocolate bar)
Ingredient Tips I’ve Learned the Hard Way:
Don’t use fat-free milk. I tried it once because that’s all I had, and the cocoa was thin and watery. The fat in whole milk and cream is what gives this drink its velvety texture. Also, make sure your cocoa powder is fresh. Old cocoa powder loses its flavor and can make your drink taste flat. I learned that one the hard way during a snow day emergency.
If you’re dairy-free, you can substitute full-fat oat milk or canned coconut milk for the whole milk and cream. I’ve tested this with oat milk and it worked beautifully — just a little less rich but still delicious. And for a peppermint extract alternative, you can steep a few peppermint tea bags in the milk while it heats. It’s a gentler flavor but really lovely.
Equipment Needed
You don’t need a ton of fancy equipment for this recipe, which is part of the beauty. Here’s what you’ll need:
- A 4-quart or larger slow cooker: This is the star of the show. I use a 6-quart Crock-Pot brand slow cooker, and it works perfectly. If yours is smaller, just halve the recipe. If it’s bigger, no worries — the cocoa will still turn out great.
- A whisk: You’ll need this to combine the cocoa powder and sugar with a little milk before adding everything to the crockpot. It prevents lumps. Trust me, nobody wants lumpy cocoa.
- A liquid measuring cup: For measuring the milk and cream. I prefer glass ones because they’re easier to clean and don’t absorb odors.
- Measuring spoons: For the extracts, cocoa powder, and sugar. A standard set works fine.
- Mugs: For serving. I like big, chunky mugs that hold at least 12 ounces. It feels more satisfying that way.
- A ladle: For serving the cocoa into mugs without making a mess. I have a nice stainless steel one that’s lasted for years.
Budget-Friendly Tip: If you don’t have a slow cooker, you can make this in a large pot on the stovetop over low heat. Just stir it occasionally and don’t let it boil. It’s not quite as hands-off, but it still works. Also, you can find perfectly good slow cookers at thrift stores for under $10. I got my backup one that way and it works like a charm.
Preparation Method
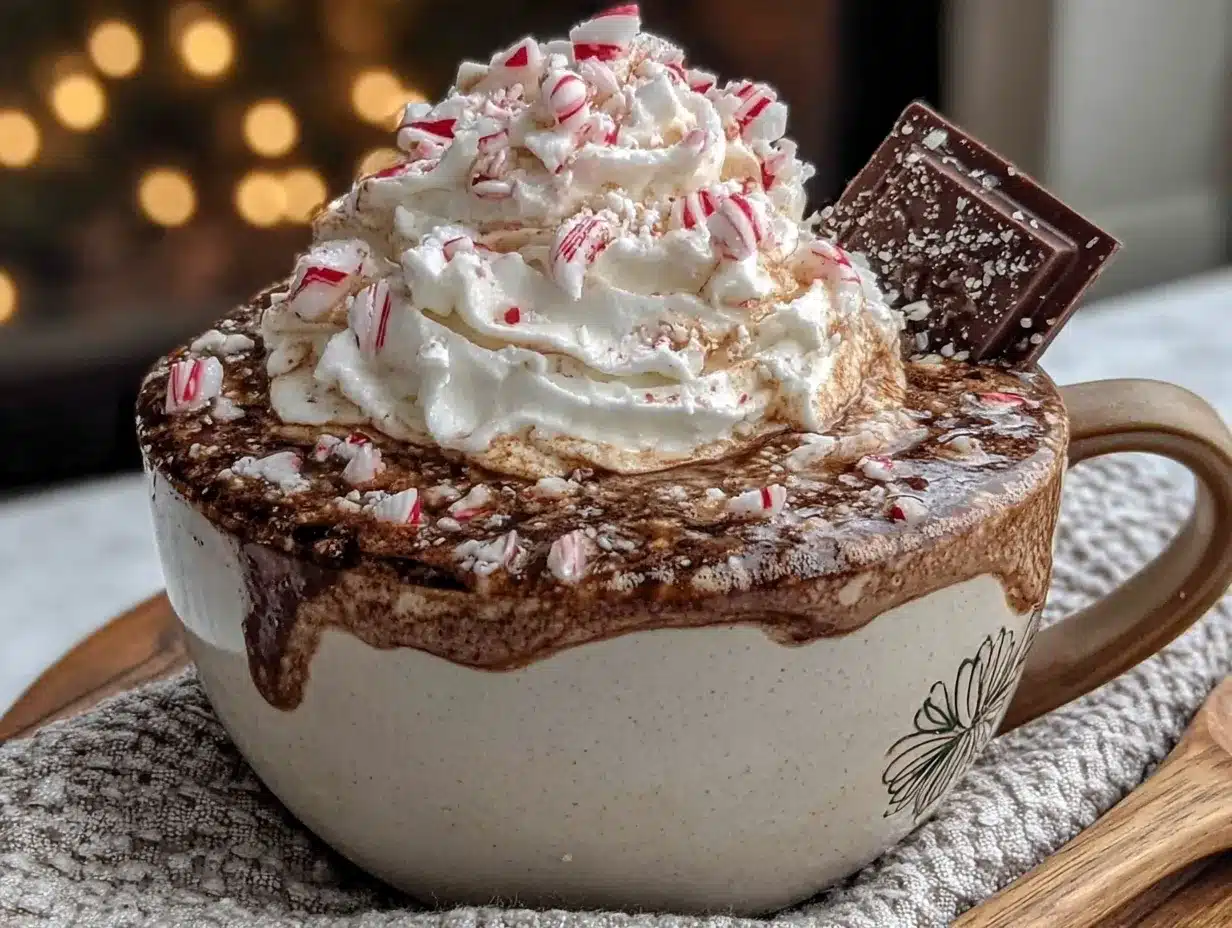
This is where the magic happens. Follow these steps, and you’ll have the coziest drink of your life. I promise it’s easier than you think.
- Prep the cocoa powder mixture (2 minutes): In a small bowl, whisk together the cocoa powder, sugar, and salt. This step is important because it breaks up any lumps in the cocoa powder. I learned this the hard way after ending up with cocoa clumps floating in my milk. Not cute. Add about 1/2 cup of the milk and whisk until you have a smooth paste. This is called a “slurry” in cooking terms, and it’s your secret weapon against lumpy cocoa.
- Combine everything in the crockpot (3 minutes): Pour the remaining milk and heavy cream into your slow cooker. Add the cocoa slurry, chocolate chips, vanilla extract, and peppermint extract. Give it a good stir with your whisk. Don’t worry if the chocolate chips aren’t melted yet — they will be. Just make sure everything is evenly distributed.
- Cook on low (2 hours): Cover the crockpot and cook on LOW for 2 hours. I know it’s tempting to crank it to high, but don’t. Low heat gives the chocolate time to melt slowly and the flavors time to meld. About halfway through, give it a stir to make sure everything is incorporated. The cocoa should start smelling amazing around the 45-minute mark. That’s when you know it’s working.
- Stir and taste (1 minute): After 2 hours, give the cocoa a good stir. Taste it and see if it needs more peppermint extract. I usually add another 1/4 teaspoon because I like a stronger peppermint flavor. If it’s not sweet enough, you can add a tablespoon of sugar at a time. Just stir well after each addition.
- Keep warm until ready to serve: Once the cocoa is done, switch your crockpot to the WARM setting. It will stay perfectly drinkable for hours. I’ve left it on warm for up to 4 hours with no issues. Just give it a stir every hour or so to keep the chocolate from settling at the bottom.
- Serve with toppings (2 minutes per cup): Ladle the cocoa into mugs. Top with a generous heap of mini marshmallows, a dollop of whipped cream, and a sprinkle of crushed candy canes. If you’re feeling extra fancy, add some chocolate shavings on top. The presentation is half the fun, honestly.
Important Note: Don’t let the cocoa boil. If your crockpot runs hot, check it after 90 minutes. Boiling can cause the milk to scorch and the chocolate to separate. If you see bubbles forming around the edges, switch it to warm immediately. That’s your cue.
Sensory Cues: When it’s done, the cocoa should be smooth and glossy, with a rich chocolate aroma that fills your kitchen. The peppermint should be present but not overwhelming — like a gentle whisper, not a shout. The color should be a deep, velvety brown. If it looks thin or watery, give it another 30 minutes on low.
Cooking Tips & Techniques
After making this recipe more times than I can count, I’ve picked up a few tricks that make a real difference. Here’s what I’ve learned the hard way so you don’t have to.
Don’t Skip the Slurry: I know it’s an extra step, but whisking the cocoa powder with a little milk before adding it to the crockpot is non-negotiable. I skipped it once when I was in a hurry, and I spent the next hour fishing cocoa lumps out of everyone’s mugs. Not my finest moment. Take the extra two minutes. Your future self will thank you.
Taste As You Go: Peppermint extract is sneaky. A little goes a long way, but “a little” is different for everyone. I like a pretty strong peppermint flavor, so I usually end up adding about 3/4 teaspoon total. But my sister prefers just a hint, so she sticks with 1/4 teaspoon. Start with less and add more. You can’t take it out once it’s in there.
The Chocolate Chip Trick: Using both cocoa powder and chocolate chips gives you the best of both worlds. The cocoa powder provides that deep, dark chocolate base, while the melted chocolate chips add richness and body. Don’t skip either one. I tried using just cocoa powder once, and the cocoa was thin and lacked that luxurious mouthfeel. Never again.
Timing Is Everything: This recipe is perfect for parties because you can set it and forget it. But here’s the thing — if you’re serving it at a specific time, plan for the 2-hour cook time plus a 30-minute buffer. Crockpots can be unpredictable, and you don’t want your guests waiting around for their cocoa. I learned this when I hosted a holiday movie night and the cocoa wasn’t ready until the credits rolled. Awkward.
Multitasking Pro Tip: While the cocoa is cooking, use that time to prep your toppings. Crush the candy canes, make the whipped cream if you’re doing homemade, and set out the mugs. It makes serving so much smoother, and you won’t be scrambling at the last minute.
Variations & Adaptations
One of the best things about this recipe is how easy it is to customize. Here are some of my favorite variations, tested and approved by my family.
Dark Chocolate Peppermint Cocoa: Swap the semi-sweet chocolate chips for dark chocolate chips (60-70% cacao) and reduce the sugar to 1/3 cup. The dark chocolate gives it a more sophisticated, less sweet flavor that adults especially love. I made this for a grown-up holiday party and it was a hit. Add an extra splash of vanilla to balance the bitterness.
White Chocolate Peppermint Cocoa: Replace the cocoa powder and semi-sweet chips with 2 cups of white chocolate chips. Omit the sugar entirely since white chocolate is already sweet. The result is a creamy, vanilla-forward drink that tastes like a melted candy cane. My daughter’s favorite version, hands down.
Spiked Peppermint Hot Cocoa (For Adults Only): After the cocoa is done cooking, stir in 1/2 cup of peppermint schnapps or crème de menthe. You can also add a shot of bourbon or dark rum for a different flavor profile. Just don’t add the alcohol during cooking — it will cook off and you’ll lose the effect. I serve this at our annual cookie swap and it’s always the first thing to disappear.
Dairy-Free Version: Substitute full-fat oat milk or canned coconut milk for the whole milk and heavy cream. Use dairy-free chocolate chips (Enjoy Life brand works great). The texture will be slightly thinner, but the flavor is still amazing. I’ve tested this multiple times and it’s a solid option for anyone with dairy sensitivities.
Mint Chip Cocoa: After cooking, stir in 1/2 cup of mini chocolate chips and let them melt slightly. Then serve with crushed chocolate mint candies on top. It’s like drinking a Thin Mint cookie. Dangerous, honestly.
My personal favorite variation is the dark chocolate version with a pinch of cinnamon added. I discovered this by accident when I grabbed the cinnamon instead of the salt one morning. Best mistake I ever made. The cinnamon and peppermint together are unexpectedly perfect.
Serving & Storage Suggestions
This cocoa is best served warm, obviously, but there’s an art to it. Here’s how to make the most of your batch.
Serving Temperature: Serve the cocoa at a temperature that’s warm but not scalding. If it’s too hot, the marshmallows will melt instantly and you won’t get that satisfying float. I let it cool for about 5 minutes after ladling before adding toppings. You want it warm enough to melt the marshmallows slightly but not so hot that they disappear.
Presentation Ideas: For a festive touch, rim your mugs with melted chocolate and crushed candy canes. Dip the rim in melted chocolate, then in crushed candy canes, and let it set for 10 minutes before pouring the cocoa. It looks like something from a fancy café. I do this for Christmas morning and it always gets oohs and ahhs.
What to Serve With It: This cocoa pairs beautifully with buttery shortbread cookies, gingerbread, or a simple sugar cookie. For a savory contrast, try it with a cheese board featuring sharp cheddar and crackers. The richness of the cheese balances the sweetness of the cocoa. Trust me on this one — it’s a game changer.
Storage Instructions: Leftover cocoa can be stored in an airtight container in the refrigerator for up to 5 days. The chocolate might settle at the bottom, so give it a good stir before reheating. I’ve also frozen it in mason jars (leave room for expansion) for up to 3 months. Thaw in the refrigerator overnight before reheating.
Reheating Methods: The best way to reheat is on the stovetop over medium-low heat, stirring occasionally. You can also microwave individual servings in 30-second intervals, stirring between each. If the cocoa seems thick after refrigeration, add a splash of milk to thin it out. The flavor actually deepens after a day or two in the fridge — it gets even more chocolatey. I kind of love day-old cocoa for that reason.
Nutritional Information & Benefits
Let’s be honest — this is a treat, not a health food. But that doesn’t mean it’s without its merits. Here’s what you need to know.
Estimated Nutritional Values (per 8-ounce serving, without toppings):
- Calories: 310
- Fat: 18g
- Carbohydrates: 35g
- Protein: 7g
- Sugar: 28g
- Calcium: 250mg (25% DV)
Health Benefits: Milk is an excellent source of calcium, vitamin D, and protein, which are essential for bone health. Dark chocolate (if you use it) contains antioxidants called flavonoids that can support heart health. Peppermint has been shown to aid digestion and can help soothe an upset stomach. So there’s that.
Dietary Considerations: This recipe is vegetarian. For a gluten-free version, ensure your chocolate chips and extracts are certified gluten-free. For a lower-sugar option, use unsweetened almond milk, sugar-free chocolate chips, and a sugar substitute like monk fruit. The texture will be different, but it’s a decent alternative. I’ve made it for a friend with diabetes and she was happy with the result.
Potential Allergens: This recipe contains dairy. It can be made dairy-free with the substitutions mentioned above. Always check your chocolate chips for potential cross-contamination if serving to someone with severe allergies.
My Personal Take: Look, this is a comfort drink. It’s not meant to be a health elixir. But I feel better about serving it to my family knowing it has real milk and real chocolate, not a bunch of artificial ingredients. It’s indulgence with a side of actual nutrition, and that’s a balance I can get behind.
Conclusion
This easy crockpot peppermint hot cocoa has honestly changed the way I think about winter drinks. It’s proof that sometimes the simplest approach really is the best one. No fussing over a stove, no complicated techniques — just a slow cooker, some basic ingredients, and a little patience. The result is a drink that feels special without requiring you to be a professional chef.
I love that this recipe has become our family’s go-to for cold nights and holiday gatherings. It’s the kind of thing that brings people together, you know? Everyone gathers around the crockpot with their mugs, topping their cocoa just the way they like it. There’s something magical about that shared moment, especially during the busy holiday season when we’re all running in different directions.
I encourage you to make this recipe your own. Add extra peppermint if you’re bold. Swap in dark chocolate if you’re feeling sophisticated. Throw in a cinnamon stick for a twist. The beauty of this recipe is its flexibility. It’s a canvas, and you’re the artist.
I’d love to hear how it turns out for you. Drop a comment below and let me know your favorite variation, or tag me in your photos on social media. There’s nothing that makes my day quite like seeing someone else enjoying a recipe that started with my daughter’s simple question: “Why can’t you just dump it all in?” Sometimes the best ideas come from the most unexpected places. Happy sipping, friends!
Frequently Asked Questions
Can I use a different type of milk?
Absolutely. Whole milk gives the creamiest result, but you can use 2%, oat milk, almond milk, or coconut milk. Just keep in mind that lower-fat options will produce a thinner cocoa. If using plant-based milk, I recommend full-fat oat milk or canned coconut milk for the best texture.
How do I prevent the cocoa from scorching?
Cook on LOW, not high, and stir occasionally. If your crockpot runs hot, check it after 90 minutes. Switch to the WARM setting once the chocolate chips are fully melted and the cocoa is hot. Never let it boil — that’s when scorching happens.
Can I make this in advance for a party?
Yes! You can cook it up to 2 hours before your party and keep it on the WARM setting. Stir it every 30-45 minutes to keep the chocolate from settling. You can also make it a day ahead, refrigerate it, and reheat it in the crockpot on LOW for about an hour before serving.
How do I make it less sweet?
Reduce the sugar to 1/4 cup or omit it entirely if you’re using sweetened chocolate chips. You can also use dark chocolate chips (60-70% cacao) instead of semi-sweet. Taste and adjust as you go — it’s easier to add sweetness than to take it away.
Can I double this recipe?
Absolutely. Just make sure your slow cooker is large enough (at least 6 quarts for a double batch). All the ingredients can be doubled, but keep the cook time the same. You might need to add 15-30 minutes if the crockpot is very full. Stir well to ensure everything is evenly heated.
Pin This Recipe!
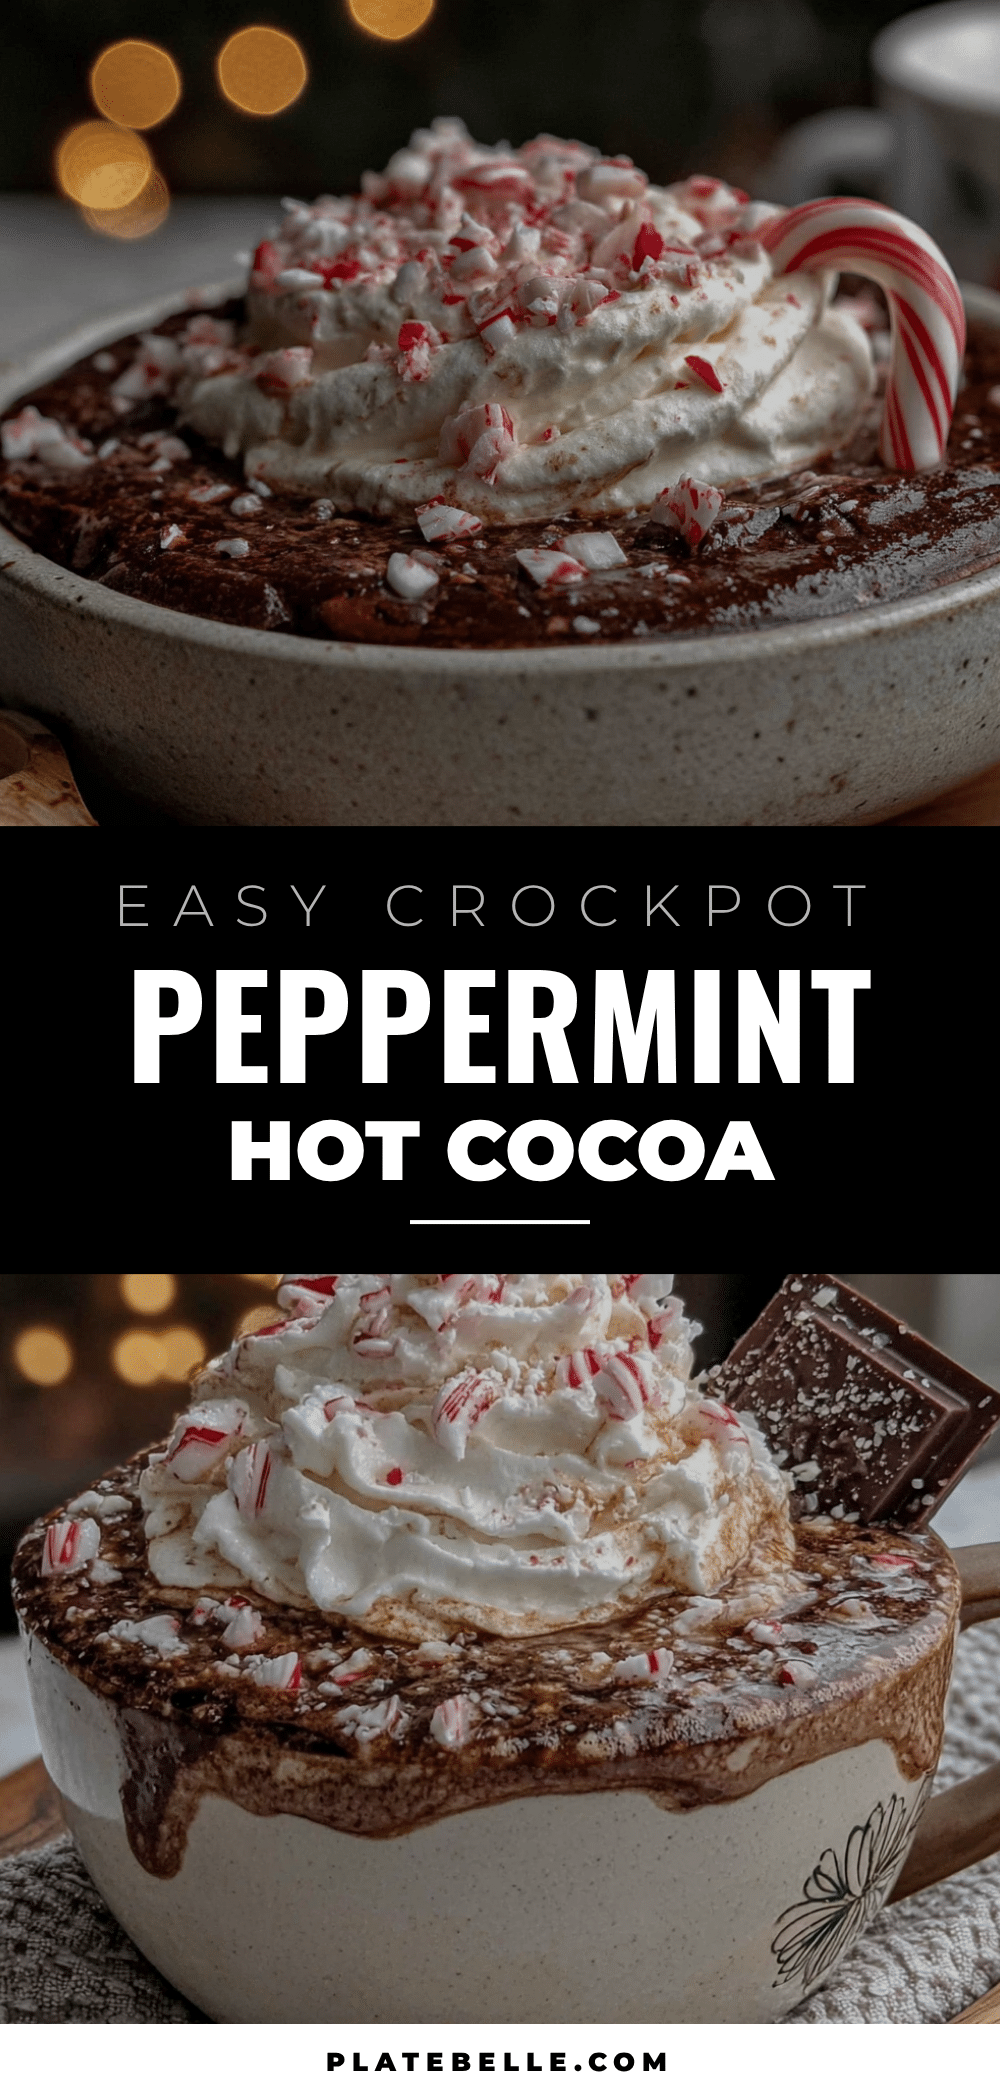
Easy Crockpot Peppermint Hot Cocoa: Best Cozy Drink

This easy crockpot peppermint hot cocoa is the ultimate cozy drink for busy weeknights. Simply dump everything in the slow cooker and let it work its magic for a rich, creamy, and perfectly pepperminty treat.
- Prep Time: 5 minutes
- Cook Time: 2 hours
- Total Time: 2 hours 5 minutes
- Yield: 8 servings 1x
- Category: Beverage
- Cuisine: American
Ingredients
- 6 cups whole milk (or 2%)
- 1 cup heavy cream
- 1/2 cup granulated sugar
- 1/2 cup unsweetened cocoa powder
- 1 cup semi-sweet chocolate chips
- 1 teaspoon vanilla extract
- 1/2 teaspoon peppermint extract (plus more to taste)
- Pinch of salt
- Mini marshmallows (for topping)
- Crushed candy canes (for topping)
- Whipped cream (for topping)
- Chocolate shavings (for topping)
Instructions
- In a small bowl, whisk together cocoa powder, sugar, and salt. Add about 1/2 cup of the milk and whisk until smooth to form a slurry.
- Pour the remaining milk and heavy cream into a 4-quart or larger slow cooker. Add the cocoa slurry, chocolate chips, vanilla extract, and peppermint extract. Stir well.
- Cover and cook on LOW for 2 hours. Stir halfway through.
- After 2 hours, stir and taste. Add more peppermint extract or sugar if desired.
- Switch the slow cooker to the WARM setting until ready to serve.
- Ladle into mugs and top with mini marshmallows, whipped cream, crushed candy canes, and chocolate shavings as desired.
Notes
Don’t let the cocoa boil. If your crockpot runs hot, check after 90 minutes. For a dairy-free version, use full-fat oat milk or canned coconut milk and dairy-free chocolate chips. For a spiked version, stir in 1/2 cup peppermint schnapps after cooking.
Nutrition
- Serving Size: 8 ounces
- Calories: 310
- Sugar: 28
- Sodium: 120
- Fat: 18
- Saturated Fat: 11
- Carbohydrates: 35
- Fiber: 2
- Protein: 7
Keywords: crockpot hot cocoa, peppermint hot cocoa, slow cooker hot chocolate, easy hot cocoa, winter drink, Christmas drink


