Honestly, I’ve never seen a dessert disappear faster than these Easy Spooky Graveyard Dirt Cups. They’re the perfect Halloween dessert for a crowd—kids and adults alike go absolutely nuts for them. And the best part? You don’t even need to turn on the oven.
- No-Bake & Quick: Ready in about 20 minutes of active time. Just mix, layer, and chill.
- Simple Ingredients: You’ll find everything at your local grocery store. No fancy baking supplies required.
- Perfect for Halloween Parties: These little graveyards are a showstopper on any dessert table. They’re spooky, fun, and totally customizable.
- Crowd-Pleaser: I’ve made these for school parties, potlucks, and family gatherings. They get devoured every single time.
- Unbelievably Delicious: The creamy pudding, crunchy cookies, and gummy worms create a texture combo that’s next-level comfort food.
What makes these dirt cups different from the rest? It’s the layering technique. Instead of just throwing everything together, you build each cup like a tiny landscape—crushed cookies for dirt, pudding for soil, and gummy worms peeking out. It’s not just another dessert; it’s an experience. And honestly, it’s the kind of recipe that makes you feel like a kitchen wizard with almost zero effort.
What Ingredients You Will Need
This recipe uses simple, store-bought ingredients to deliver maximum Halloween fun with minimum fuss. Most of these are pantry staples or easy to grab on a quick shopping trip.
- 1 (3.9 oz) package instant chocolate pudding mix (I prefer Jell-O brand for the smoothest texture)
- 2 cups cold milk (whole milk gives the creamiest result, but 2% works fine too)
- 1 (8 oz) tub frozen whipped topping, thawed (Cool Whip is my go-to, but any brand works)
- 1 (15.25 oz) package chocolate sandwich cookies (Oreos are classic—regular, not double-stuffed)
- 1 (4.5 oz) package gummy worms (get the colorful, squiggly ones for best effect)
- 1 (4.25 oz) package chocolate wafer cookies (optional, for extra “dirt” texture)
- Small Halloween decorations (plastic skeletons, tombstones, or spider rings—check the dollar store)
- 8 (6-8 oz) clear plastic cups or small glass jars (clear cups let you show off the layers)
Substitution Guidance: If you’re dairy-free, use almond or oat milk and a dairy-free whipped topping. For a gluten-free version, swap the Oreos with gluten-free chocolate sandwich cookies. And if you can’t find gummy worms, gummy spiders or even candy corn work great—just get creative!
Equipment Needed
You don’t need much for this recipe, which is part of its charm. Here’s what you’ll need:
- Medium mixing bowl (for the pudding)
- Whisk (a hand whisk is fine, but an electric mixer speeds things up)
- Rolling pin or food processor (to crush the cookies into “dirt”)
- Ziploc bag (if using a rolling pin—less mess!)
- 8 clear plastic cups or small glass jars (I’ve used everything from Solo cups to Mason jars)
- Spatula (for scraping every last bit of pudding)
- Small spoon (for layering)
Personal Tip: If you don’t have a food processor, just put the cookies in a Ziploc bag and go to town with a rolling pin. It’s oddly satisfying—and a great way to let out some pre-party stress!
Preparation Method
- Make the pudding: In a medium mixing bowl, whisk together the chocolate pudding mix and 2 cups cold milk. Whisk for about 2 minutes until it thickens. Pop it in the fridge for 5 minutes to set up a bit—this makes layering easier later.
- Crush the cookies: While the pudding sets, crush the chocolate sandwich cookies. You want them finely ground—like real dirt. I use a food processor for this, but a Ziploc bag and rolling pin work just as well. Set aside about ¼ cup of the crumbs for topping later.
- Fold in the whipped topping: Gently fold the thawed whipped topping into the pudding mixture. Do this slowly—you want it light and airy, not deflated. It should look like a mousse when you’re done.
- Layer the cups: Grab your clear cups. Start with a layer of crushed cookies at the bottom—about 1½ tablespoons per cup. This is the “dirt” base. Then add a layer of the pudding mixture—about 3 tablespoons per cup. Repeat with another layer of cookies and another layer of pudding.
- Add the gummy worms: Here’s the fun part. Press a few gummy worms into the pudding layer so they look like they’re crawling out of the dirt. Let a little bit stick out of the top for that spooky effect.
- Top it off: Sprinkle the reserved cookie crumbs on top. This is your final “dirt” layer. Don’t be shy—cover the pudding completely so it looks like a real graveyard.
- Decorate: Place a small plastic skeleton, tombstone, or spider ring on top of each cup. Push them in gently so they stand upright. This is where the “graveyard” look really comes to life.
- Chill: Refrigerate the cups for at least 1 hour before serving. This lets the flavors meld and the cookies soften slightly—like real dirt. Trust me, it’s worth the wait.
Sensory Cue: When you press the gummy worms in, you should feel a slight resistance from the pudding. If it’s too firm, let the cups sit at room temperature for 5 minutes before serving.
Cooking Tips & Techniques
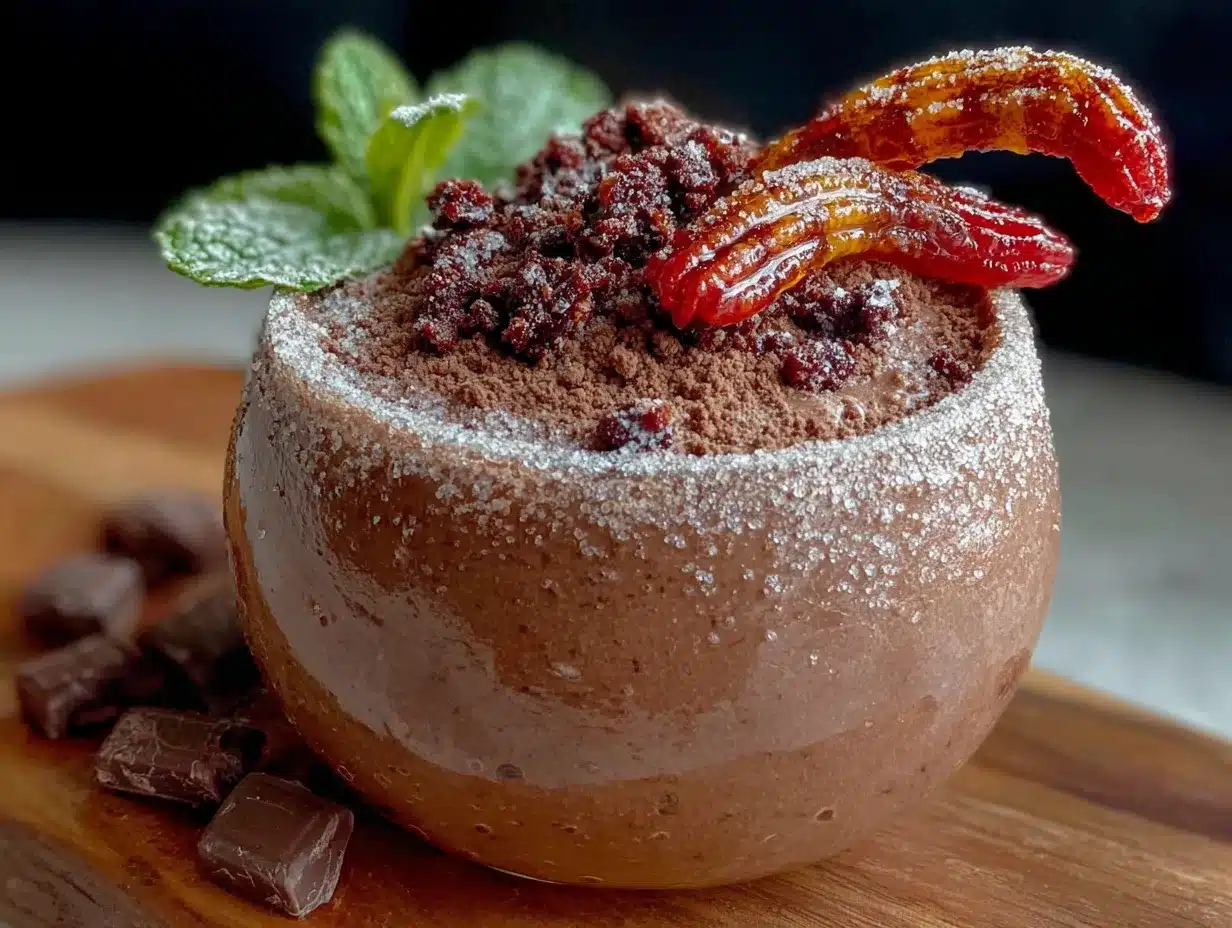
I’ve made these dirt cups more times than I can count, and I’ve learned a few things the hard way. Here are my best tips:
- Don’t overmix the pudding: Overwhisking can make it grainy. Just 2 minutes of gentle whisking is enough. Let the fridge do the rest of the work.
- Crush the cookies finely: Big chunks of cookie don’t look like dirt—they look like, well, big chunks of cookie. Aim for a fine, sandy texture. A food processor is your best friend here.
- Let the pudding set before layering: If you layer immediately, the cookies will get soggy too fast. A 5-minute chill in the fridge makes a big difference.
- Use clear cups: This is non-negotiable for the spooky effect. Clear cups let everyone see the layers—the dirt, the worms, the tombstones. It’s half the fun.
- Make ahead: These cups can be assembled up to 24 hours in advance. Just add the decorations right before serving so they don’t get sticky or fall over.
Mistake I Made: The first time I made these, I forgot to crush the cookies finely enough. The “dirt” looked more like gravel. My kids still ate them, but the visual effect was lost. Now I’m a stickler for fine crumbs.
Variations & Adaptations
This recipe is incredibly forgiving. Here are a few ways to make it your own:
- Peanut Butter Dirt Cups: Add 2 tablespoons of creamy peanut butter to the pudding mixture before folding in the whipped topping. It adds a rich, nutty flavor that pairs perfectly with chocolate.
- Vegan Version: Use dairy-free chocolate pudding, almond milk, and coconut whipped topping. Crush vegan chocolate sandwich cookies. It tastes just as good—I promise.
- Spooky Spider Cups: Instead of gummy worms, use gummy spiders. Top each cup with a plastic spider ring for an extra creepy touch.
- Mint Chocolate Dirt Cups: Swap the chocolate pudding for mint chocolate pudding. Add a drop of green food coloring to the whipped topping for a swampy, slimy effect.
- Individual Trifles: If you’re serving a crowd, make one large trifle bowl instead of individual cups. Layer everything in a clear glass bowl and let guests scoop their own portions.
Personal Variation: For my niece’s birthday, I made a version with crushed peanut butter cookies instead of chocolate ones. It was a hit—and the light brown “dirt” looked surprisingly realistic.
Serving & Storage Suggestions
These dirt cups are best served cold, straight from the fridge. The contrast between the creamy pudding and the crunchy cookie “dirt” is absolutely perfect when chilled.
Presentation Tip: Arrange the cups on a platter lined with black or orange tissue paper. Scatter a few extra gummy worms and plastic spiders around the base for a graveyard vibe. If you’re feeling extra, add a small battery-operated candle to each cup for a spooky glow.
Storage: Cover each cup with plastic wrap or a lid and refrigerate. They’ll keep for up to 3 days, though the cookies will soften over time. I actually prefer them on day two—the flavors meld together beautifully.
Freezing: You can freeze these for up to 1 month. Just skip the gummy worms and decorations before freezing. Add them fresh after thawing in the fridge overnight.
Reheating: Don’t. These are meant to be served cold. If they’ve been sitting out, just pop them back in the fridge for 30 minutes before serving.
Nutritional Information & Benefits
Let’s be real—these are a treat, not a health food. But here’s what you’re working with per serving (based on 8 cups):
- Calories: Approximately 320 per cup
- Fat: 14g
- Carbohydrates: 47g
- Protein: 4g
- Sugar: 32g
Health Benefits: Okay, so there aren’t many. But the milk provides calcium and vitamin D, and the dark cocoa in the cookies contains antioxidants. Plus, the portion control of individual cups helps prevent overindulgence. It’s all about balance, right?
Dietary Considerations: This recipe contains dairy, gluten, and soy (from the cookies). For allergies, use the substitutions listed in the ingredients section. I’ve made a vegan version for my lactose-intolerant friend, and she said it was the best Halloween dessert she’d ever had.
Conclusion
These Easy Spooky Graveyard Dirt Cups are more than just a Halloween dessert—they’re a memory in the making. I’ve seen kids light up when they spot the gummy worms crawling out of the “dirt,” and I’ve watched adults sneak a second cup when they thought no one was looking. That’s the magic of this recipe: it’s fun, it’s delicious, and it brings people together.
So go ahead—customize them, make a mess, and have fun with it. That’s what Halloween is all about. And when you make these, I’d love to hear about it. Drop a comment below and tell me how your graveyard turned out. Did you add spiders? Skeletons? A tiny haunted house? I can’t wait to see your creations!
Frequently Asked Questions
Can I make these dirt cups ahead of time?
Absolutely! You can assemble them up to 24 hours in advance. Just wait to add the decorations until right before serving so they stay fresh and upright.
Can I use sugar-free pudding mix?
Yes, sugar-free chocolate pudding works perfectly. The texture is slightly different—a bit softer—but the taste is still great.
How do I keep the gummy worms from sinking?
Press them gently into the top layer of pudding after it has set for about 10 minutes in the fridge. The slight firmness will hold them in place.
Can I use homemade pudding instead of instant?
You can, but it will be thicker and may not layer as smoothly. Instant pudding gives the best texture for this recipe—it’s creamy but holds its shape.
What if I don’t have clear cups?
You can use small glass jars, mason jars, or even paper cups. Just know that the visual effect of the layers will be lost if the cups aren’t clear. It still tastes great, though!
Pin This Recipe!
Easy Spooky Graveyard Dirt Cups: Best Halloween Dessert

These no-bake dirt cups are a spooky, fun, and delicious Halloween dessert that kids and adults love. With layers of creamy chocolate pudding, crushed cookie ‘dirt,’ and gummy worms peeking out, they’re a showstopper on any dessert table.
- Prep Time: 20 minutes
- Cook Time: 0 minutes
- Total Time: 1 hour 20 minutes (includes chilling)
- Yield: 8 servings 1x
- Category: Dessert
- Cuisine: American
Ingredients
- 1 (3.9 oz) package instant chocolate pudding mix (Jell-O brand recommended)
- 2 cups cold milk (whole milk preferred, 2% works)
- 1 (8 oz) tub frozen whipped topping, thawed (Cool Whip recommended)
- 1 (15.25 oz) package chocolate sandwich cookies (regular Oreos, not double-stuffed)
- 1 (4.5 oz) package gummy worms (colorful, squiggly)
- 1 (4.25 oz) package chocolate wafer cookies (optional, for extra texture)
- Small Halloween decorations (plastic skeletons, tombstones, or spider rings)
- 8 (6-8 oz) clear plastic cups or small glass jars
Instructions
- Make the pudding: In a medium mixing bowl, whisk together the chocolate pudding mix and 2 cups cold milk. Whisk for about 2 minutes until it thickens. Refrigerate for 5 minutes to set.
- Crush the cookies: While the pudding sets, crush the chocolate sandwich cookies finely (like dirt). Set aside about 1/4 cup of crumbs for topping.
- Fold in the whipped topping: Gently fold the thawed whipped topping into the pudding mixture until light and airy, like a mousse.
- Layer the cups: In each clear cup, add a layer of crushed cookies (about 1 1/2 tablespoons), then a layer of pudding mixture (about 3 tablespoons). Repeat with another layer of cookies and pudding.
- Add the gummy worms: Press a few gummy worms into the top pudding layer so they look like they’re crawling out. Let some stick out of the top.
- Top it off: Sprinkle the reserved cookie crumbs on top to cover the pudding completely.
- Decorate: Place a small plastic skeleton, tombstone, or spider ring on top of each cup, pushing gently to stand upright.
- Chill: Refrigerate the cups for at least 1 hour before serving to let flavors meld and cookies soften slightly.
Notes
For best results, use clear cups to show off the layers. Crush cookies finely for a realistic ‘dirt’ texture. Let pudding set for 5 minutes before layering to prevent sogginess. Can be assembled up to 24 hours in advance; add decorations just before serving. For dairy-free, use almond or oat milk and dairy-free whipped topping. For gluten-free, use gluten-free chocolate sandwich cookies.
Nutrition
- Serving Size: 1 cup
- Calories: 320
- Sugar: 32
- Fat: 14
- Carbohydrates: 47
- Protein: 4
Keywords: Halloween dessert, dirt cups, graveyard dessert, no-bake dessert, chocolate pudding, gummy worms, spooky dessert, easy dessert


