Half a stick of butter was sizzling away in the pan, and I was already late for a Friendsgiving potluck when I realized I’d forgotten the stuffing entirely. I mean, who shows up to Thanksgiving-adjacent anything without the stuffing? I stood there, staring into the fridge like it might magically produce a casserole dish full of the good stuff. But all I had was a stale baguette from three days ago, a bunch of sage that was starting to look sad, and the lingering smell of that browning butter.
That’s when it hit me—why not skip the big baking dish and make individual portions? Muffin tins are faster, they’re portable, and honestly, every single muffin becomes a crispy-edged, golden-brown prize. No more fighting over the corner pieces because every piece is a corner piece. I grabbed the muffin tin, ripped up that baguette with my hands (kind of therapeutic), and just started pouring that nutty, liquid gold butter all over it.
These Perfect Brown Butter Sage Stuffing Muffins were born out of pure desperation and a ticking clock. But you know what? They ended up being the first thing to disappear from the potluck table. People kept walking by and grabbing one, even the ones who swore they were “too full” for more carbs. There’s something about that personal, handheld portion that just makes you want to eat the whole thing. And honestly? You should. These stuffing muffins are the kind of side dish that steals the show without even trying.
Why You’ll Love This Recipe
Look, I’ve made a lot of stuffing in my day. I’ve made the kind that bakes in a dish for an hour and comes out all steamy and soft. I’ve made the kind stuffed inside a bird (please don’t do that, by the way—it’s a safety hazard). But these stuffing muffins? They’re a total game-changer, and here’s why you’re going to fall for them hard.
- Maximum Crispiness, Every Time: Because each muffin is its own little dome, every single one gets those gorgeous, golden-brown crispy edges. No soggy middles here.
- Perfect Portion Control: They’re pre-portioned! Great for buffets, potlucks, or just making sure everyone gets their fair share of the good stuff.
- Incredible Brown Butter Flavor: We’re not just using melted butter. We’re browning it until it smells like toasted hazelnuts and liquid gold. It adds a depth of flavor that regular stuffing just can’t touch.
- Make-Ahead Friendly: You can prep the whole mixture, pop it in the fridge, and bake them fresh right before dinner. Or, bake them a day ahead and reheat—they stay crispy!
- Crowd-Pleasing Presentation: They look so much more intentional and special than a scoop from a casserole dish. Guests love the individual serving.
This isn’t just another stuffing recipe. It’s the one that solves the problem of everyone fighting over the crispy bits. It’s the one that uses a simple technique—browning butter—to transform a humble dish into something that tastes like you spent hours in the kitchen. I’ve tested this with stale bread, fresh bread, gluten-free bread, and even cornbread. It works every single time.
What Ingredients You Will Need
This recipe uses simple, mostly pantry-staple ingredients, but the way we treat them makes all the difference. Don’t skip the brown butter step—I promise it’s worth the extra five minutes.
- Unsalted Butter (1 stick / ½ cup / 113g): This is the star. Use unsalted so you can control the salt level. I recommend a good-quality European-style butter like Kerrygold for the richest flavor, but any unsalted butter will work beautifully.
- Fresh Sage Leaves (¼ cup, packed, finely chopped): Please, please use fresh sage here. Dried sage is a different beast entirely. Fresh sage has this lovely, slightly peppery, almost lemony flavor that mellows into pure comfort when cooked.
- Day-Old Crusty Bread (10 cups, cubed): A good French baguette or sourdough loaf is perfect. The bread needs to be stale—if it’s too fresh, it will turn into mush. If you only have fresh bread, cube it and spread it on a baking sheet in a 300°F oven for about 10-15 minutes to dry it out.
- Yellow Onion (1 large, about 1 ½ cups, diced): Sweet and savory. Don’t rush the sautéing—you want them soft and translucent, almost jammy.
- Celery (3 ribs, about 1 cup, diced): The classic crunch. Celery adds that essential texture and a subtle freshness that cuts through the richness.
- Chicken or Vegetable Broth (1 ½ to 2 cups / 355-475ml): Low-sodium is best so you can control the salt. The amount you need will depend on how dry your bread is. Start with 1 ½ cups and add more if the mixture seems too dry.
- Large Eggs (2): The binder. Eggs help the muffins hold their shape and give them a lovely, slightly custardy interior.
- Kosher Salt (1 teaspoon)
- Freshly Ground Black Pepper (½ teaspoon)
- Fresh Parsley (¼ cup, chopped, for garnish): Optional, but adds a nice pop of color and freshness at the end.
Ingredient Selection Tip: When buying sage, look for leaves that are vibrant green and not wilted or yellowing. They should smell fragrant and slightly earthy. If you’re making this gluten-free, use a good-quality gluten-free artisan bread—skip the soft sandwich bread, as it will turn into paste.
Equipment Needed
You don’t need any fancy gadgets for these Perfect Brown Butter Sage Stuffing Muffins, which is one of the reasons I love making them. Here’s what you’ll need:
- 12-Cup Standard Muffin Tin: This is non-negotiable. A non-stick tin is ideal, but a regular one works too—just grease it well.
- Large Skillet or Saute Pan: For browning the butter and sautéing the veggies. A light-colored pan helps you see when the butter turns that perfect amber color.
- Large Mixing Bowl: Big enough to toss all that bread and the veggie mixture without making a mess.
- Chef’s Knife and Cutting Board: For dicing the onion and celery.
- Whisk: For beating the eggs and broth together.
- Measuring Cups and Spoons: For accuracy.
- Cooling Rack: For letting the muffins cool slightly before serving, which helps them set.
Budget-Friendly Tip: Don’t have a muffin tin? You can make this in a standard 9×13 baking dish—just spread the mixture evenly and bake for about 35-40 minutes, or until the top is golden and crispy. The cooking time will be longer, and you won’t get those individual crispy edges, but it’ll still be delicious.
Preparation Method
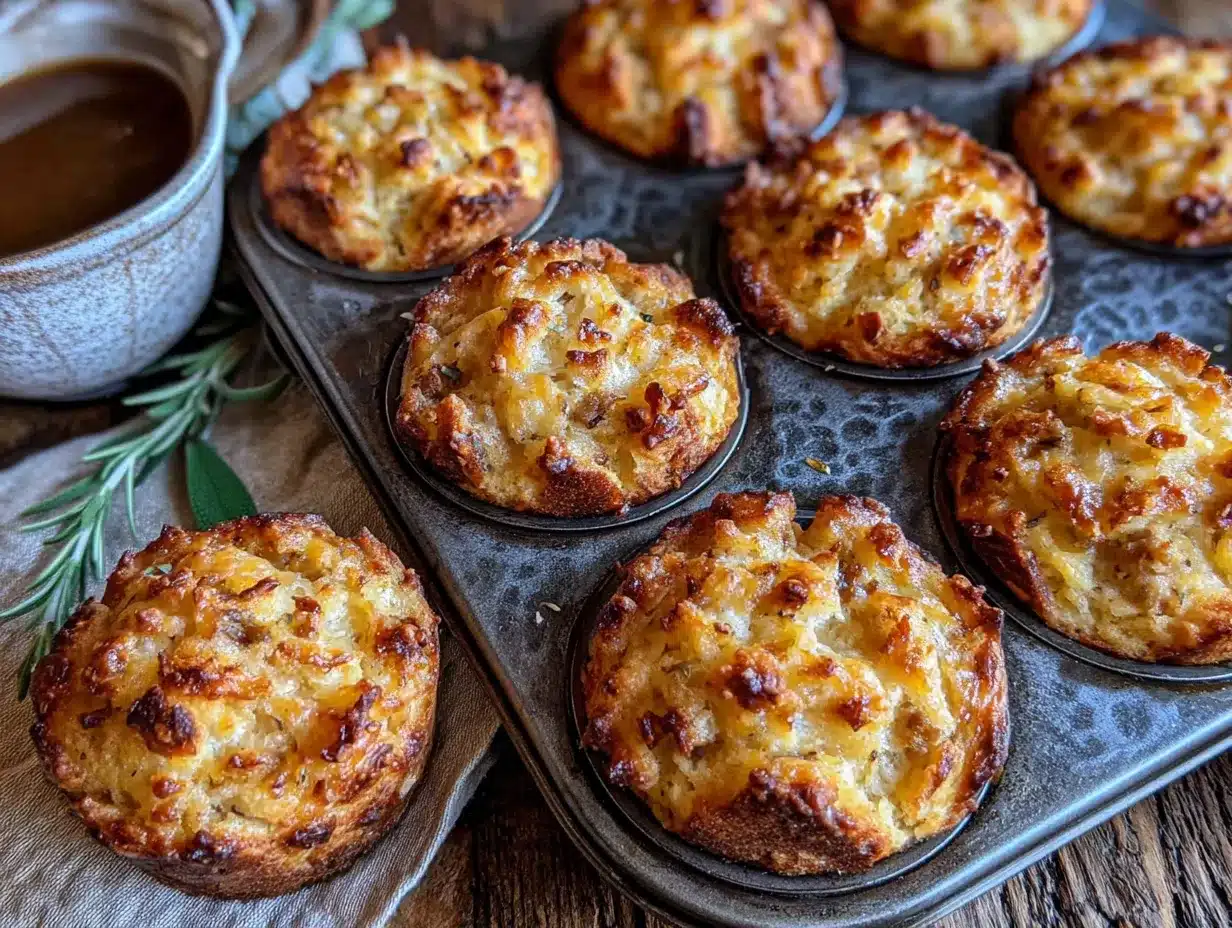
Alright, let’s get cooking. This is easier than you think, and I’m going to walk you through every step so you nail it on your first try.
- Preheat and Prep: Preheat your oven to 375°F (190°C). Grease a 12-cup muffin tin generously with butter or non-stick spray. Don’t be shy here—we want those muffins to slide right out.
- Brown the Butter: Place your stick of unsalted butter in a large skillet over medium heat. Let it melt completely, then swirl the pan occasionally. The butter will start to foam, then the foam will subside, and you’ll see little brown specks forming at the bottom. This is the milk solids toasting—that’s where the magic happens. Swirl the pan until the butter smells nutty and the specks are a warm amber color. This takes about 5-7 minutes. Immediately remove the pan from the heat and stir in your chopped fresh sage. The sage will sizzle and become fragrant. Let it sit while you prepare the veggies.
- Sauté the Aromatics: In the same skillet (no need to wash it—all that brown butter goodness is still there!), add your diced onion and celery. Turn the heat back to medium and sauté for 6-8 minutes, stirring occasionally, until the vegetables are soft and translucent. Don’t let them brown—you want them sweet, not caramelized. Season with a pinch of salt and pepper.
- Prepare the Bread: While the veggies are cooking, place your cubed day-old bread in that large mixing bowl. If your bread is still a bit soft, spread the cubes on a baking sheet and toast them in the preheating oven for 5-7 minutes until they’re dry and just starting to turn golden. Let them cool slightly.
- Combine the Wet Ingredients: In a small bowl or liquid measuring cup, whisk together the eggs and 1 ½ cups of the chicken or vegetable broth. Set aside.
- Mix Everything Together: Pour the sautéed onion and celery (and any residual butter in the pan) over the bread cubes. Pour the brown butter and sage mixture over the top. Toss everything together gently with a large spatula or your hands (clean hands work best!) until the bread is evenly coated. Pour the egg and broth mixture over the bread and toss again. The bread should be moist but not soaking wet. If it looks dry, add the remaining ½ cup of broth. Let the mixture sit for 5-10 minutes so the bread can absorb all that flavor.
- Fill the Muffin Tin: Divide the stuffing mixture evenly among the 12 muffin cups. Don’t press it down too hard—you want it mounded a bit. A generous scoop per cup is perfect. The tops will get beautifully crispy.
- Bake to Golden Perfection: Place the muffin tin on the center rack of your preheated oven. Bake for 25-30 minutes, or until the tops are deep golden brown and crispy to the touch. A toothpick inserted into the center should come out clean, and the edges should be pulling away from the sides of the pan slightly.
- Cool and Serve: Let the muffins cool in the pan for 5 minutes. Then, run a knife around the edges to loosen them, and gently lift them out onto a cooling rack. Sprinkle with fresh chopped parsley if you like. Serve warm!
Cooking Tips & Techniques
I’ve made this recipe about a dozen times now, and I’ve learned a few things the hard way. Let me save you the trouble.
The Bread is Everything. I cannot stress this enough—use stale, dry bread. If your bread is too fresh and soft, your stuffing muffins will come out dense and gummy instead of light and crispy. I once used a fresh brioche loaf because I thought it would be “fancy,” and the muffins basically collapsed into a soggy mess. Stick with crusty bread. If you’re short on time, cube your bread and spread it on a baking sheet in a 300°F oven for 15 minutes. This dries it out perfectly.
Don’t Rush the Brown Butter. Browning butter is a patience game. Keep the heat at medium, not high, and watch it like a hawk. The moment it starts smelling nutty and you see those brown specks, pull it off the heat. It will continue to cook from the residual heat of the pan. If you burn it, you’ll have to start over—burnt butter tastes bitter and acrid. Trust your nose; it will tell you when it’s ready.
Let the Mixture Rest. After you mix everything together, let it sit for at least 10 minutes before spooning it into the muffin tin. This resting time allows the bread to fully absorb the broth and egg mixture, which ensures every bite is flavorful and moist, not dry in the center.
Multitasking Tip: While the stuffing mixture is resting, use that time to clean up your dishes. It’s a small thing, but it makes the whole cooking experience so much more enjoyable. You’ll thank yourself later when you’re not staring at a mountain of dirty pans.
Variations & Adaptations
One of the best things about this recipe is how flexible it is. Here are a few ways I’ve adapted it over the years.
- Add Some Meat: Brown ½ pound of Italian sausage or crumbled bacon in the skillet before you add the onions and celery. Drain off the excess fat, then proceed with the recipe. The sausage adds a lovely fennel flavor that pairs beautifully with the sage.
- Make it Vegetarian: Use vegetable broth instead of chicken broth. You can also add 8 ounces of sautéed mushrooms (cremini or shiitake work great) for an earthy, umami flavor. Add them along with the onions and celery.
- Try a Different Herb: Not a fan of sage? (Blasphemy, I know, but it happens.) Swap it out for fresh thyme or rosemary. Use about 2 tablespoons of fresh thyme leaves or 1 tablespoon of finely chopped fresh rosemary.
- Add Some Fruit: For a sweet-savory twist, add ½ cup of dried cranberries or chopped dried apricots to the bread mixture. The tartness cuts through the richness of the butter beautifully. This is especially good if you’re serving these alongside a roasted turkey or pork loin.
- Go Gluten-Free: I’ve made this with a good-quality gluten-free sourdough bread, and it works perfectly. Just make sure the bread is sturdy and dry. Avoid soft, sandwich-style gluten-free bread—it will turn into a gluey mess.
- Dairy-Free Option: Use a high-quality vegan butter that’s designed for baking (like Miyoko’s or Country Crock Plant Butter) for the browning step. It browns surprisingly well!
Serving & Storage Suggestions
These Perfect Brown Butter Sage Stuffing Muffins are incredibly versatile when it comes to serving. Here’s how I like to enjoy them.
Serving: Serve them warm, straight from the oven. They’re the perfect side dish for a Thanksgiving feast, a holiday dinner, or even a cozy Sunday roast chicken. I love placing them on a platter with a sprinkle of fresh parsley and flaky sea salt. They also make an amazing breakfast the next day—just reheat one and top it with a fried egg. Trust me on this one.
What to Serve With Them: These muffins are fantastic alongside a cozy slow cooker Tuscan chicken thighs for a hearty, comforting dinner. They also pair beautifully with a creamy butternut squash and apple soup for a lighter meal. And if you’re planning a full holiday spread, they’re a no-brainer alongside your roasted turkey.
Storage: Store any leftover muffins in an airtight container in the refrigerator for up to 4 days. They actually get better after a day or two as the flavors meld together.
Reheating: The best way to reheat these is in the oven or an air fryer. Preheat your oven to 350°F (175°C) and bake the muffins on a baking sheet for 8-10 minutes, or until they’re heated through and the tops are crispy again. You can also microwave them for about 30 seconds, but they’ll lose their crispy edges. For a quick fix, I sometimes split one open and toast it in a skillet with a little butter—it’s incredible.
Freezing: These muffins freeze beautifully. Bake them, let them cool completely, then wrap each muffin individually in plastic wrap and place them in a freezer-safe bag. They’ll keep for up to 3 months. To reheat from frozen, bake them at 350°F for 15-20 minutes, or until warmed through.
Nutritional Information & Benefits
While these stuffing muffins are definitely a comfort food, they do offer some nutritional benefits, especially when compared to traditional stuffing recipes that use loads of butter and heavy cream.
| Nutrient | Per Serving (1 muffin) |
|---|---|
| Calories | ~220 kcal |
| Total Fat | 11g |
| Saturated Fat | 6g |
| Cholesterol | 55mg |
| Sodium | 380mg |
| Total Carbohydrates | 24g |
| Dietary Fiber | 2g |
| Sugars | 3g |
| Protein | 6g |
Health Benefits: Sage is a powerhouse herb—it’s packed with antioxidants and has anti-inflammatory properties. The celery and onion provide fiber and essential vitamins like vitamin K and vitamin C. By using a good-quality broth and controlling the salt, you can make this recipe lower in sodium than many store-bought or boxed stuffing mixes. Plus, the portion control of the muffin format helps you enjoy a satisfying serving without overdoing it.
Dietary Considerations: This recipe can be made gluten-free (see variations above) and vegetarian. It contains dairy (butter) and eggs, so it’s not suitable for a vegan diet without modifications.
Conclusion
These Perfect Brown Butter Sage Stuffing Muffins are more than just a side dish—they’re a solution. They solve the problem of boring, soggy stuffing. They solve the problem of fighting over the crispy bits. And they solve the problem of portion control during a feast where you want to try a little bit of everything.
I love this recipe because it feels special without being fussy. It’s the kind of dish that looks like you spent hours perfecting it, but really, it comes together in about 45 minutes. The brown butter adds that “chef’s kiss” flavor that makes people close their eyes when they take a bite. And the individual muffin format? It’s just fun. You can grab one, walk around, and keep chatting without needing a plate and fork.
I’d love to hear how these turn out for you. Did you add sausage? Did you try them with dried cranberries? Drop a comment below and let me know your favorite variation. And if you’re looking for another perfect side dish for your holiday table, don’t miss my spiced pear and brie baked brie—it’s the perfect sweet-savory starter to go alongside these savory muffins. Happy cooking, friends!
Frequently Asked Questions
Can I make these stuffing muffins ahead of time?
Absolutely! You can assemble the stuffing mixture, spoon it into the greased muffin tin, cover it with plastic wrap, and refrigerate it for up to 24 hours before baking. Just add an extra 5-10 minutes to the baking time since you’re starting from cold. You can also bake them completely, let them cool, and reheat them as directed.
Can I use dried sage instead of fresh?
I really recommend using fresh sage for this recipe. Fresh sage has a bright, aromatic flavor that mellows beautifully when cooked in the brown butter. Dried sage is much more concentrated and can taste dusty or musty. If you absolutely must use dried, use only 1 tablespoon and add it to the broth mixture rather than the butter.
Why did my stuffing muffins turn out soggy?
Soggy stuffing muffins are almost always the result of using bread that’s too fresh or too soft. The bread needs to be stale and dry so it can absorb the liquid without turning to mush. Also, make sure you’re not overfilling the muffin cups with too much liquid. The mixture should be moist, not swimming in broth.
Can I make these in a mini muffin tin?
Yes! Mini stuffing muffins are perfect for appetizers or party bites. Use a mini muffin tin and reduce the baking time to about 12-15 minutes. Keep an eye on them—they’ll brown quickly. You’ll get about 24-36 mini muffins from this recipe.
How do I get the muffins out of the pan without them falling apart?
Let them cool in the pan for 5 minutes after baking. This allows the steam to settle and the structure to firm up. Then, run a thin knife or offset spatula around the edge of each muffin to loosen it. Gently lift them out with the knife or a small spatula. Greasing the pan generously is key—don’t skimp on the butter or non-stick spray.
Pin This Recipe!
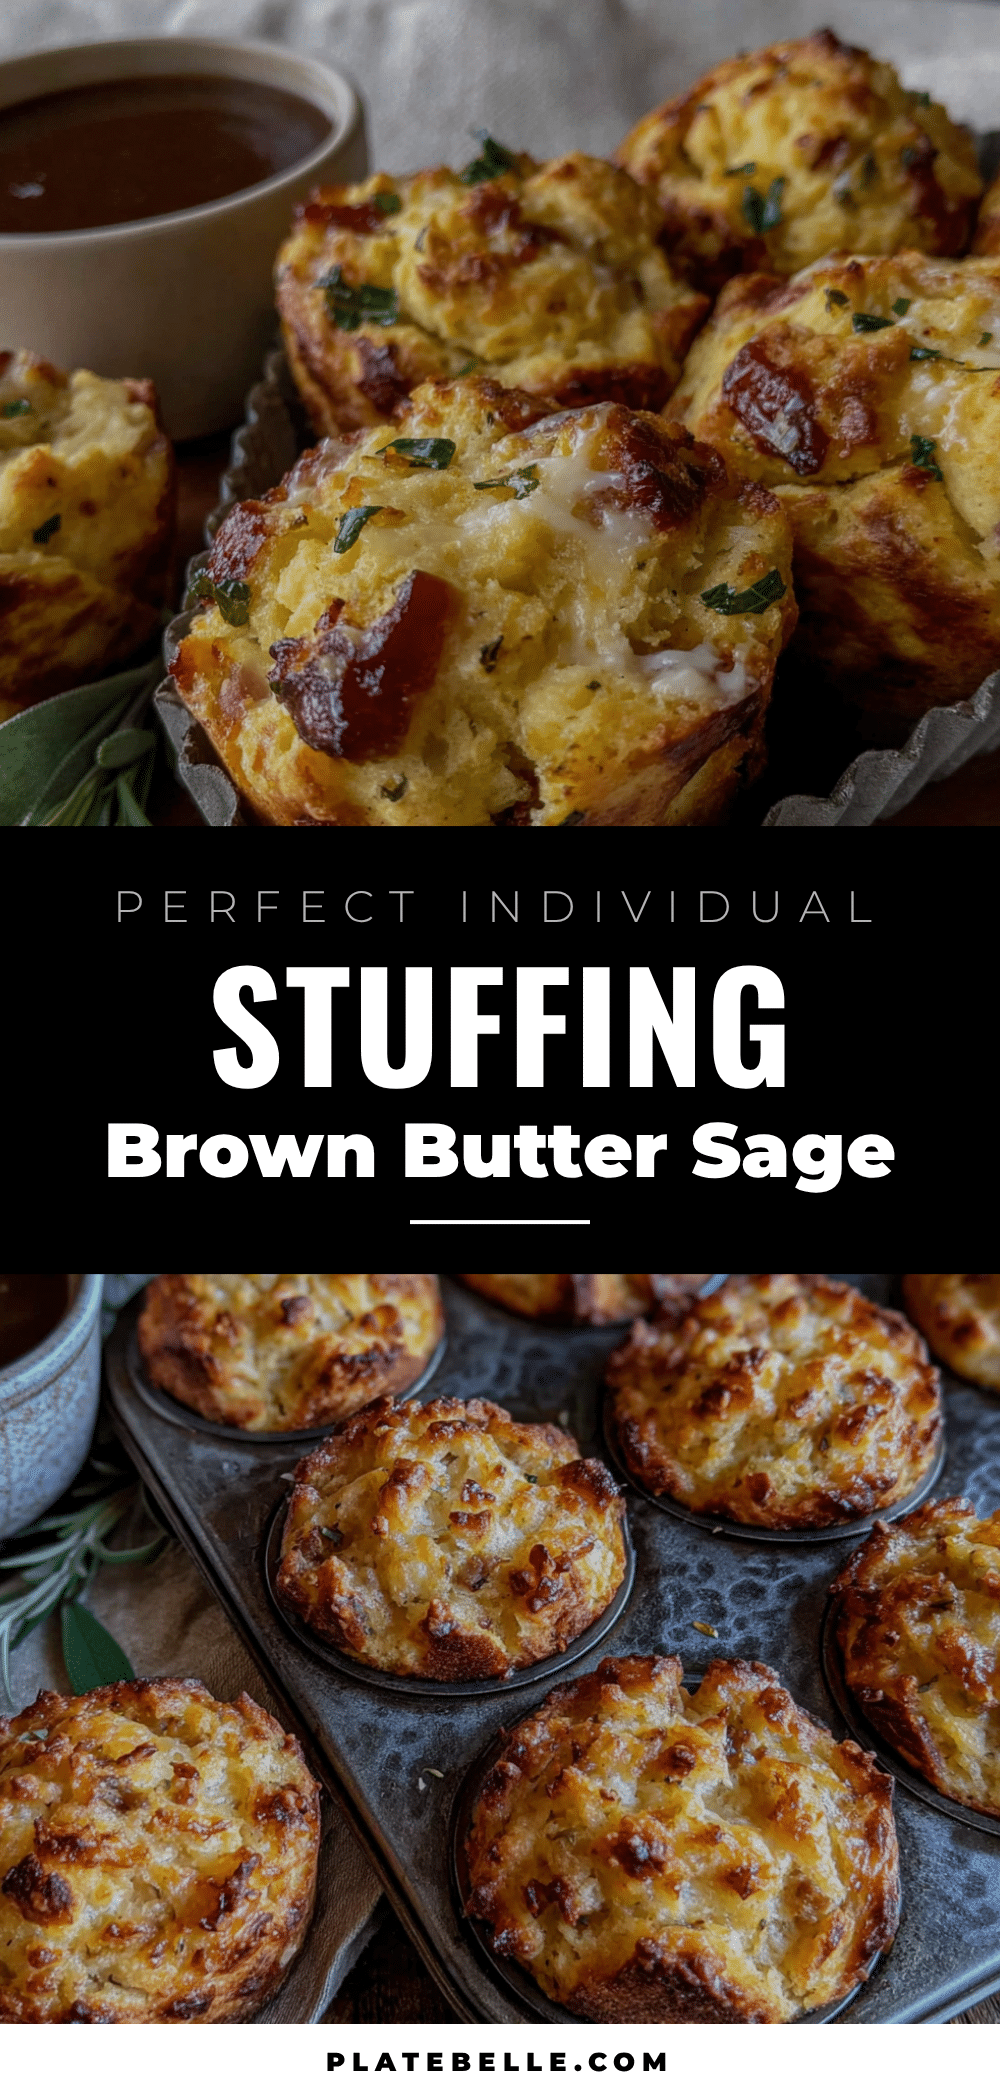
Perfect Brown Butter Sage Stuffing Muffins

These individual stuffing muffins are made with nutty brown butter, fresh sage, and crusty bread, baked to golden-brown perfection. Each muffin is a crispy-edged, handheld portion that’s perfect for potlucks, holiday feasts, or any gathering.
- Prep Time: 15 minutes
- Cook Time: 30 minutes
- Total Time: 45 minutes
- Yield: 12 servings 1x
- Category: Side Dish
- Cuisine: American
Ingredients
- 1 stick (½ cup / 113g) unsalted butter
- ¼ cup packed fresh sage leaves, finely chopped
- 10 cups day-old crusty bread, cubed (about 1 baguette or sourdough loaf)
- 1 large yellow onion (about 1½ cups diced)
- 3 ribs celery (about 1 cup diced)
- 1½ to 2 cups low-sodium chicken or vegetable broth
- 2 large eggs
- 1 teaspoon kosher salt
- ½ teaspoon freshly ground black pepper
- ¼ cup fresh parsley, chopped (for garnish, optional)
Instructions
- Preheat oven to 375°F (190°C). Grease a 12-cup muffin tin generously with butter or non-stick spray.
- In a large skillet over medium heat, melt the butter. Swirl occasionally until it foams, then the foam subsides and brown specks form at the bottom (about 5-7 minutes). Remove from heat immediately and stir in the chopped sage. Set aside.
- In the same skillet, add the diced onion and celery. Sauté over medium heat for 6-8 minutes until soft and translucent. Season with a pinch of salt and pepper.
- Place the cubed bread in a large mixing bowl. If bread is still soft, spread on a baking sheet and toast in the oven for 5-7 minutes until dry and lightly golden. Let cool slightly.
- In a small bowl, whisk together the eggs and 1½ cups of broth.
- Pour the sautéed onion and celery (with any residual butter) over the bread cubes. Add the brown butter and sage mixture. Toss gently to coat. Pour the egg and broth mixture over the bread and toss again. If the mixture seems dry, add the remaining ½ cup of broth. Let rest for 5-10 minutes.
- Divide the stuffing mixture evenly among the 12 muffin cups, mounding slightly. Do not press down.
- Bake on the center rack for 25-30 minutes, until tops are deep golden brown and crispy. A toothpick inserted into the center should come out clean.
- Cool in the pan for 5 minutes. Run a knife around the edges to loosen, then transfer to a cooling rack. Garnish with fresh parsley if desired. Serve warm.
Notes
Use stale, dry bread for best texture. If bread is fresh, cube and toast at 300°F for 15 minutes. Don’t rush the brown butter—watch it closely to avoid burning. Let the mixture rest for 10 minutes before baking to allow bread to absorb liquid. For make-ahead, assemble in the muffin tin, cover, and refrigerate up to 24 hours; add 5-10 minutes to baking time. To reheat, bake at 350°F for 8-10 minutes or use an air fryer. Freeze individually wrapped muffins for up to 3 months.
Nutrition
- Serving Size: 1 muffin
- Calories: 220
- Sugar: 3
- Sodium: 380
- Fat: 11
- Saturated Fat: 6
- Carbohydrates: 24
- Fiber: 2
- Protein: 6
Keywords: stuffing muffins, brown butter sage stuffing, Thanksgiving side dish, individual stuffing, crispy stuffing muffins, holiday side dish, potluck recipe


